
We may earn revenue from the products available on this page and participate in affiliate programs. Learn More ›
Plastic pipe (commonly referred to as PVC) requires a minimum of tools and experience. If you can use a tape measure and a hacksaw, you can probably cut, fit, and fasten plastic pipe.
There are a variety of types of plastic pipe on the market, most of which are joined using a glue-like solvent that, when applied to the pipe, actually dissolves the surface and fuses the pipe and fitting, producing a bond not unlike that of a metal weld but without requiring any heat.
Preparing the pipe
Regardless of the type of pipe you are using, the layout and preparation of the pipe and fittings are all important. Before you cement any of the fittings together, lay out the entire job and plan ahead.
Cutting the pipe to length
There are numerous ways to cut plastic pipe. For some rigid plastic pipe you can use a tubing cutter, though a hacksaw will cut it easily as well. Be sure the cuts are square. Remove any ragged edges from the inside and outside of the cut, using a utility knife or plumber’s tape (an emery cloth sold in narrow strips).
Don’t remove so much material from the pipe that the fitting becomes liable to leak. To be sure, check the fit of each pipe into a fitting. It should be snug; if the pipe is loose or slides easily, try another fitting or cut another piece of pipe.
Cementing the fitting
To glue plastic pipe, use the solvent that was formulated for the type of pipe you are using (polyvinyl chloride or PVC; acrylonitrile- butadiene styrene or ABS; chlorinated polyvinyl chloride or CPVC; or one of the several other types). Follow the instructions on the container, which may require the use of a primer to clean and prepare the area to be bonded. There may also be temperature restrictions, as some solvents do not bond properly at cold temperatures.
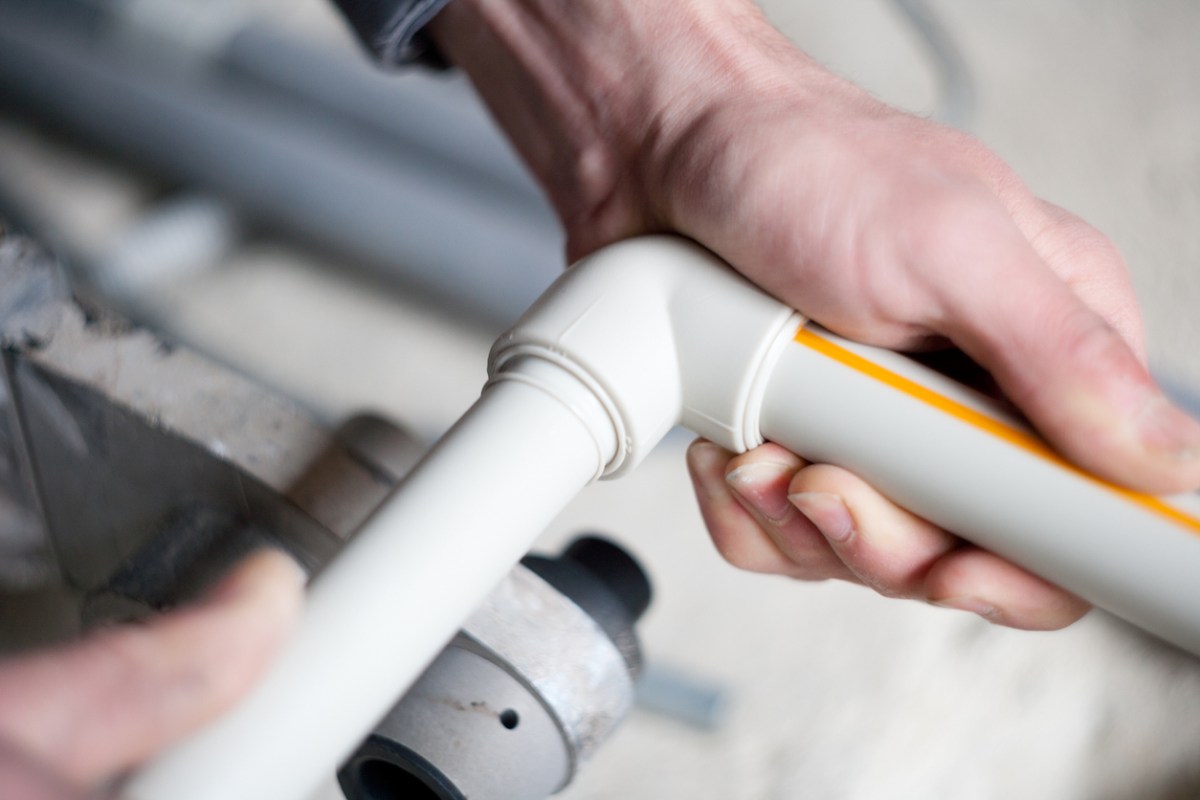
In most cases, the primer is applied to the inside of the fitting and the outside of the pipe to be joined and, ten or so seconds later, the solvent is applied to the same surfaces.
The pipe is then inserted into the fitting in a twisting motion that helps assure the cement is spread evenly. Excess cement will squeeze out around the edge of the fitting, but there’s no need to wipe it off.