We may earn revenue from the products available on this page and participate in affiliate programs. Learn More ›
The process of staining furniture is intimidating to many do-it-yourselfers, because special tools and chemicals are involved, if, say, you are removing a layer of paint from the furniture you’re refinishing. (Words like “toxic” have a way of popping up frequently on the labels of paint-stripping products.) But once you know how to stain furniture, you’ll want to tackle everything from your kitchen cabinets to your Great Aunt Mabel’s corner cupboard. Here’s an overview:
Tools & Materials
Bobvila.com may earn a commission from purchases made through these links.
Step 1: Getting started.
Remove the furniture’s doors and drawers and hardware—its legs, too, if they are removable. (Staining wood is much easier when you are working with parts of manageable size). Next, clean the furniture to eliminate dust, dirt, and grime, any of which inhibits the stripping process. (If you are staining a chair with a fabric seat cushion, either remove it or protect it with plastic and painter’s tape.) Be sure to cover the floor with a drop cloth, newspapers, or plastic. And make certain the work area is well-ventilated and out of the way of your family’s typical traffic flow.
Step 2: Choosing the right stripper.
Look for a good leave-on paint stripper. Many nontoxic varieties are available. Choose one that suits your requirements; different products exist for removing different types of finishes (paint, varnish, shellac and others). Read and follow the manufacturer’s directions. In most cases, stripper is applied with a paintbrush and must be allowed to sit for a time.
Step 3: Removing the old finish.
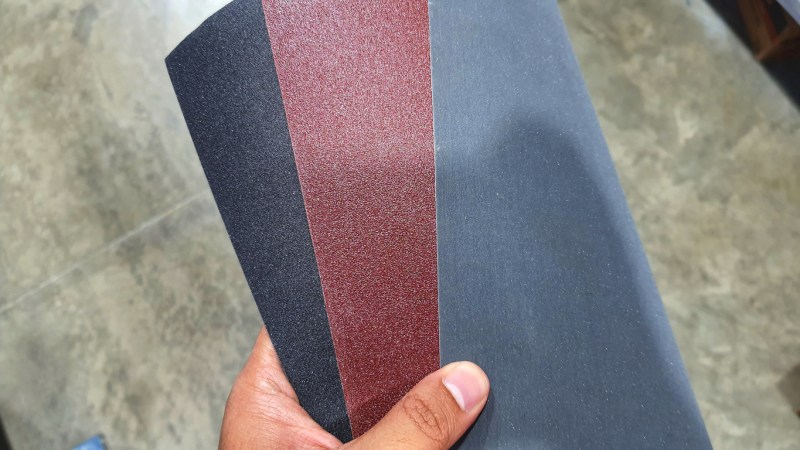
Once the stripper has set, use a scraper to remove the old finish. Don’t try to force the issue by scraping too aggressively. Doing so could damage the wood surface. When the finish has been completely removed, lightly sand the surface to lift the grain of the wood, making it more receptive to stain. Because sanding creates dust, remember to wipe down the piece with a rag or a tack cloth; also, vacuum the area in which are you working.
Step 4: Testing the stain.
Choose your stain carefully and test it on either a similar piece of wood or a small, inconspicuous section of the furniture. Because stain reacts differently to different types of wood, you may find that the color you loved on the sample ends up looking altogether different once applied. The easiest product to use is a stain-polyurethane mix. If you are using stain only, it will be necessary to seal the finish with butcher’s wax, tung oil, or some form of “poly” protective sealer.
Step 5: Applying the new finish.
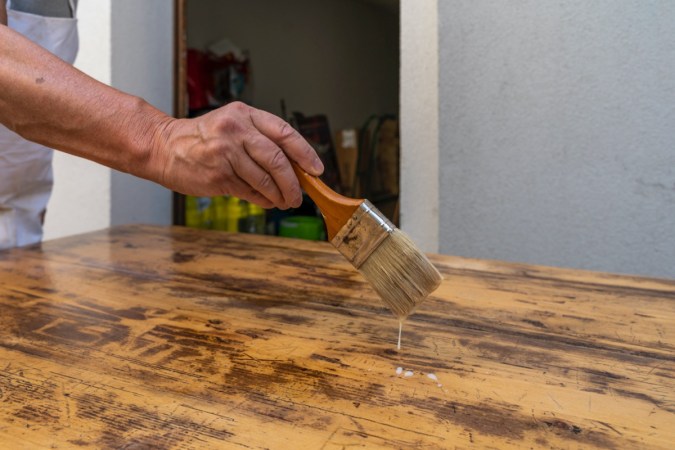
Once you’ve decided on a stain for your project, stir the stain well and apply it according to the manufacturer’s recommendations. Begin by brushing on a light, even coat. If the color seems dark, you can use a clean rag to wipe away some of the excess before it soaks in. If the color appears too light, wait until the stain has dried, then apply a second coat. Be sure to invest in a good natural-bristle brush and always work in the direction of the grain.


