
We may earn revenue from the products available on this page and participate in affiliate programs. Learn More ›
On the Manhattan Brownstone project, Bob, Chris Vila, and architect Brian O’Keefe discovered an intact ceiling cornice that made them rethink plans to completely gut the interior space during demolition. Instead, they decided to keep the cornice and make it a focal point for the large living area in the center of the floor-through apartment.
Facing the challenge of rebuilding the wall without changing the profile or having drywall that extended beyond the face of the cornice, the team turned to Boro Plastering of Hyde Park, N.Y., to create an original plaster wall that would dovetail with the existing cornice.
The Manhattan remodel is not a strict restoration project, but the craftsmen involved recognize the value of high-quality workmanship as evidenced in the original structure. A true plaster job is the best way to complete a wall in a period home. There’s no doubt that “three-coat plaster is unmatched in strength and durability,” according to the National Parks Service. “It resists fire and reduces sound transmission.” It also most closely replicates the original finishes in this Upper West Side Brownstone.
Basics of Plaster and Lath
When plastering walls, plaster must be applied in such a way that it adheres to the support wall surface, bears its weight load without cracking, and exhibits a smooth, hard, finished surface suitable for painting or papering.
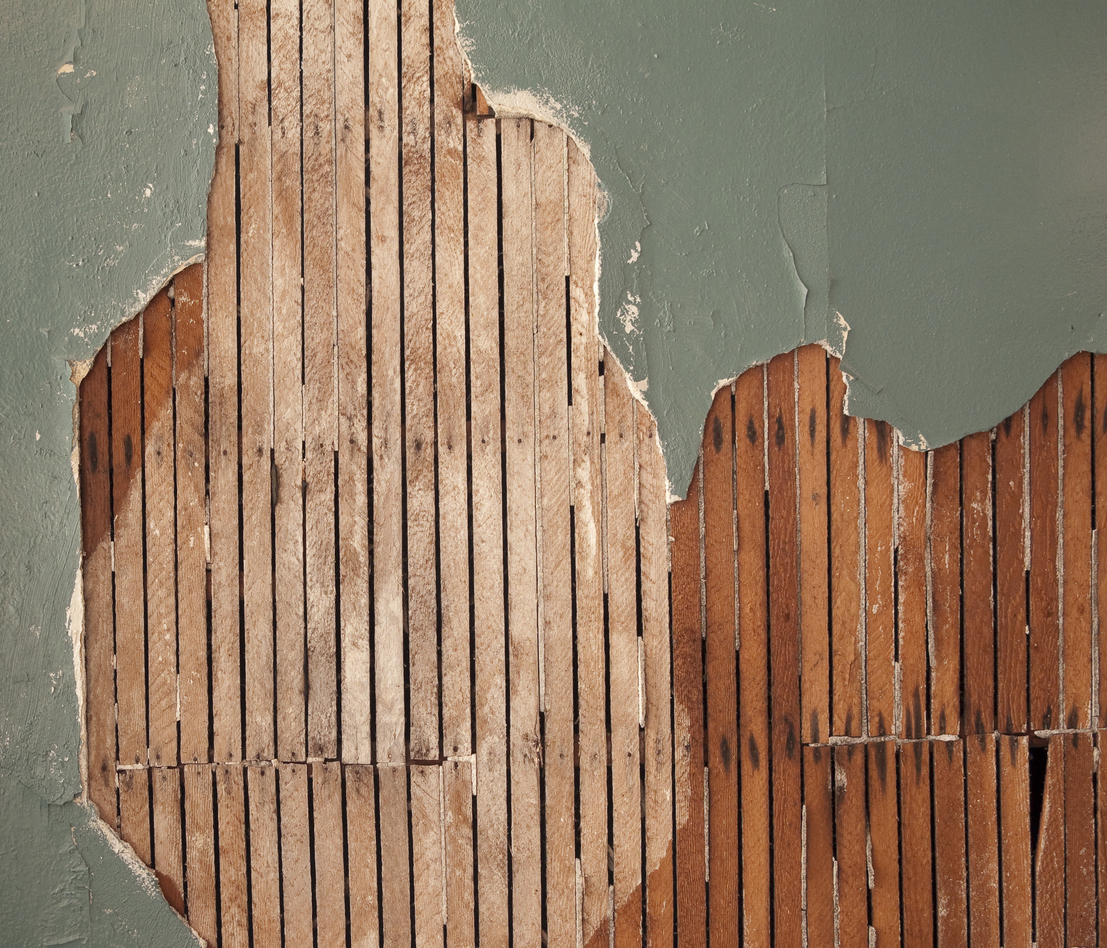
A quality plaster job begins with the lath on which the plaster will be applied.
- Traditional lath and plaster jobs used wood lath, but the moisture level in wood makes it expand and contract, which can make plaster crack.
- Metal lath is a more reliable surface for plastering since it does not retain moisture and provides more “keys” or spaces in its surface for proper adhesion.
Three-Coat Plaster System
The three-coat plaster system begins with two coarse or rough coats. These coats form the base of the wall and are mixed of lime or gypsum, aggregate, fiber, and water.
The lime is typically derived from limestone or ground oyster shells. Many firms now work with gypsum since it eliminates the need for added fiber and has a much quicker set up and drying time. Boro Plastering works with a ratio of three-to-one, bags of sand to bags of gypsum, for their rough coats.
- Scratch coat: The first coat is called the “scratch coat” and is applied at 3/8 inch thick then scratched or scored with a comb to give it a rough texture.
- Brown coat: The second rough coat is made of the same mixture and is called the “brown coat.” The brown coat is applied directly to the scratch coat, also at a 3/8-inch thickness, but left unscored. The sand provides a rough texture that gives the light, 1/8-inch finish coat a surface to grip onto.
- Finish coat: The third and final coat is an application of lime putty, which gives plaster walls their smooth, hard, shiny finish.
It’s All in the Mix
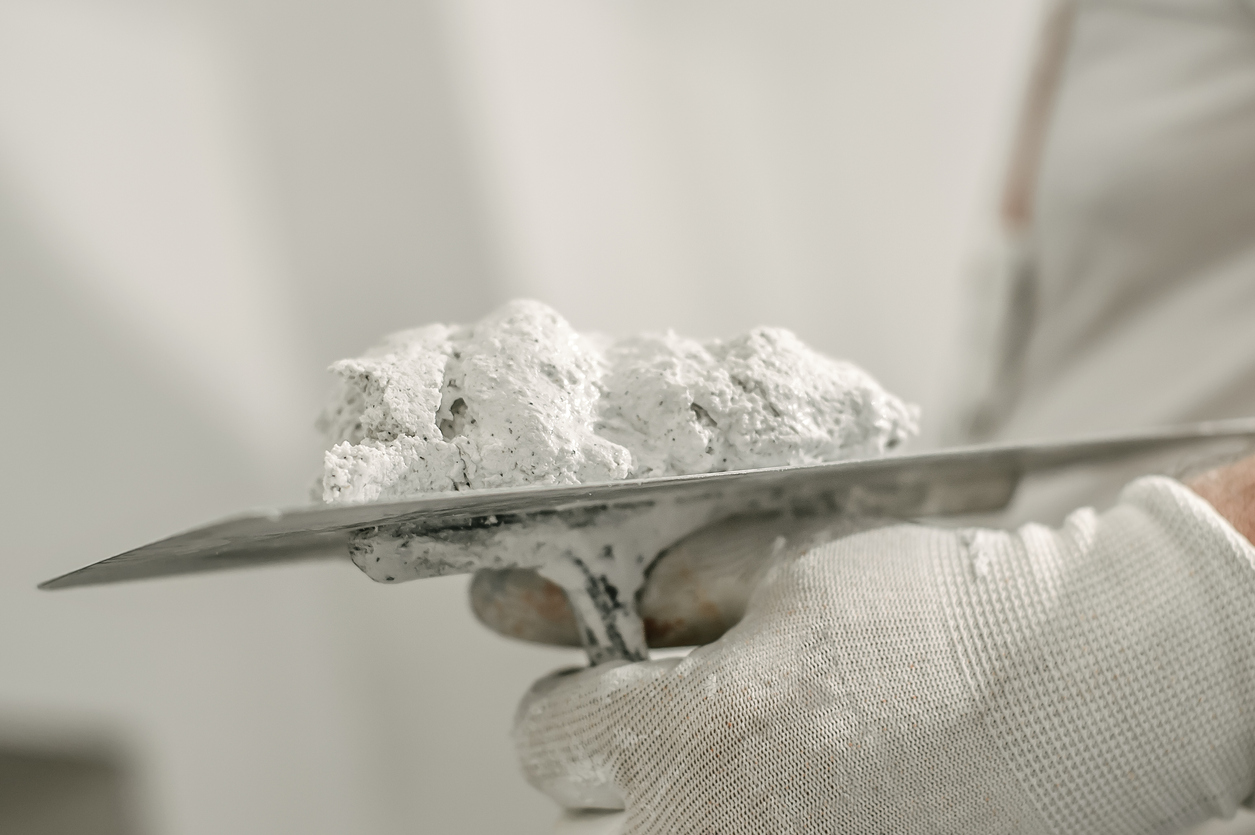
With a traditional lime finish coat, the plasterer becomes a chemist. “This is where art meets science,” Bob says, as he watches the mix being prepared for the lime putty.
This lime putty is used for the finish coat of plaster that is skimmed onto the wall and smoothed to create a hard, shiny finish coat. To create the lime putty:
- First the plasterer creates a “gauge” that is a circle of putty, banked up like a swimming pool, on the mixing board.
- Into this circle he pours water, and then sprinkles the water with plaster. The measurements are inexact to the untrained eye, but very precise to the plasterer who has to “feel it out,” as Gary Annino of Boro Plastering explains.
- Once poured in, the lime and plaster mix is left to “slake” or sit and transform itself.
- The reaction is complete when the slaked lime stops giving off heat. At this point it is ready to be mixed into putty.
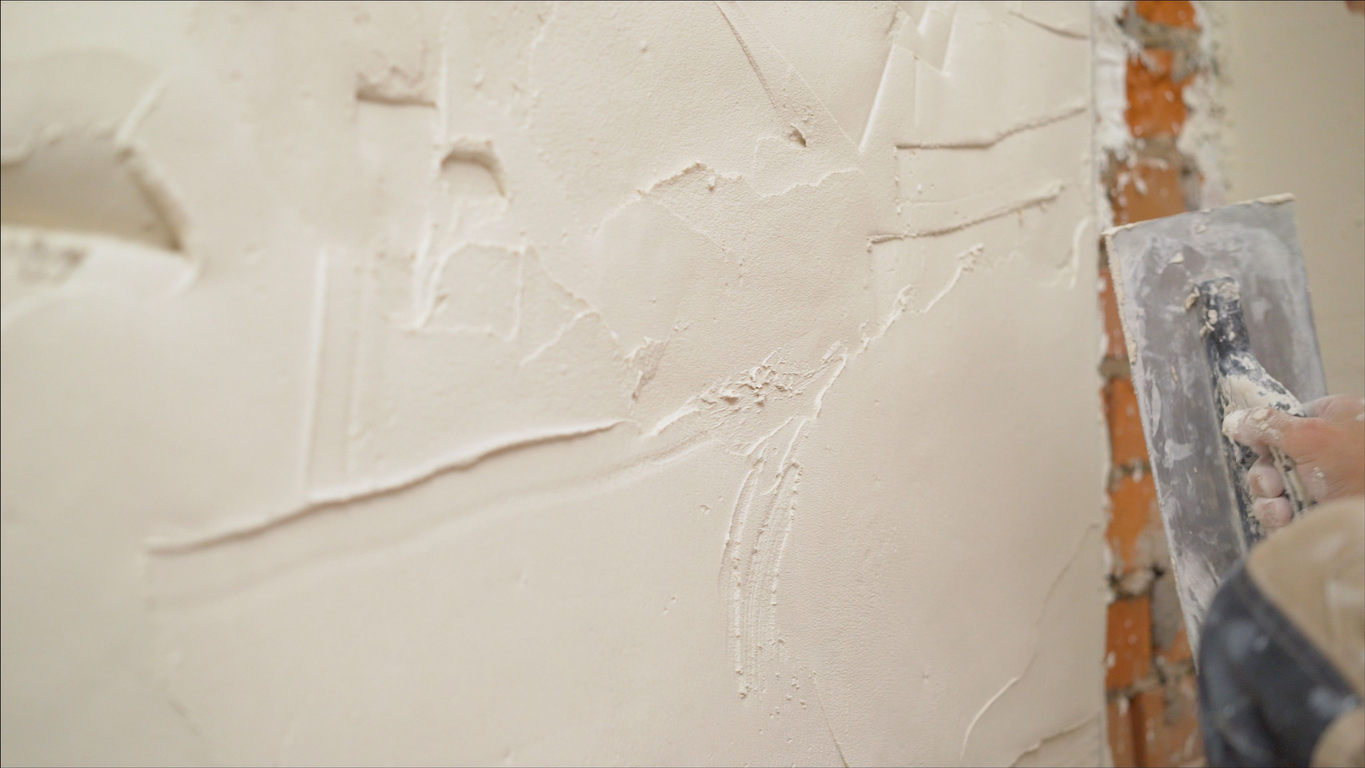
Master plasterers work with a spray bottle to keep the plaster wet as they smooth it to a perfect finish.
Beneath the Surface
“Each plaster job is unique,” Annino says. The quality of any plaster job and the degree of adhesion depends, in large part, on the integrity of the surface on which it’s applied.
The plaster crew must first assess the existing walls, masonry, or ceilings that need to be plastered. “Our crew makes a determination on an individual basis,” Annino says. Sometimes they can use the brick surface that remains, sometimes they must affix wire lath to the brick to serve as a support for keying the new plaster.
In the Manhattan Brownstone project, a variety of methods were employed, including plastering directly over the existing brick walls that were first treated with a blue bonding agent. In areas where the brick had deteriorated, wire lath was used to create a sound surface and a level wall. Where the ceiling had been punched open for ceiling supports, patching was done with wire mesh and plaster before a skim coat was applied to the entire ceiling. The crew crafted the job around the cornices, building plaster walls and reviving the ceiling without building out beyond the cornice profile.