
We may earn revenue from the products available on this page and participate in affiliate programs. Learn More ›
Your bathroom is the wettest room in your home. Steamy showers, flushing toilets, running sinks, and occasional drips add up to high humidity. And with major moisture comes potential problems: mold and mildew, a funky smell, peeling wallpaper, paint that chips and scratches easily, and even lifting or splitting of laminated plywood vanities. Luckily, proper bathroom ventilation can keep humidity and its resulting issues in check. Here are nine ways to prevent excessive moisture buildup in your bathroom.
Do choose the right bathroom fan.
If you don’t have a window in your bathroom, chances are good the building codes in your city require a bathroom vent fan. These fans pull moisture-laden air out of the room—as well as bathroom odors—and vent them outside. You’ll find several types to choose from, including simple box fans that install in the ceiling, combination bathroom fan/light fixtures, combination bathroom fan/light/heater fixtures, and wall-mount bathroom fans for situations where you must vent the fan through the wall without much ductwork. More often, bathroom fans vent out through a duct running up to the roof.
Although most bathroom vent fans are quite simple, some have bells and whistles, such as motion sensors that switch the device on when you enter the bathroom and turn it off once you leave. Some units even have a heat exchange function, which uses the vented warm air to heat up incoming cooler air, thus preventing the fan from sucking out your home’s warmth during the winter months. You’ll also find fan/light fixtures with decorative globes and finishes that add a bit of style.
Don’t forget to measure your bathroom.
Typical building regulations call for a full air exchange—a measurement of the air movement out of a space divided by the square footage of that space—five times per hour, but most contractors and building experts feel that’s actually a bit low, and recommend you choose a fan that provides at least eight full air exchanges per hour. No need to bother with a calculator and mathematical equations, however; you’ll generally get close to that goal by choosing a bathroom fan with a cubic-feet-per-minute (CFM) capacity that’s the same as your bathroom’s square footage. For example, if your bathroom is 80 square feet, you need a vent fan with an 80 CFM capacity. Add an extra 100 CFM if your bathroom sports a jetted tub to compensate for the additional moisture tossed into the air by the water’s agitation.
Do make the right installation decision.
If you’re simply replacing an old bathroom fan with a newer unit, the project is within the realm of most handy DIYers, as you’ll be able to use the existing vents and electrical connections. If working with electricity is not within your comfort range, however, leave the job to a professional. And you’ll need a pro to install a fan in a bathroom that currently lacks one, as this project will require extensive electrical wiring and the installation of vents running to the roof.
Don’t install it in the wrong spot.
Once you’ve chosen the right capacity bathroom vent fan, make sure to install it in the right place. Ideally, your fan should be near the tub or shower, but not right next to an air conditioning/heating vent, as the forced air can create currents that disrupt the bathroom fan’s steady intake of humid air. And for proper bathroom ventilation, your exhaust fan needs to vent outside, not into the attic or another area of the house.
RELATED: 7 Mistakes Not to Make in Your Bathroom Remodel
Do let your fan run long enough.
Let the bathroom vent fan run throughout your bath or shower and, just as importantly, leave it on for at least 15 minutes after you’re finished to fully air out the space. Turning the fan off right after your shower or bath doesn’t give the device enough time to vent all the shower steam. If your mornings are very hectic, consider installing a bathroom vent fan with an automatic humidity sensor; these units detect when humidity levels are too high in and switch the fan on and off as needed.
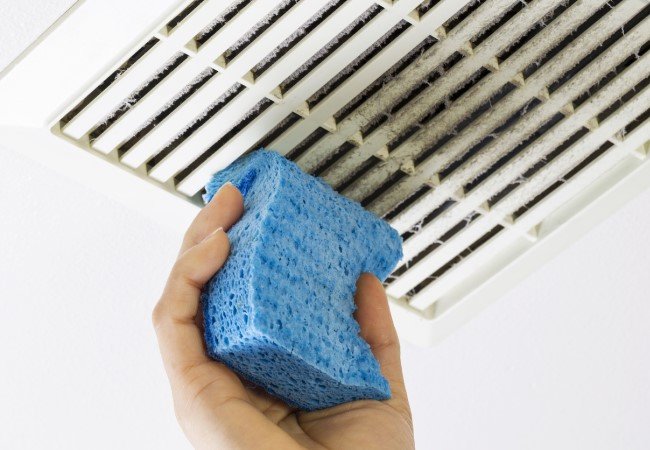
Don’t forget to clean the fan.
Even the best bathroom fan can’t improve ventilation if it’s thick with dust and grime. At least twice per year, give the fan a thorough cleaning. The process is simple:
- Shut off the electrical circuit to your bathroom so you don’t risk a shock.
- Remove the fan’s cover—most are attached with wire pins on the sides, which squeeze together to release the cover.
- Use the upholstery brush or crevice tool on your vacuum to remove dust, cobwebs, and other grunge from the fan and its housing.
- Replace the fan’s cover.
- Turn the electricity back on.
Do wipe up puddles.
Never turn a blind eye to drips, drops, and puddles. Not only is a wet bathroom floor hazardous, but a puddle-free surface also ensures that the full bath dries out as quickly as possible during the 15+ minutes of fan run time, discouraging the growth of mold and mildew spores. Use an absorbent bathmat and wipe up any pools of water you notice ASAP.
RELATED: 8 Ways to Mildew-Proof Your Bathroom
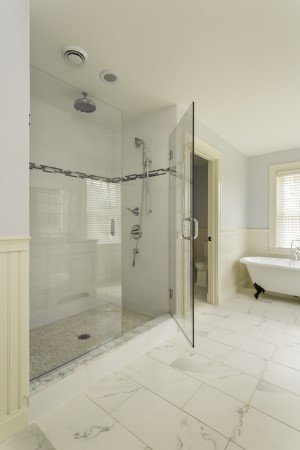
Don’t leave your shower door or curtain closed.
If you have a shower door, leave it open after you step out to let the running fan circulate air throughout the entire space, getting the shower door, walls, floor, and ceiling to dry more quickly. On the other hand, if you have a curtain, avoid leaving it pushed all the way to one side after exiting. Keeping the plastic/fabric primarily flat and eliminating folds that trap moisture will prevent mold and mildew spores from multiplying. Close the curtain most of the way, leaving just a crack so that circulating air from the fan can do its work inside the shower.
Do open the window.
If your bathroom doesn’t have a fan, take advantage of the door and window(s) to let out steam. Whenever weather permits, open the window during your shower or bath and leave the window open for at least 15 minutes after you exit. If the window isn’t an option, keep the bathroom door open—just a crack, if privacy is an issue—during your shower, and then open the door all the way once you’re finished in the bathroom.