We may earn revenue from the products available on this page and participate in affiliate programs. Learn More ›

If you’re looking to give your living space a fresh new look in a short period of time for not a lot of money, painting the walls a new hue can be the perfect way to do just that. While it sounds like an easy DIY project, it can easily turn into a DIY headache if you don’t know what kind of paint to buy, how much you’ll need, and pro tips for achieving a satisfying result.
What Do You Need to Paint a Room?
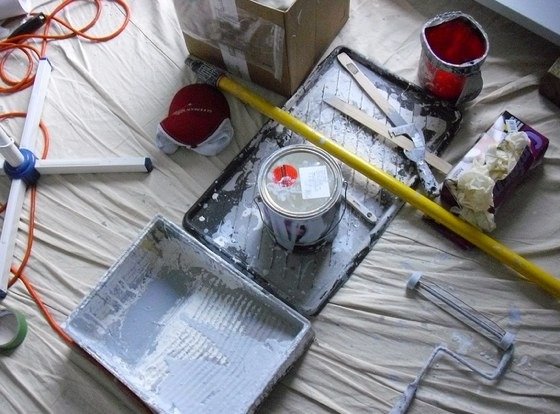
To paint a room, you’ll need essential supplies like high-quality paint, brushes, rollers, drop cloths, and more.
Tools & Materials
Bobvila.com may earn a commission from purchases made through these links.
- Air purifier (optional)
- Putty knife
- Lint-free cloth
- Painter’s multi-tool
- Step ladder
- Drop cloth
- Paint tray
- Paint roller
- Paint brushes
- Hammer
- Lightweight spackling compound
- Painter’s tape (optional)
- Paint stir stick (free with paint purchase at most retailers)
- Stain-blocking paint primer
- Paint roller covers
- Paint extension pole (for ceilings)
Project Overview
Working Time: 2 to 8 hours
Total Time: 1 to 3 days
Skill Level: Beginner
Estimated Cost: $50 to $175
Before You Begin
Before you dive in, consider safety as you set up your space. Don’t forget to ventilate the room by opening a window and door for cross-ventilation. Even low-VOC paints contain chemicals that evaporate in the air and can cause health issues if you are exposed to them for long periods of time.
If there are no windows in the space you’re painting, wear a mask to avoid inhaling any fumes and consider running an air purifier during and after painting. Additionally, low- and no-VOC paints contain fewer volatile chemicals than other types of paint, and can help keep your indoor air quality healthy.
Step 1: Clear and prepare the room.
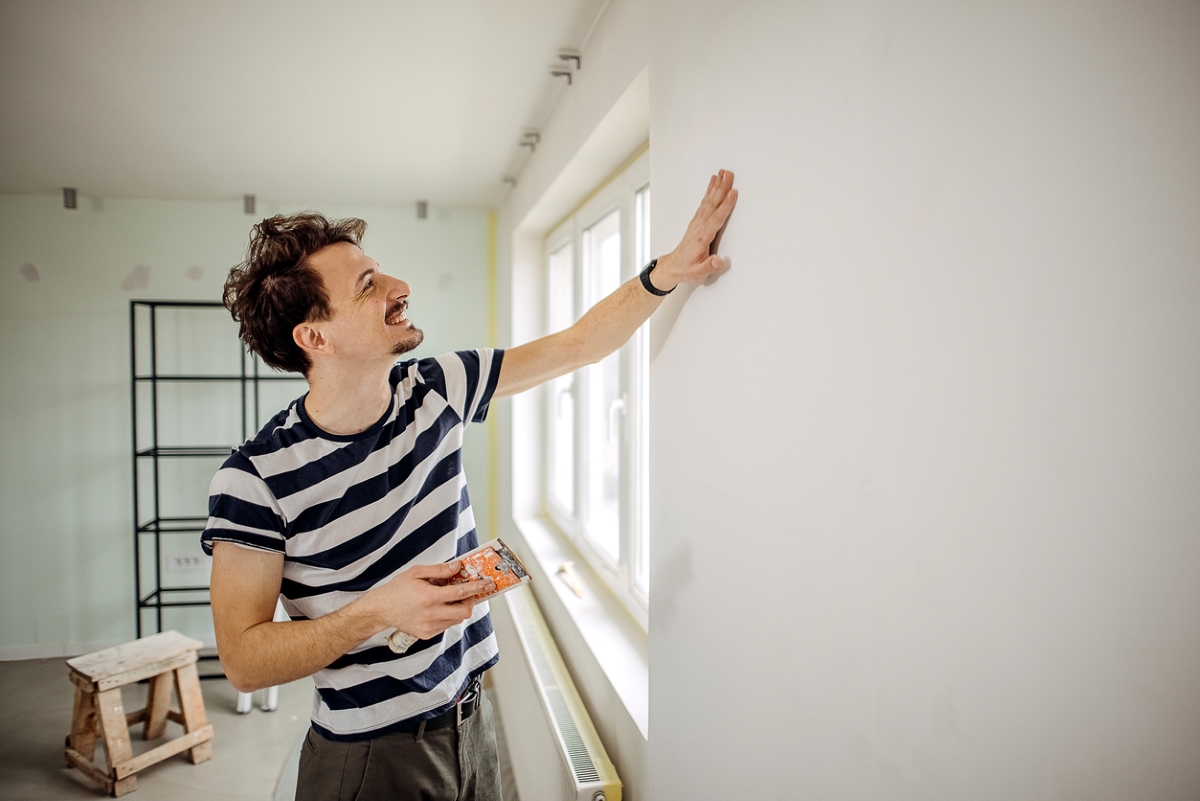
Before you begin to transform your space with a fresh coat of paint, it’s crucial to prep the room properly. This sets the foundation for a hassle-free painting process and a smooth finish. Follow these steps to prep a room for painting:
- Clear the room of all furniture and decorations. This includes curtains, wall art, light fixtures, and outlet covers. If you aren’t painting the ceiling and the room is big enough, move large objects to the center of the room and cover with a tarp. If you are painting the ceiling, you may want to remove furniture and other large objects from the room entirely.
- Look for holes or dents on the walls, and use a putty knife to fill them with spackling compound.
- Check for any discoloration on the walls or ceiling. If there is any, consider painting the area with a stain blocking primer so the stain does not show through the new paint.
- Wipe down the walls to remove any excess dirt, grease, and grime, then dust and vacuum the floor. With a damp, lint-free cloth, wipe down the space again to remove any residue and allow the ceiling and walls to dry.
Step 2: Choose your paint colors and tools.
Choosing the right paint color for a room can significantly impact the overall aesthetic of the space. Considering the room’s function and the mood you are trying to convey should help you narrow down your choices.
Selecting the type of paint and sheen is also a big decision. Flat sheens are great for older spaces as they don’t convey little imperfections as easily. Satin is often helpful for busy living rooms and kid bedrooms as they can be more easily cleaned, while high-traffic areas like the kitchen and hallways benefit from easy-to-clean finishes such as satin or semi-gloss.
Grab a few paint swatches from the store to sample on your interior walls and observe how the light affects their appearance throughout the day.
Gather all the painting tools you’ll need: In addition to paint roller frames, paint roller covers, paint brushes, and paint, have a roll of paper towels, old newspapers, a bag to dispose of towels, a painter’s multi-tool to remove the paint can lid, a stepladder or stool for hard to reach areas, and a damp lint-free rag.
RELATED: Buyer’s Guide: The Best Interior Paints of 2023
Step 2: Apply painter’s tape (if needed).
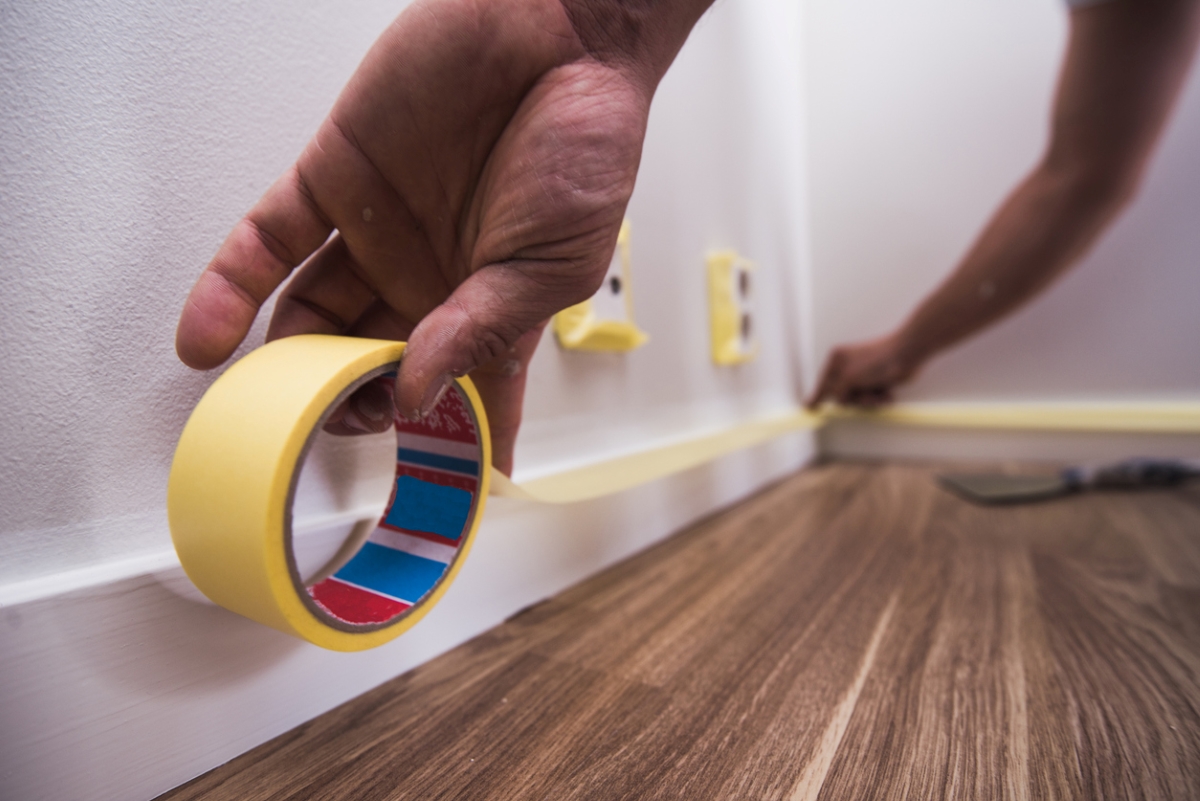
Experienced painters cut-in along the edges of a paint job, but beginners apply painter’s tape to protect walls trim, windows, and fixtures. This can help keep paint from accidentally dripping paint on surfaces you want to keep untouched. Here’s how to use painter’s tape properly:
- Select painter’s tape that’s designed for the type of surface you’ll be adhering it to—interior or exterior.
- Ensure the surface is dry and clean for proper adhesion.
- Firmly press the tape along the edges you want to protect. Ensure it’s flush with the surface as you don’t want any gaps where paint could seep through.
- When the tape roll is not in use, store it inside its plastic bin or on a clean, flat surface. Marring the edges of a paint roll can affect the precision of the tape for the next project.
Step 3: Protect floors and furniture with drop cloths.
To protect your floors and furnishings from accidental paint splatters, lay down a drop cloth before painting.
- Choose a drop cloth that’s made of a durable material. For example, canvas is absorbent and prevents slipping. It can also be reused for future paint projects.
- Secure the drop cloth in the desired area with painter’s tape to prevent it from shifting while painting
Pro tip: If you expect you’ll be moving around the room, create pathways with drop cloths to prevent paint from dripping from one area to another.
Step 4: Prime your surface.
To ensure a smooth and successful surface when painting walls, pros prime the surface first. This will enhance the overall quality and longevity of your paint job, cover any color or light stain inconsistencies, and will allow the paint to adhere better.
However, the right primer for your project depends on where you’ll be working, the surface you’ll be painting, and your preferences for the timeframe of the job and its final look. If you’re painting on bare wood, apply an oil-based or latex primer. For drywall, a latex primer will be fine.
Additionally, if you are painting over a dark color with a lighter color, or attempting to cover up old stains, apply a coat of primer. To prime a room effectively:
- Open the primer can and stir it with a clean stirring stick. Pour a small amount into a paint tray.
- Using a paint roller, begin applying primer to the wall in small sections with even strokes.
- Roll the primer in vertical and horizontal strokes, then lightly go over them again in the opposite direction for a smooth finish. For corners and other spaces where a roller won’t fit, use a flat or angled paint brush to apply the primer.
- Allow the primer to dry according to the manufacturer’s instructions.
If you’re dealing with stubborn stains like smoke damage, use a stain-blocking primer to prevent them from bleeding through the paint.
Step 5: Paint the ceiling.

A room is usually painted from the top down. If you are painting the ceiling, paint it before the walls to reduce splatter on the walls.
- Open the paint can with a multitool and then stir the paint with a paint stir stick or shake if it’s been sitting for a day or more.
- Pour some of the paint into the roller pan.
- Paint the perimeter of the ceiling where it meets the walls with a paint brush.
- Prepare the roller and extension pole.
- Lightly roll the roller in the paint and start painting the ceiling at the furthest corner from the exit door.
- Paint with a criss-cross stroke to ensure sufficient coverage. Complete small sections of the ceiling at a time.
- If you taped the walls to paint the ceiling, wait until the ceiling is dry to the touch before removing the tape.
Allow the first coat to dry according to the manufacturer’s instructions. Apply a second coat for consistent color and enhanced durability.
Step 6: Stir (or shake) your paint.
Using a painter’s multi-tool, carefully pry open the lid. If your paint was just mixed today, use a clean wooden paint stick to gently stir the paint in circular motions. Occasionally lift the stick to check the paint color. It should have a uniform color and smooth texture.
If the paint has been sitting for a day or more, shake it vigorously before opening, as it can separate over time.
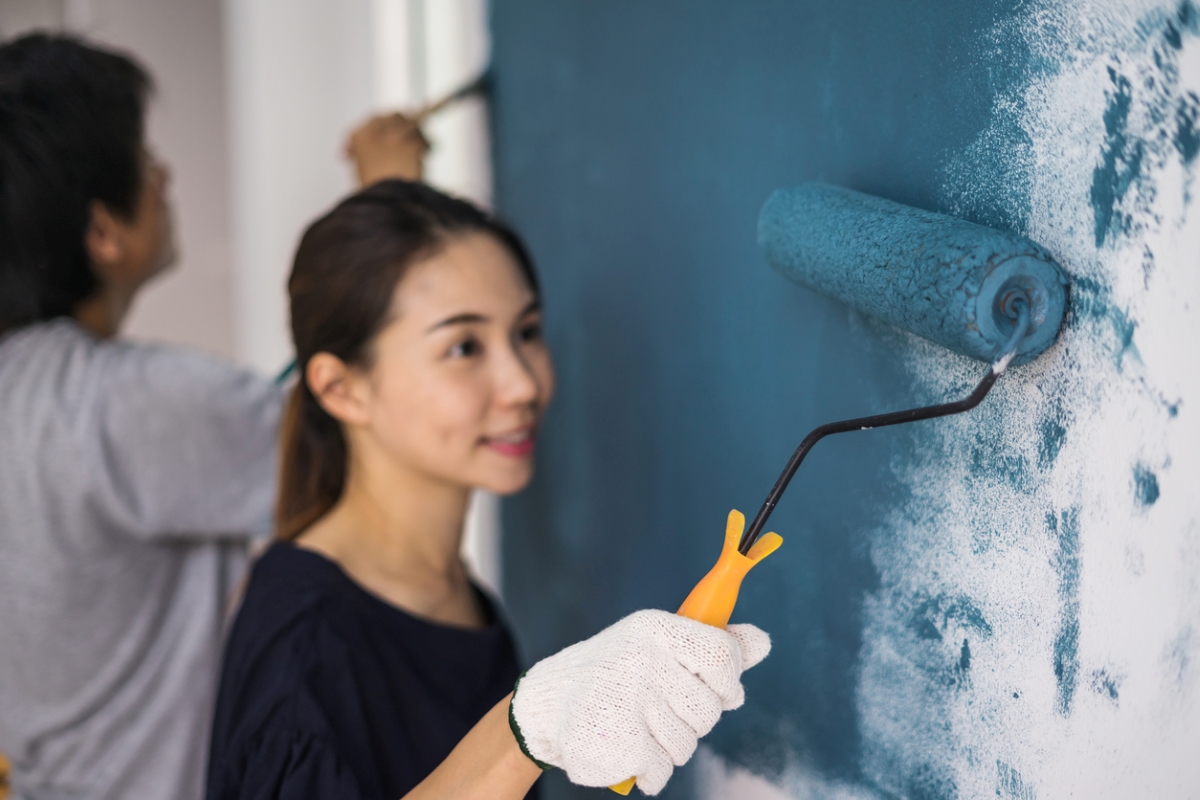
Step 7: Paint the walls.
If using painter’s tape, apply it along the edges of the walls.
- Then, use a clean brush to paint an edge of about 2 or 3 inches out from the corners of the room, around the windows and doors, at the baseboard, and below the ceiling.
- Next, use the roller and extension for wall painting. Experts recommend two coats of paint for any surface, as the first coat can shrink when dry, revealing voids that were not there when wet. A second coat ensures uniform coverage.
Pro tip: If you take a break during the project, don’t leave your brushes or rollers sitting in paint. Clean them. Latex paint can dry out quickly.
Cover paint trays with a damp rag if you need to walk away for a few minutes. If the paint has a plastic lid, snap it back on. If it has a metal lid, clean the rim, put a piece of newspaper or a rag over the top, and gently tap the lid closed with a hammer.
RELATED: How to Thin Latex Paint
Step 8: Remove painter’s tape.
After the paint on the ceiling and walls is dry to the touch, the painter’s tape can be removed. Carefully remove the painter’s tape, pulling it away at a 45-degree angle to avoid peeling off fresh paint.
If you wait too long after painting to remove tape, you’ll need to score the tape’s edge to make sure you don’t lift dry paint from the walls or ceiling.
RELATED: Solved! How Long Does it Take Paint to Dry?
Step 9: Paint the trim and woodwork (optional).
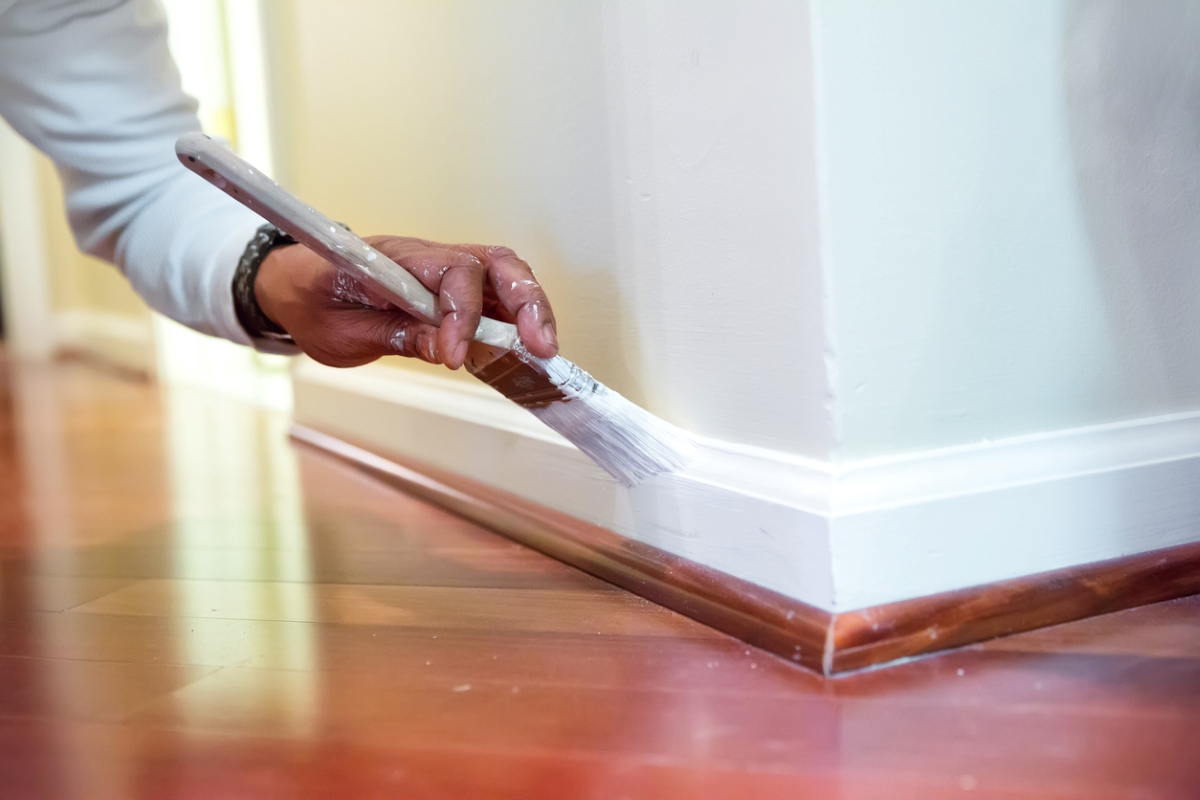
After the tape is removed and the walls are dry, the next step involves prepping for painting the trim, baseboards, or window/door frames.
- Select a high-quality paint that’s suitable for wood surfaces. Gloss and semi-gloss are typically used on trimwork. However, many enjoy a matte modern look, too.
- Pro painters cut-in trimwork, but beginners apply tape along the edges of the trim to more easily achieve a crisp look.
- Use a brush or small roller to apply an even coat of paint to the trim.
- Depending on the coverage, apply additional coats. Allow each coat to dry completely before proceeding to the next.
Step 10: Clean up.
If you’ve followed the above steps thoroughly and correctly, it’s time to tidy up so you can enjoy your beautifully painted room and showcase your newly refreshed space.
- Inspect your work for any missed spots or imperfections. Touch up as needed before the paint fully dries.
- If there is any paint remaining, take a permanent marker and note the name and blend of paint and the room in which it was used. Wipe the can edge and gutter of the paint clean and seal it.
- If you’ve used latex paint, clean all brushes and rollers with warm, soapy water and rinse them well.
- Oil-based paints require solvents for cleanup, followed by a wash with warm, soapy water and a good rinse.
- Allow brushes and rollers to dry naturally.
- When dry, wrap the brushes in paper or in their original plastic sleeve to preserve the shape and prevent bristles from curling.
- If your drop cloths are disposable, gather them up and discard them properly. If they’re reusable, shake them off outside, fold, and store them away.
- Vacuum the floor to capture any remaining dust or debris, then mop to ensure a clean surface.
Final Thoughts
And just like that, you’re now armed with the proper steps to paint like a pro and give your space the makeover it deserves. Keep in mind, to ensure a smooth and successful finish, you’ll need to prep your surfaces, tape off any areas you don’t want painted, and choose high-quality tools and paint. Roll up your sleeves and watch as you transform your space with a fresh coat of paint!
FAQs
Q: What’s the correct order to paint a room?
There’s a correct order to paint a room to ensure thorough coverage: Start with the ceiling, then the surrounding walls, and lastly the trimwork.
Q: How long does it take to paint a room?
The time it takes to paint a room depends on the size of the space and complexity of the surfaces. It typically ranges from 1 day to 2 or more days.
Q: How much does a professional paint job cost?
How much does it cost to paint a room? Rates vary depending on the size, prep, and complexity of the project. For most typical residences, expect to pay roughly $200 to $1,500 per room.