We may earn revenue from the products available on this page and participate in affiliate programs. Learn More ›
Composting is an affordable way to nab food for your plants while reducing waste in your home or apartment and in local landfills. But did you know that you can get the same benefits of an outdoor compost pile or bin—without sacrificing precious lawn or patio space—through indoor composting? Find out why indoor composting is such a desirable option for homeowners and renters, then continue reading to learn how to build and maintain a healthy indoor compost bin of your own.
Benefits of Indoor Composting
The biggest advantage of an indoor compost bin is that it thrives year-round at a temperature between 40 to 80 degrees, whereas outdoor compost bins and piles need to be shielded from direct sunlight or heavy rainfall and insulated when the temperature falls below 40 degrees Fahrenheit. Even when insulated, your outdoor compost output is hampered in winter since waste degrades more slowly in cold weather.
Indoor composting is also advantageous for small-space dwellers since you can store a compost bin in any dark and dry space indoors, such as the basement, a closet, an under-the-sink kitchen cabinet, or even out on a counter. Meanwhile, outdoor compost piles require three-by-three-by-three feet at a minimum—lawn space that an apartment renter may not have.
Indoor Composting Methods
The two main methods for composting indoors are aerobic composting and vermicomposting. Aerobic composting uses microbes from garden soil to convert kitchen waste and other organic material into compost, the decayed organic matter that can be used as homemade plant fertilizer. Vermicomposting uses worms and soil microbes to convert organic waste into vermicompost consisting of worm castings (manure) and decayed organic matter. Both compost and vermicompost are rich in nitrogen, phosphorus, and potassium, and both can be used to fortify garden soil. Of the two, vermicompost holds slight advantage, as it tends to help soil retain water and guard against soil pathogens more effectively than regular compost.
Recommended Bins for Indoor Composting
Your best bets for compost bins are lidded plastic storage containers, garbage cans (plastic or metal), or wooden crates (topped with a wooden board cut to fit the opening). Whichever style you choose, consider size carefully: The bin should comfortably fit inside the space where you intend to store it and yet be large enough to house more than the weekly volume of food scraps you plan to compost. Generally, 18-gallon containers are a good size for households with two to four members, while smaller households with minimal food waste can get by with 5- to 10-gallon containers.
Keep in mind that both aerobic composting and vermicomposting need oxygen for decomposition to occur and for soil microbes and worms to thrive. To enable adequate airflow in the compost bin, power-drill a grid of 25 to 36 quarter-inch air holes (evenly spaced apart) into the bottom and lid of your compost bin, then drill two horizontal rows of holes spaced one-and-a-half inches apart into each side of the bin. Place the bin upright on a plastic or rubber tray that is wider than your bin and has at least two-inch walls so that any liquid that accumulates at the bottom of the bin will drain out into the tray. Check back regularly so you can dump out the excess water that collects throughout the week.
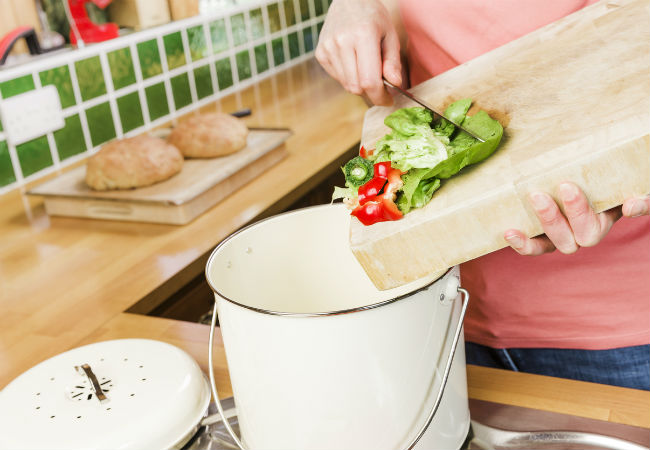
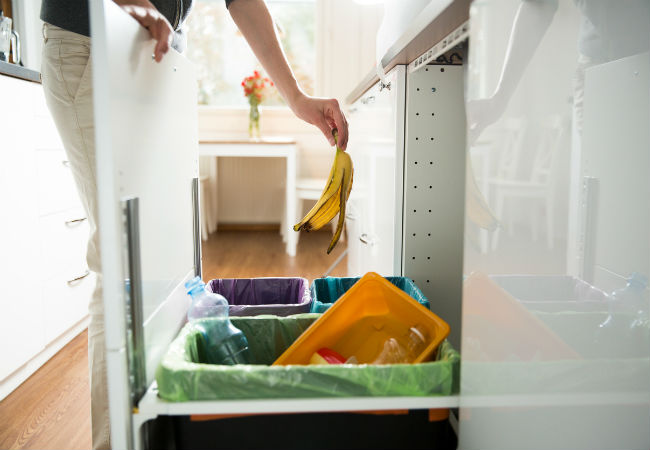
What to Put in a Compost Bin—and When
Altogether, your compost bin will contain a combination of three parts brown matter (carbon-based materials such as shredded newspaper, torn cardboard, and dead leaves) and one part green matter (the nitrogen-based materials you toss out, such as food waste and plant clippings). So, to start preparing your indoor composting collection, fill the empty bin of choice nearly three-quarters of the way with dampened brown matter. Gently hand-toss the damp bedding in the bin, then evenly sprinkle a cup of garden soil over it.
If you’re aerobic composting, use a trowel to bury the day’s compost-safe food scraps and other organic waste in the soil layer, and then replace the bin lid to let composting begin. Compost-safe materials include green matter such as raw fruits and vegetables (flesh and peels), houseplants, grass clippings, coffee grounds, and tea leaves, along with brown matter such as nut shells, pulverized egg shells, coffee filters, tea bags, dead leaves, small twigs, hay, straw, wood chips, cardboard, newspaper, and cotton rags. Never place cooked food, dairy products, meat, fish bones, or fat in your compost bin, as these substances produce odors that can lure pests.
If you’re vermicomposting, top the soil layer with one pound of red worms (Eisenia foetida or Lumbricus rubellus) for every 3.5 pounds of organic waste your household generates each week (worms can eat half their weight in waste each day). You can purchase red worms for around $30 to $40 per pound at garden centers. Steer clear of dew worms (which die off quickly) and invasive worm species such as the Alabama Jumper. Replace the lid of the compost bin until you’re ready to compost to prevent worms from escaping. Gather your scraps in a separate plastic container over the course of the week. Once a week, use a trowel to bury the scraps in the worm layer, then replace the bin lid to let composting begin. Scraps that are safe for aerobic composting are also safe for vermicomposting.
How Waste is Converted into Compost
During traditional aerobic composting, microorganisms in the soil layer use the available supply of nitrogen, carbon, and water in the compost bin to break down the kitchen waste and bedding and release nitrogen, phosphorus, and potassium, leaving behind a nutrient-rich compost. This process also requires a steady supply oxygen, which is why you’ll have to turn the contents of your bin with a compost fork once a week to aerate it. It can take two to four months or longer for the full contents of the bin to turn into a soil-like compost. At this point, you can remove and use the finished compost, then add new bedding, soil, and food scraps to the empty compost bin to resume composting.
During vermicomposting, worms swallow the waste and bedding in the compost bin, absorb the nutrients, then excrete the worm castings and partially decomposed material that make up vermicompost. You never have to manually turn the compost since the worms naturally aerate the compost as they tunnel through it. In roughly three to four months, vermicompost should replace all the original bedding and waste in your compost bin. You can push this compost to one side of the bin with a shovel and then add new bedding and soil to the empty side. As you bury fresh kitchen waste into the new soil, the worms will move over to the side of the bin that needs to be composted.
The conversion of waste into compost through either aerobic composting or vermicomposting doesn’t produce odors other than a mild earthy scent. If you notice foul odors, check and remedy any of the following conditions:
• The moisture level in the bin could be too high. Resolve by adding more brown matter to increase dryness.
• There could be too much food in the bin. Don’t add any more waste until what is present is decomposed, then feed the bin less often),
• There could be a lack of oxygen. Add more holes to the bin, aerate the compost more frequently with a compost fork, or place a brick between the compost bin and tray to elevate the bin and improve airflow.

Tips for Successful Indoor Composting
Take these steps to maintain a healthy indoor compost bin.
• Don’t leave waste exposed to air in the compost bin—this will attract fruit flies. If you can’t bury the waste completely in soil or worm layer, cover the exposed scraps with additional soil or brown matter.
• Chop or tear all kitchen scraps prior to composting. Soil microbes and/or worms can break down smaller scraps more quickly, thus speeding up the decomposition process.
• Your compost bin should be roughly as moist as a wrung-out sponge at all times, so water the compost with a watering can as needed if the compost looks visibly dried out or the decomposition process appears to have stalled.
• Keep a watering can and a bag full of shredded newspaper or dead leaves in close proximity to the compost bin for quick refills of water or brown matter when the compost becomes too dry or too moist.
• If vermicomposting, pay attention to what your worms are not eating—this food will rot rather than decompose, so you’ll want to avoid composting it in the future.
• If you maintain a healthy vermicompost bin, you can expect worms to breed. If you’re left with more worms than you can feed, remove and share the extra worms with your friends and neighbors to use in their compost bins.
How to Use Your Indoor Composting
The compost or vermicompost derived from aerobic composting or vermicomposting can be used for a variety of indoor and outdoor applications.
• Sprinkle the compost directly over grass as a lawn conditioner.
• Combine one potting soil with two parts compost to create nutrient-rich soil for a raised garden bed.
• Spread the compost over potting soil as mulch for indoor or outdoor planters.
• Collect any liquid that has drained into the tray below the compost bin and dilute it (ten parts water to one part compost liquid) to create a nourishing compost tea you can spray over plant leaves.
• When you begin a new composting cycle, throw a handful of finished compost from the previous batch over the soil layer in the bin for a boost of soil microbial action.