
We may earn revenue from the products available on this page and participate in affiliate programs. Learn More ›
A rain garden is an excavated depression surrounded on one or more sides by an earthen berm (a mound of earth) for water retention, and then filled with porous soil and rain garden plants that thrive solely on rainwater runoff. These brilliant beauties have been built in a broad effort to conserve water, add a natural element to the landscape, and reduce the runoff that infiltrates municipal drain-water systems.
The rainfall that hits a typical neighborhood’s roofs, patios, and driveways is diverted into storm sewers and wasted. By directing runoff from your roof gutters and drain spouts, as well as paved areas, into an earth basin, you can grow a gorgeous garden that’s also an oasis for songbirds, turtles, and a host of other creatures right after a rain. Find out how here, and you’ll never lament a rainy day again.
Benefits of a Rain Garden
Research shows that in recent years, rain gardens have become a go-to solution for stormwater management in urban spaces due to their numerous (and science-backed) benefits for both the environment and for homeowners. Some of the key benefits of building a rain garden include:
- Reduced runoff: Rain gardens help manage and control stormwater runoff. They are designed to capture and absorb rainwater from roofs, driveways, and other surfaces, reducing the burden on stormwater systems and preventing flooding and erosion.
- Improved water quality: The plants in a rain garden act as natural filters, removing pollutants and contaminants from rainwater as it infiltrates the ground. This helps improve the quality of water that reaches streams, rivers, and other water bodies.
- Increased biodiversity: Rain gardens provide habitat for a variety of organisms, including birds, butterflies, and bees. Native plants in rain gardens attract pollinators and support biodiversity.
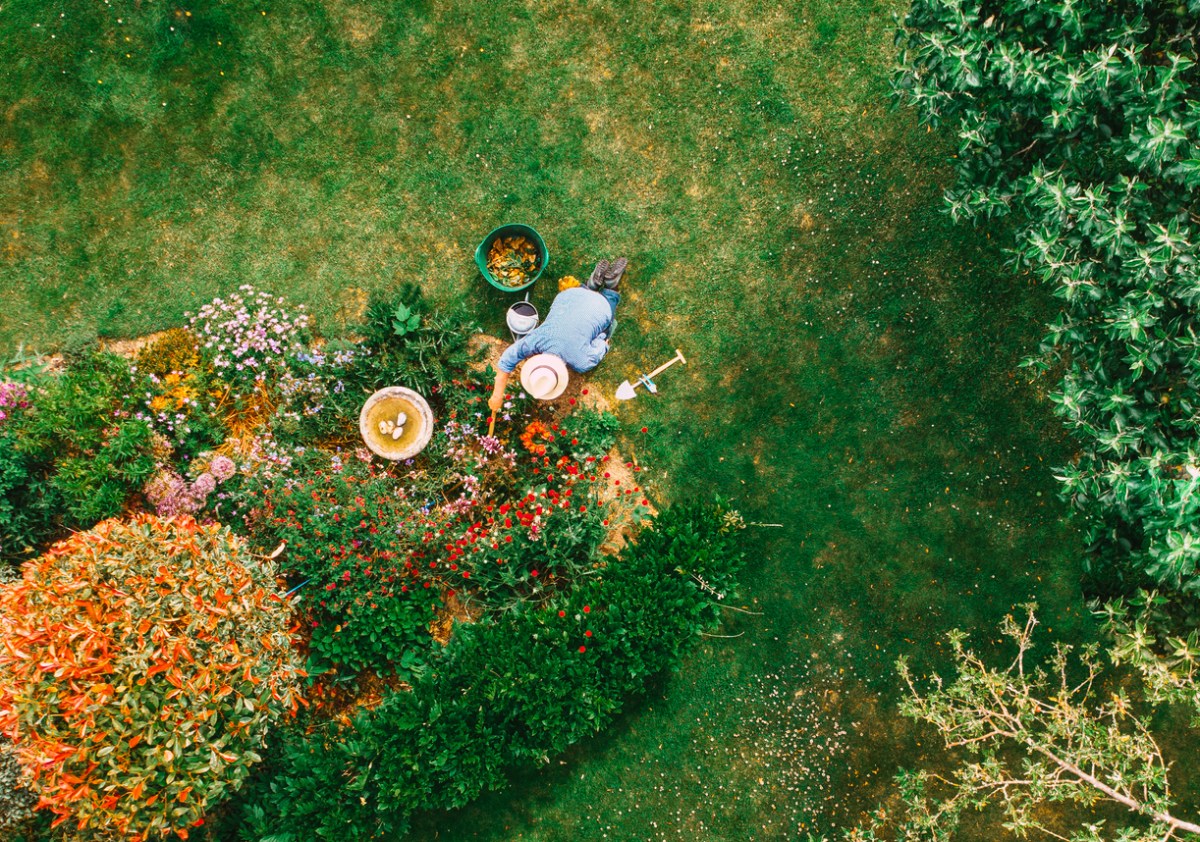
- Aesthetics: Rain gardens can enhance the visual appeal of a landscape. They can be designed with a variety of native plants, flowers, and grasses, adding beauty and interest to an outdoor space.
- Erosion control: By capturing and slowing down stormwater runoff, rain gardens help prevent soil erosion. The roots of plants in rain gardens also help stabilize the soil, reducing the risk of erosion.
What to Do Before Building a Rain Garden
To build a functional, properly working rain garden, you’ll want to consider several factors to ensure its effectiveness and longevity.
1. Find the right location.
Rain gardens are naturally suited to the lower areas in a yard. To find the perfect spot, the next time it rains, go outside and watch the way the water travels. Does most of the runoff come from the home’s downspouts? Where does it go from there? How much runs off the driveway and yard?
Logically, the best spot to locate a rain garden is in a natural drainage path, but depending on the contour of the yard, this might not be possible. The answer is to then divert runoff to the rain garden via swales (shallow grassy trenches that serve as ditches to carry runoff) or buried pipes that transport runoff from downspouts or other areas to the rain garden.
2. Test the soil.
The soil in a rain garden should have good infiltration capabilities to allow rainwater to trickle into the ground. Conduct a soil test to determine its composition and infiltration rate. You can use a soil testing kit to test. Some parameters to consider are:
- pH level
- Texture (sand, silt, clay content)
- Soil drainage rate (amount of time it takes water to soak into the ground)
3. Test soil drainage requirements.
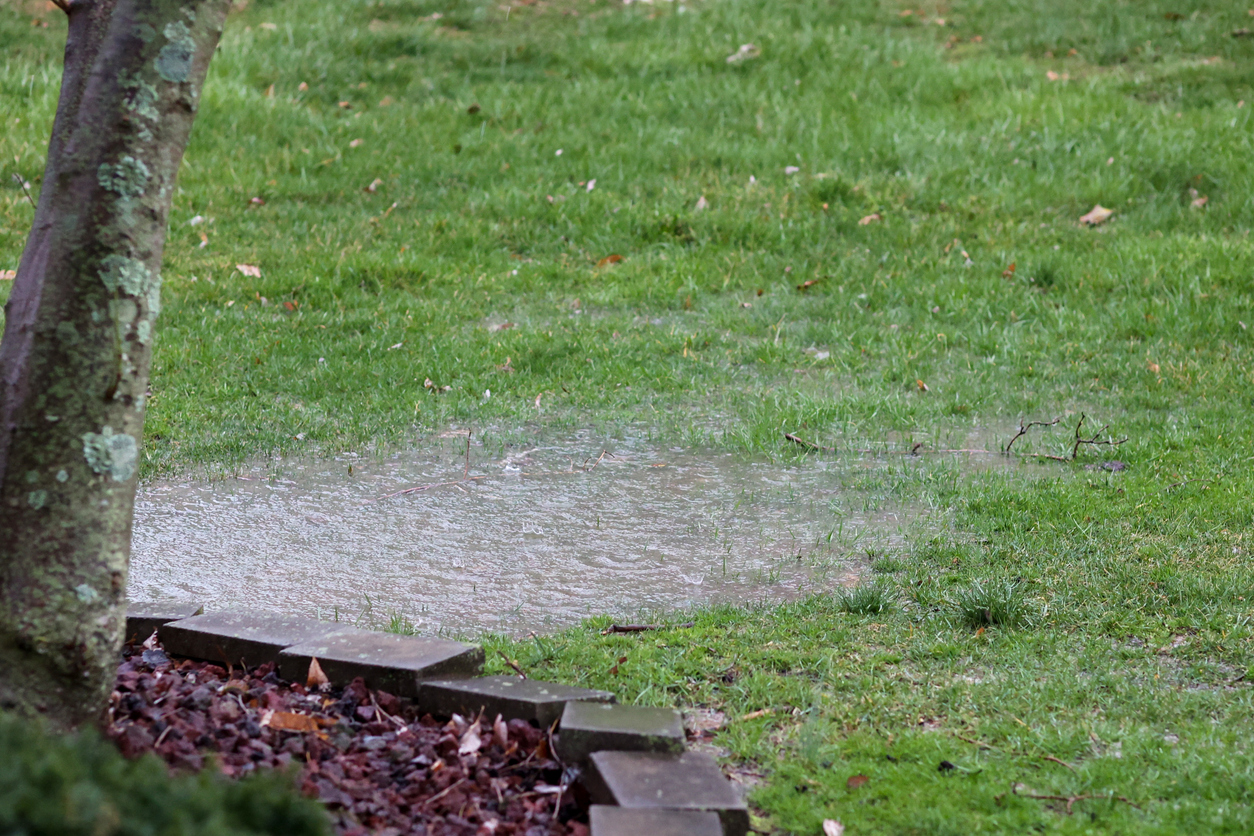
Immediately after a rain, a rain garden resembles a natural wetland but within a day or two, the water should recede as the ground beneath absorbs the excess. This absorption prevents long-standing water that might otherwise stagnate and lead to mosquito breeding. Rain gardens are suitable for most types of soil except heavy clay, which doesn’t offer adequate drainage.
To test soil’s drainage potential, dig a hole 1 foot deep and 1 foot in diameter. Fill it with water and, once it drains, fill it again. If the second filling drains completely within 24 hours or less, the soil will make a fine host for a rain garden. Don’t despair if the spot proves unsuitable; soil content can vary within a yard, so test other areas.
4. Make a plan for the overflow.
A successful rain garden will have an inlet where runoff flows into the basin and an overflow outlet that allows excess water to escape. The outlet, which can be a pipe, or even a notch dug out of the side of the berm, will ensure that the plants are not subjected to flooding.
5. Plan its size and contours carefully.
Because every yard is different—some being relatively flat while others slope steeply—no two rain gardens will be the same size or shape. The contour of a rain garden is up to the builder, but give some consideration to how the finished rain garden will fit into the landscape. Think of the landscape as an artist’s canvas: A large rain garden can visually overwhelm a tiny yard, while a tiny one might seem like an afterthought in a large expanse. Those who are creative and have enough yard space can even install a series of rain gardens so overflowing water from one basin fills the next basin.
6. Pick plants that can tolerate both drought and occasional flooding.
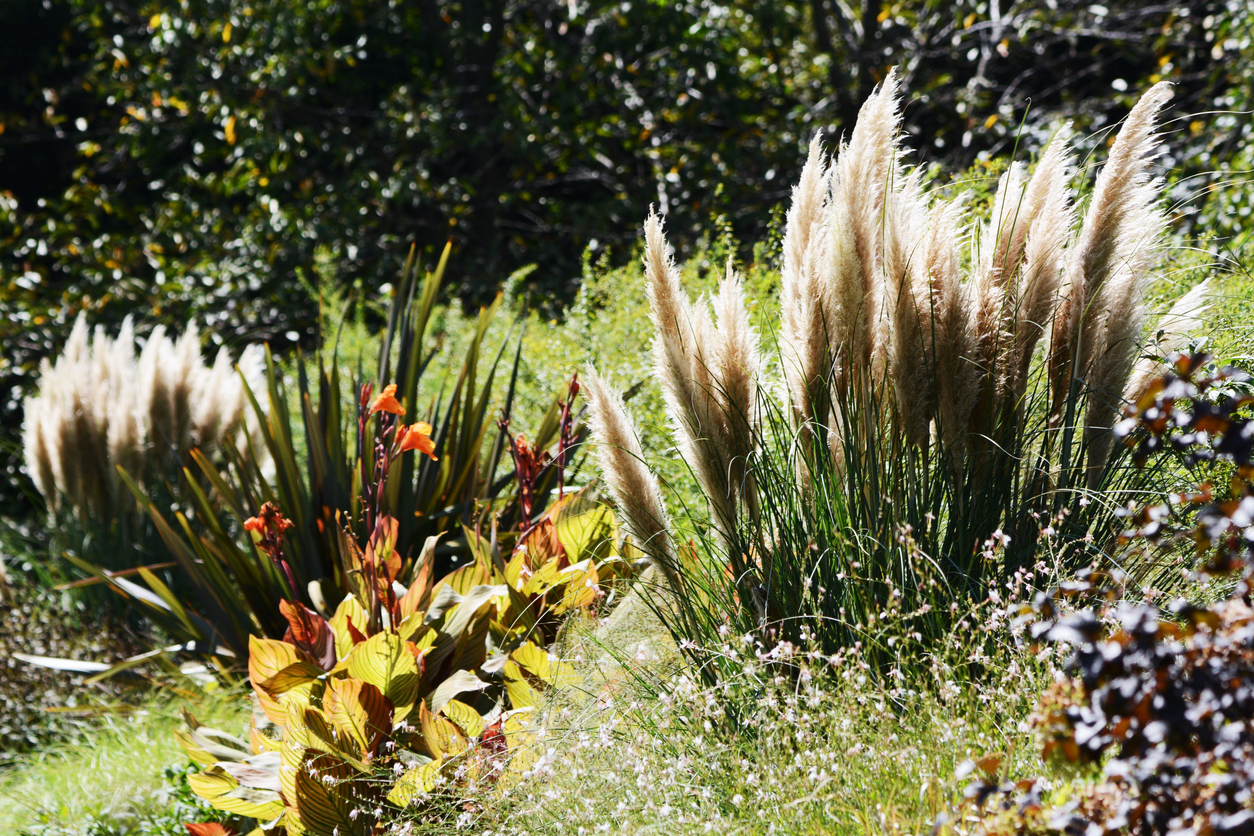
The best plants for a rain garden are those that grow well in your area (such as native plants) and can tolerate drought, as well as occasional flooding conditions. It’s better to fill rain gardens with growing plants that can help control water, rather than seeds that can wash away if a heavy rain runs through the spot before seeds have a chance to sprout and establish root systems. Think of plants found alongside rivers and seasonal creek beds in the area.
Good choices include, but are not limited to, ornamental grasses, berries, and cattails. Arrange the plants so the ones most tolerant of standing water are in the lowest areas of the rain garden. It’s a good idea to put taller plants toward the back where they will not block the view of smaller plants. Feel free to place large stones, petrified logs, and other natural elements in a rain garden to give it a woodsy look.
How to Build a Rain Garden
Once you’ve found just the right soggy spot for your rain garden and the perfect plants to drink up the excess water, it’s time to get digging. Here’s how to bring a rain garden project to fruition:
- Call Dig Safe (811). This free service is provided by local utility companies to mark the location of buried lines in your lawn.
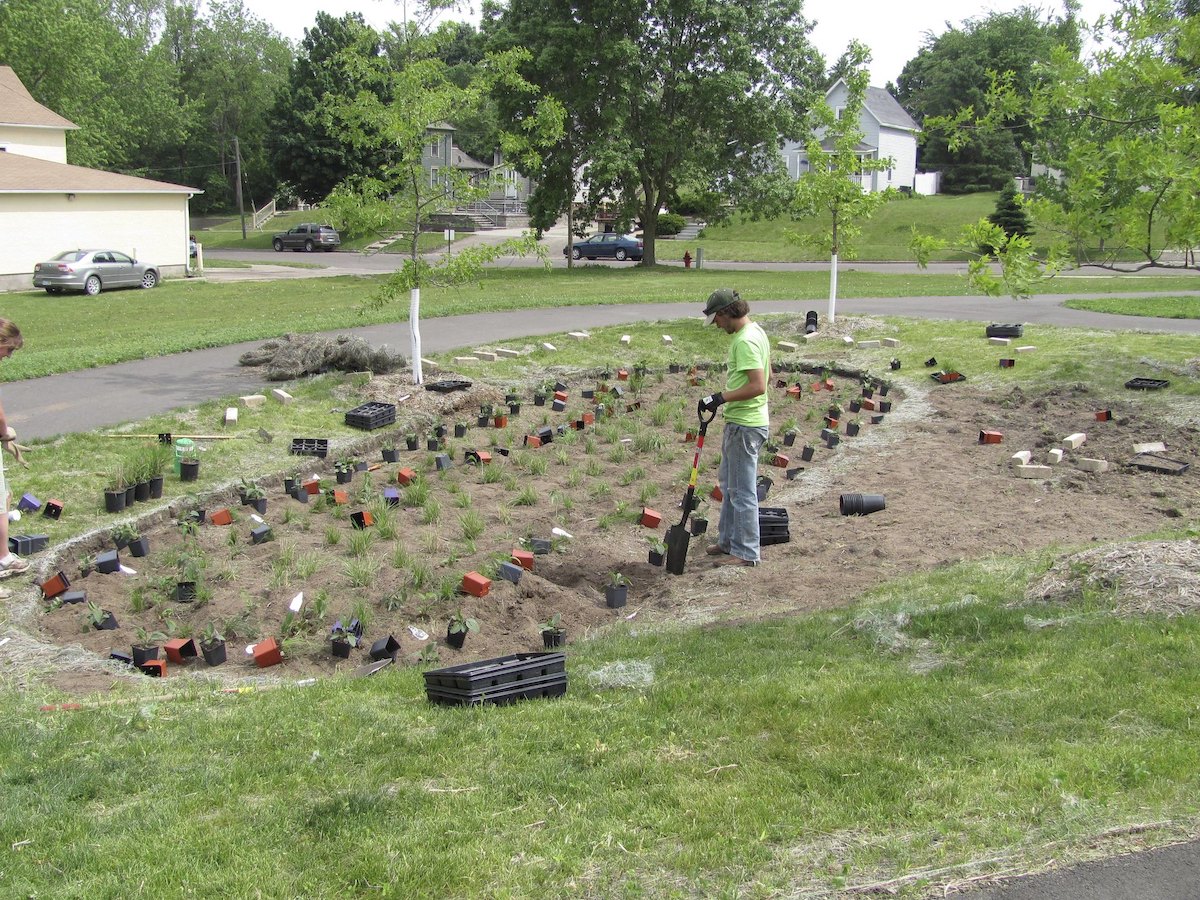
- Excavate the rain garden basin and drainage system. Use a skid steer (rented from a construction rental store) or a garden shovel to dig the rain garden basin and create the drainage system that will direct water to the basin.
- Consider ditches or swales. Depending on your design, incorporate ditches to conceal buried pipes or simple swales to divert runoff to the rain garden.
- Form berms around the basin. Use excavated soil to create berms around the rain garden basin, if needed. These berms help retain water on the low edges.
- Position the inlet and overflow outlet. Ensure proper placement of the inlet and overflow outlet to manage the water flow effectively.
- Fill the basin with amended soil. Add amended soil to fill the rain garden basin. This can be either premixed “rain garden soil” available in some regions or a DIY mixture that combines 50 percent sand, 25 percent compost, and 25 percent topsoil.
- Add plants. Plant the chosen vegetation in the rain garden, considering their suitability for the local climate and ability to tolerate both wet and dry conditions.
- Apply shredded hardwood mulch. Spread a couple of inches of good shredded hardwood mulch over the soil surface. This helps discourage weed growth and retains moisture during dry periods. Hardwood mulch is less likely to float away than is softwood mulch.
- Water the new plants. During the first year, provide regular watering to the newly planted vegetation to assist in root system development.