
We may earn revenue from the products available on this page and participate in affiliate programs. Learn More ›
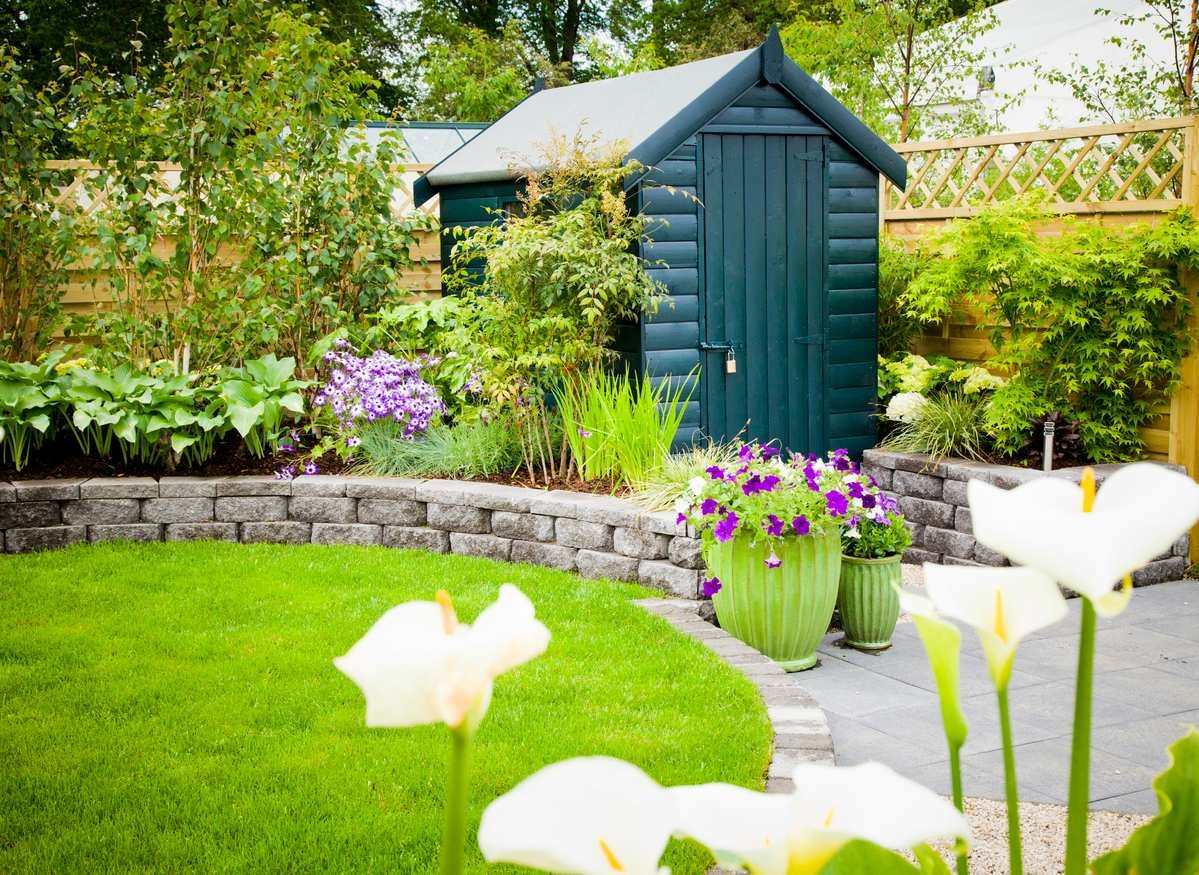
A shed can be a great place to store yard tools and equipment, or it can serve as a useful area for completing projects like woodworking or fixing up a car. But a shed is only as useful as its construction. Poorly designed or constructed sheds will quickly succumb to the elements, leaving you with little more than a collapsed pile of debris. Quality should always be the focus of any project, and this goes for the shed foundation, too.
Sheds that lack a foundation of any kind can quickly become unlevel and exposed flooring can absorb moisture, creating mold and mildew issues that will damage the structural integrity of the building. However, having just any foundation won’t necessarily address all of these issues. A good shed needs a strong foundation, and following these tips can help you in building a shed foundation that will last for years.
1. Choose the best location.
Before selecting materials or planning the exciting parts of the shed’s design, you need to choose a location. Begin this selection process by verifying the zoning laws in your area. Depending on the city or town, zoning laws might dictate where in the yard homeowners can build a shed, size restrictions on the shed, and what type of materials you can use.
With the local regulations in hand, take a look at the landscape of the yard and decide the best place to begin building a shed foundation. Avoid areas too close to trees, since growing roots can quickly displace or grow through a foundation. If the shed will have electricity or water running to it, plot out the best paths for these utilities and select an area that will be easy to access.
In general, the site for the shed foundation should have about a 2-foot clearance around the perimeter, easy access to required utilities, and no overhanging branches or nearby tree roots. Beyond these considerations, take into account current locations of, or space required for, permanent fire pits, furniture, the kids’ swing set or jungle gym, as well as the overall layout of the yard.
2. Select either an on-grade or frost-proof foundation.
Shed foundations tend to fall into two different categories: on-grade and frost-proof choices.
Foundations categorized as on-grade sit directly on the ground and are the quicker of the two foundation types to construct. This is because they often are made of lumber or concrete blocks that do not require digging deep holes or pouring concrete footings. On-grade foundations tend to be cheaper to build, but can be used only with small- to medium-sized sheds.
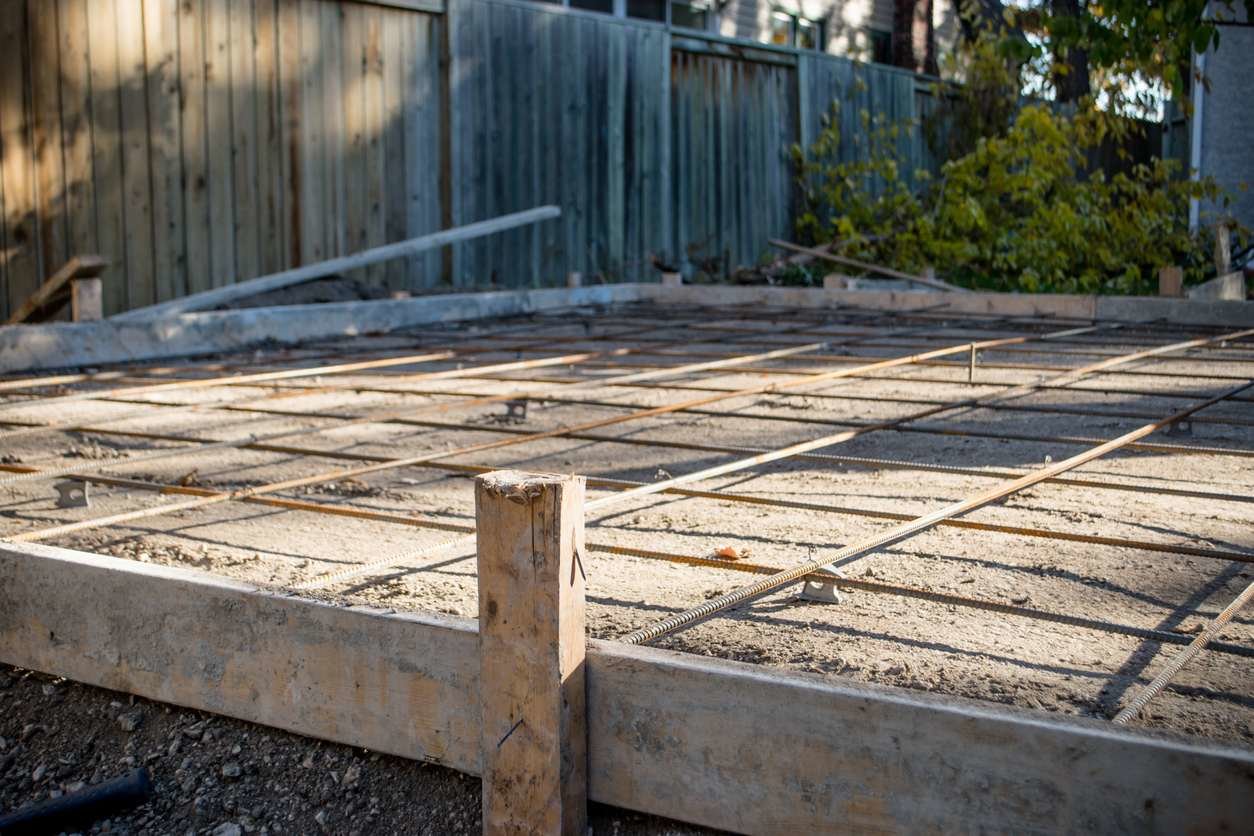
Frost-proof shed foundations support more weight than the on-grade foundations and are considered permanent. This is because their construction requires digging below the frost line to pour concrete and install support piers to prevent the structure from shifting during seasonal temperature changes. Frost-proof foundations are considered the better foundation of the two types, but will cost more and might be unnecessary if your shed is of average or small size.
3. Size matters when considering shed foundation material.
Constructing a shed foundation is a great task for those warm, summer months, but is one project that you won’t want to undertake without a plan. The type of foundation and the material used relate to the size of the shed and the weight of the items you will store inside.
- Small- to medium-sized sheds, up to 160 square feet, can rest on an on-grade foundation. The types of foundation for these sheds can include a gravel pad, paving blocks and lumber, solid concrete blocks and lumber, or deck blocks and lumber.
- Larger sheds, more than one story high or greater than 160 square feet, should avoid the on-grade foundation style for support. These sheds’ larger size and greater weight require a deeper foundation that can support a bigger structure without shifting or cracking. The foundation types for these sheds include concrete piers and lumber, or a concrete slab.
4. Select the best materials for your shed foundation.
While the basic materials required for a shed foundation are determined by the size and weight of the structure, the location in the yard, and the climate, the best materials for any shed’s strong foundation are a combination of concrete piers and lumber. This design is normally made up of seven or more concrete piers that are made by digging 4 feet down and pouring concrete into a mold placed in the hole. A lumber frame sits on top of these piers, spreading out the weight of the shed.
Although this type of shed foundation is more costly and isn’t necessary for smaller sheds, concrete piers and lumber provide a permanent, frost-proof foundation. The foundation will be resistant to temperature shifts, can support storing heavy equipment or cars, and is ideal for most types of soil and terrain. While the concrete slab style of shed foundation is also a great choice, concrete slabs are prone to move and crack from seasonal changes in temperature.
If money is no object and you don’t mind spending a bit more time on this project, the concrete pier and lumber method will provide the most solid foundation for any shed.
5. Make sure it is level; then check it again.
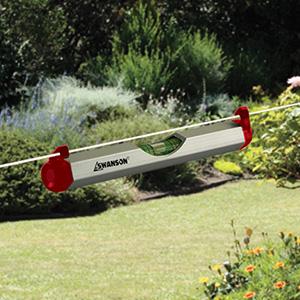
Building a shed foundation can take a long time and it can be difficult to make sure that the foundation is level all throughout the project, but a few simple tricks can help. First, mark off the shed’s perimeter with wooden stakes and string, using a line level (available on Amazon) to level the string. This string will remain throughout the project as a level guideline. Second, keep a flat, even patio stone handy that you can lay on top of gravel or soil to act as a flat surface for a level (also available on Amazon). The third tip is to have on-hand a piece of wood that is not warped, about 6 feet long, that can help you flatten piles of dirt and gravel until they are level. It’s easy to check this piece of wood with a level at any point along the foundation. Beyond these tips, be sure to use your levels frequently.