
We may earn revenue from the products available on this page and participate in affiliate programs. Learn More ›
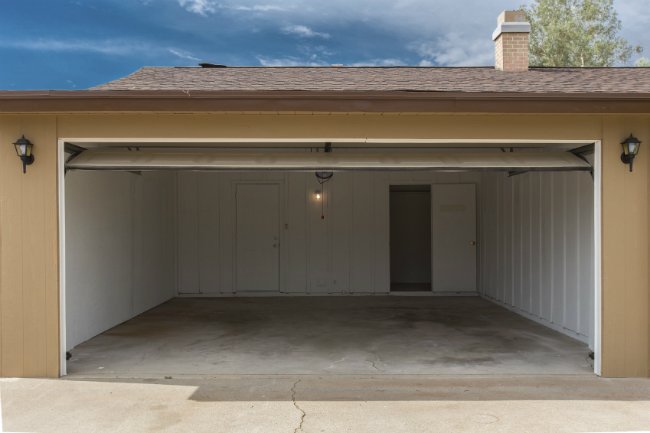
As one of the strongest, most durable, and longest-lasting construction materials, it’s no wonder why concrete is the most popular flooring choice for garages across the country. Still, despite its ability to hold up under adverse weather conditions and even the heaviest vehicles, all of that constant tire and foot traffic does take a toll over time. Gradually, the heavy use detracts from the garage floor’s appearance—and, worse yet, causes the sort of vulnerabilities that can jeopardize the structural integrity of the slab. Fortunately, there’s an easy fix for any worn-out garage floor. Keep reading, and you can adequately equip yourself with the right products and tools for rescuing your flooring from old age.

Wash Away Years of Wear
Ground-in dirt and oil stains build up in the garage can mask an otherwise perfectly good floor. In these cases, a little elbow grease and some common cleansers may go a long way towards revitalizing the concrete’s overall appearance.
First, remove stubborn oil and grease stains. Fresh spills can be soaked up with granulated cat litter and swept up with a stiff brush. Older stains respond well to a good scrubbing with a number of household remedies: paste made from either powdered laundry detergent or baking soda and water; grease-cutting dish detergents; hydrogen peroxide; or full-strength bleach. Rust stains and excessive smears of dried mortar and grout will require a more powerful solvent called muriatic acid. Proceed with extreme caution if you work with this last solvent—protective clothing, plenty of ventilation, and careful dilution according to the manufacturer’s directions are all must-dos.
Once you’ve treated individual spots, you can use a pressure washer and biodegradable detergent (or even simply a stiff scrub brush, a bucket filled with warm soapy water, and elbow grease) to remove lingering mold, mildew, ground-in dirt, and paint drips from the entire surface. Mold, mildew, and algae stains as well as mortar or grout discoloration might require treatment with solvents, including TSP (trisodium phosphate). Then apply a clear, water-repellent concrete sealer over the newly-clean surface to help prevent future dirt, grease, and grime buildup.
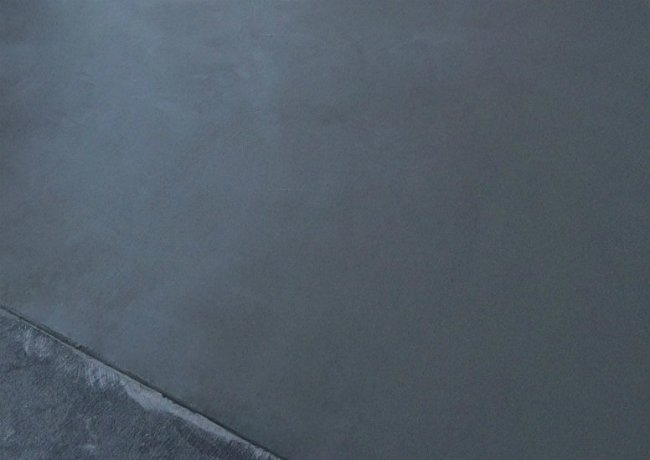
Start Fresh with a Resurfacing
Wear from vehicles, foot traffic, and the elements can turn into spider web–like “craze” cracking, flaking, or spalling, when the top layer of the concrete breaks off and exposes the patchy and pitted aggregate underneath. Luckily, any of these issues can be strictly cosmetic, as long as they are tended to soon after discovery. Ignore the early stages of spalling, however, and it could spread enough to compromise the integrity of the surface beyond repair.
A high-quality, professional resurfacing product like NewCrete Concrete Resurfacer from CTS Cement | Rapid Set addresses all of these imperfections in a single go. The cutting-edge product is self-curing, requiring no additional primers or products to finish the job after you coat your concrete floors. Best of all? Your garage won’t have to be “off-limits” for too long; Rapid Set NewCrete is ready for foot traffic after only two to three hours.
To apply, simply mix the product with water according to the ratio specified on the packaging, stirring for two or three minutes until it reaches a lump-free consistency. Like other resurfacers, NewCrete remains spreadable for about 30 minutes after a batch is mixed, so how much you prep—and the square footage you cover—at once will depend on how much you can do within that time. It’s best to work on one section at a time, especially if you’re resurfacing a large area. Wet the old concrete with clean water and make sure there is no standing water before applying the NewCrete mixture to prefill any minor cracks or holes. Once you’ve addressed these, spread the rest of your resurfacing product on in an even, thin layer up to 1/8-inch thick. Thanks to the product’s speedy curing, you’ll have a flawless finish that you can walk across as soon as 60 minutes after you complete the last section.

Level Out Any Low Points
Many garage floors see dips, depressions, or hollows caused by settling or by moisture intrusion. To reverse these imperfections before they cause deeper structural problems, you will need to smooth out the surface using a premium product such as Concrete Leveler. This easy-to-use material is designed to spread across uneven concrete, filling in low spots and creating a new, level surface in the process.
For best results, first prepare the surface of the existing concrete by applying Concrete Leveler Primer to prevent pinholes and bubbles in the leveling layer. Then, mix enough Concrete Leveler with water to cover the entire surface of the garage floor while filling in the depression. (At half-inch thickness, a 50-pound bag of Concrete Leveler will sufficiently cover 12 to 15 square feet. For a quarter-inch-thick application, the same size bag would cover between 24 and 30 square feet.) Apply the Concrete Leveler compound across the concrete surface, getting all the way into the corners and along the edges using a long-handled squeegee, and allow gravity to do the rest of the leveling. Within four hours, a smooth, level surface will have formed, strong enough to be walked upon; after 24 hours, you can even roll the car back in.
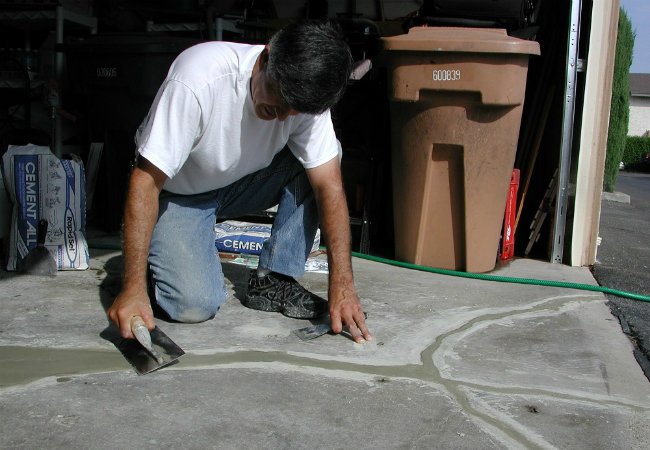
Fill In the Cracks
Sometimes even the most solid concrete floors can develop structural damages—crumbling, chipping, or deep cracks—as a result of something as simple as freezing and thawing in the changing seasons. To remedy these issues before they get worse, turn to a professional-grade product: Rapid Set Cement All. This high-quality, fast-setting material offers superior adhesion to pre-existing, damaged concrete, making minor concrete repairs an easy do-it-yourself project and eliminating the need for a full-on floor replacement.
Thoroughly clean the area to be repaired, removing any crumbling concrete. Saturate the surface, then mix the necessary amount of Cement All (ideally with a power-driven mechanical mixer) for one to three minutes until it’s reached a smooth, peanut-butter consistency. Apply the resulting compound to the damaged area, packing it to the desired level, and smooth the concrete with a trowel or broom. Once the surface loses it moist sheen, you can finish by water-curing for at least an hour.
Not only will you have restored your garage floor to its former glory with assistance from any of these CTS Cement | Rapid Set products, but you will have made it even better! When repairing structural damage with Cement All, you’re implementing an aid that rates as three times stronger than most concrete, ensuring that your garage floor will continue to stand up to traffic and weather for years to come.
This post has been brought to you by CTS Cement | Rapid Set. Its facts and opinions are those of BobVila.com.