We may earn revenue from the products available on this page and participate in affiliate programs. Learn More ›

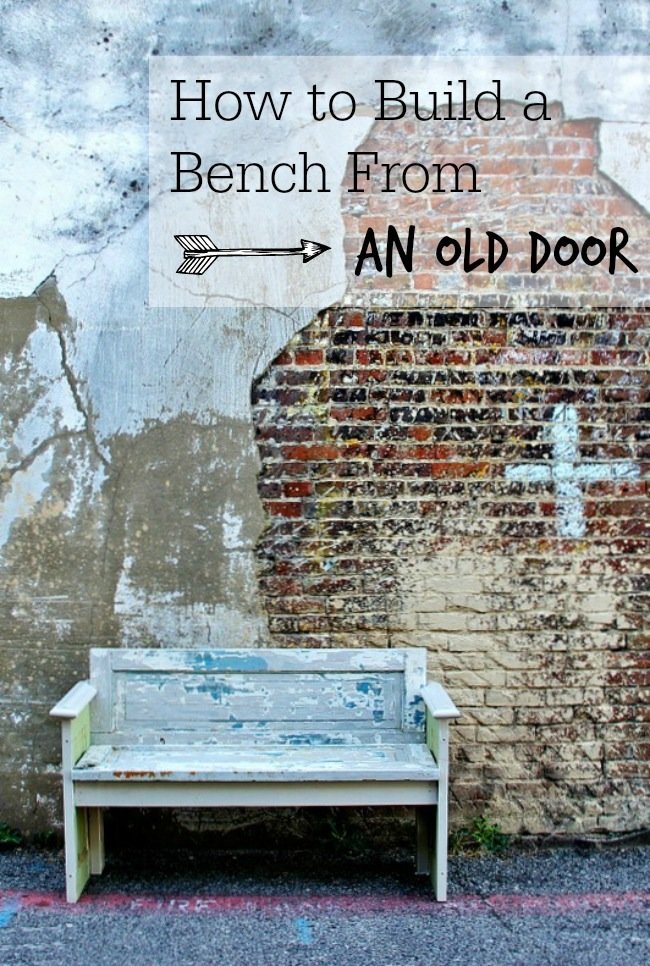
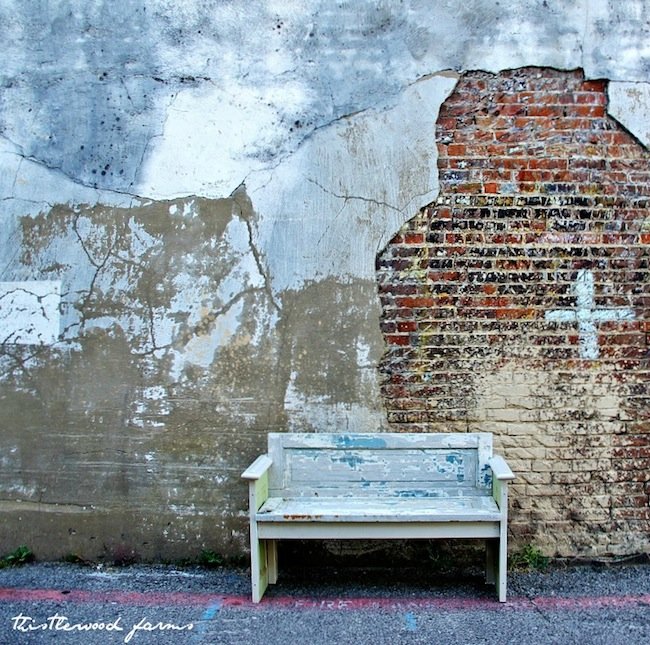
One of the enjoyable things about reading Thistlewood Farms is the playful way that KariAnne puts things. But when she wanted to feature her brother’s genius DIY bench made with a vintage door, she let the project speak for itself. The best part is that with little more than an old door and some 2 x 4 boards, you can recreate this project in your own home. Read on to see how it’s done.
MATERIALS & TOOLS
– Weathered door (panelled is best)
– Power saw
– Several 2 x 4s
– Power drill
– Screws
STEP 1
Cut the door in half horizontally so you are left with the two long panels intact and the two short panels intact. (If you have a proper door the cut will not be far from the “halfway point” but instead where the panels are divided.)
STEP 2
Cut the long panels in half vertically. I made the cut slightly off center, so the “longer” half would be used as the back and give it a little more height. The other piece I will call the “seat panel”.
STEP 3
Assemble a base using 2 x4’s. I cut two long pieces the length of the “seat panel.” And then made several “ribs” the width of the seat panel minus the 2×4 boards I cut for the width. The end result should be a rectangle with support pieces in the middle. Note: I made my box width smaller by 2 inches to allow the seat panel to overhang for a more comfortable seat.
STEP 4
Attach the 2×4 base to the seat panel using nails or screws. In my application I cut a piece of plywood to go underneath (between the door and the 2×4 box). It provides stability as well as keeping the panel from caving in.
STEP 5
Attach the back at to the base. On the placement, I tried to give as much height to the back as possible and still give myself enough room to put two rows of screws.
STEP 6
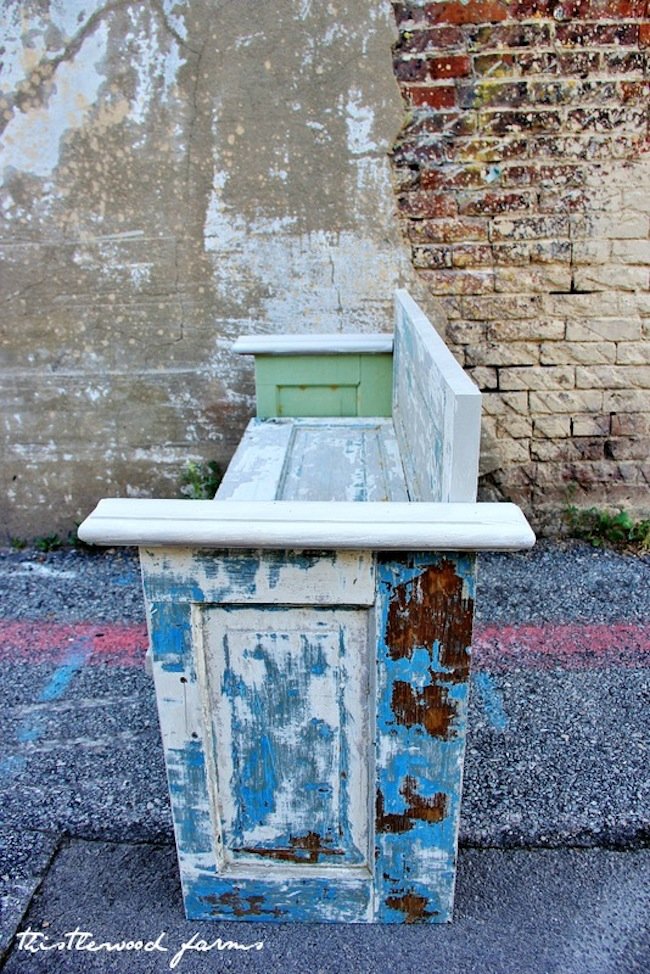
Time to make the sides. Cut the bottom door panels in half exactly.
STEP 7
Attached the cut bottom/side panels to the already constructed bench in line with the back. These can face either way you prefer, but make sure they match. I placed them so the thicker part of the panel faced back. Note: to get a good arm height you may need to cut some off of the bottom panels. For the arm rests I added pew tops from another project.
STEP 8
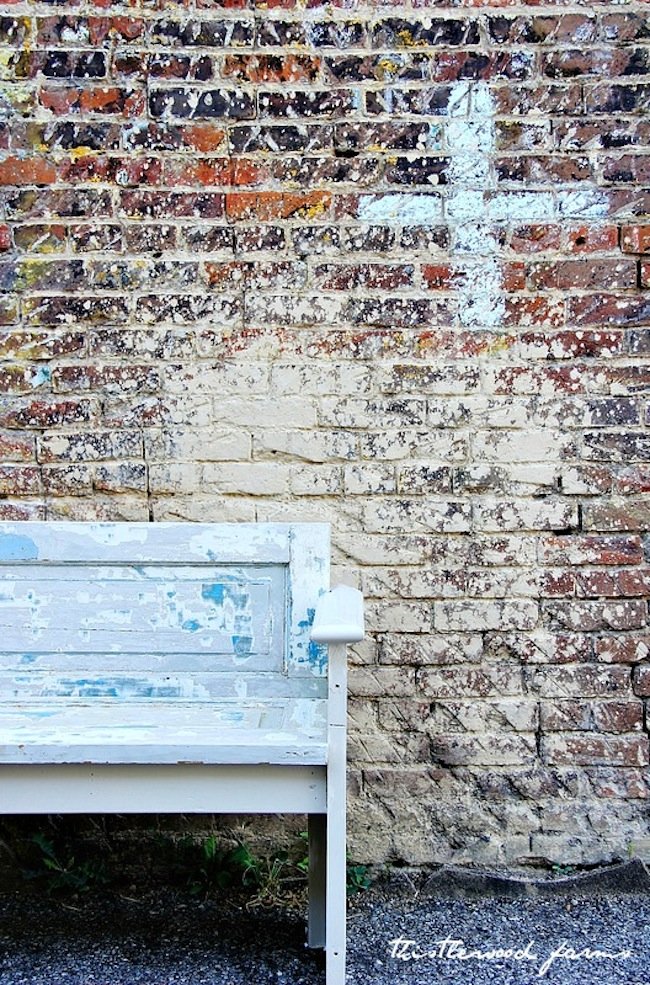
I added a small 2×4 leg for extra support. Other than that paint it and you are good.
Thanks, KariAnne! For more fun DIYs, check out Thistlewood Farms.