We may earn revenue from the products available on this page and participate in affiliate programs. Learn More ›

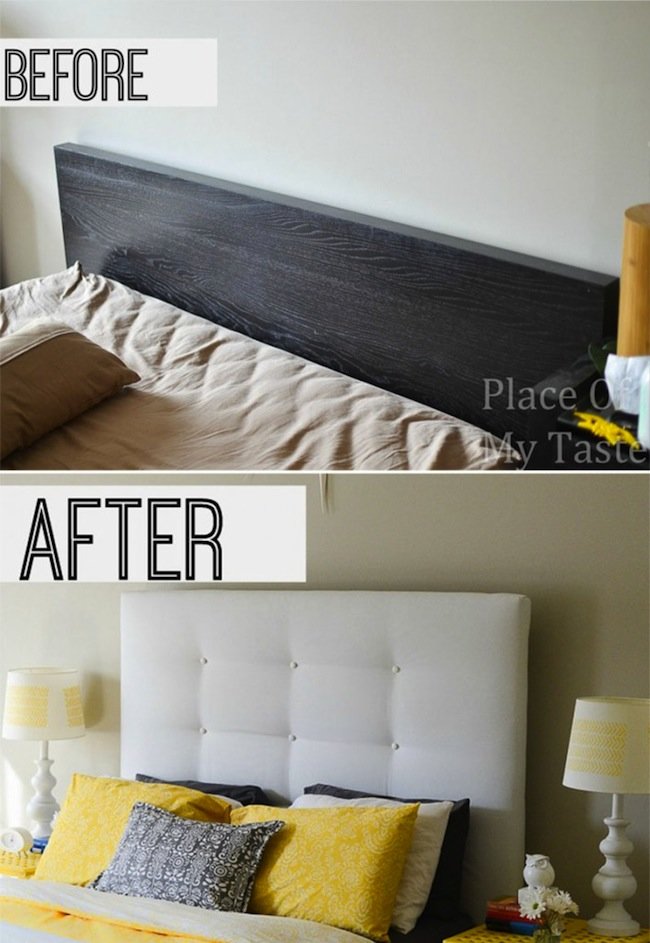
Who doesn’t love IKEA? It’s affordable, flat packs make it easy to transport, and a breeze to assemble (well, usually). But when your IKEA furniture’s charm no longer suits your style, Aniko at Place of My Taste proves that there’s no need to throw it out if you can reinvent it. And she definitely reinvented her IKEA furniture into a whole new DIY headboard that blew us away—completed in a few hours and for $28, no less. Take a look to see how she got from her IKEA before to her custom-made after.
MATERIALS
– IKEA shelving unit (or piece of plywood)
– (2) 2×4 wood pieces (4′ tall)
– Drill and screws
– Staple gun and staples
– Batting (2″ thick)
– Fabric
– Buttons
– Hot glue gun
STEP 1
First of all, we took apart our shelving unit.
STEP 2
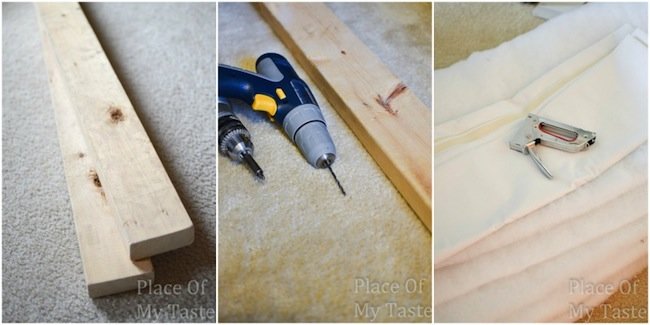
Using the drill, we screwed the 2 x 4 wood pieces onto the back of the bed. We put one piece of long wood on each side of the bed.
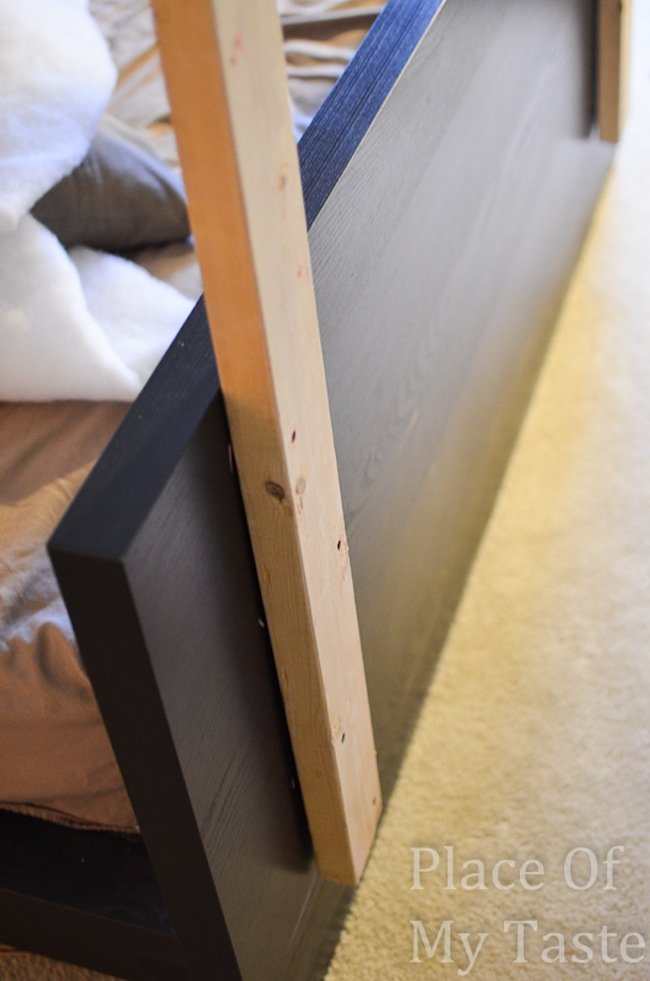
Eww—it doesn’t look very pretty, but this is the back of the bed and it won’t be visible.
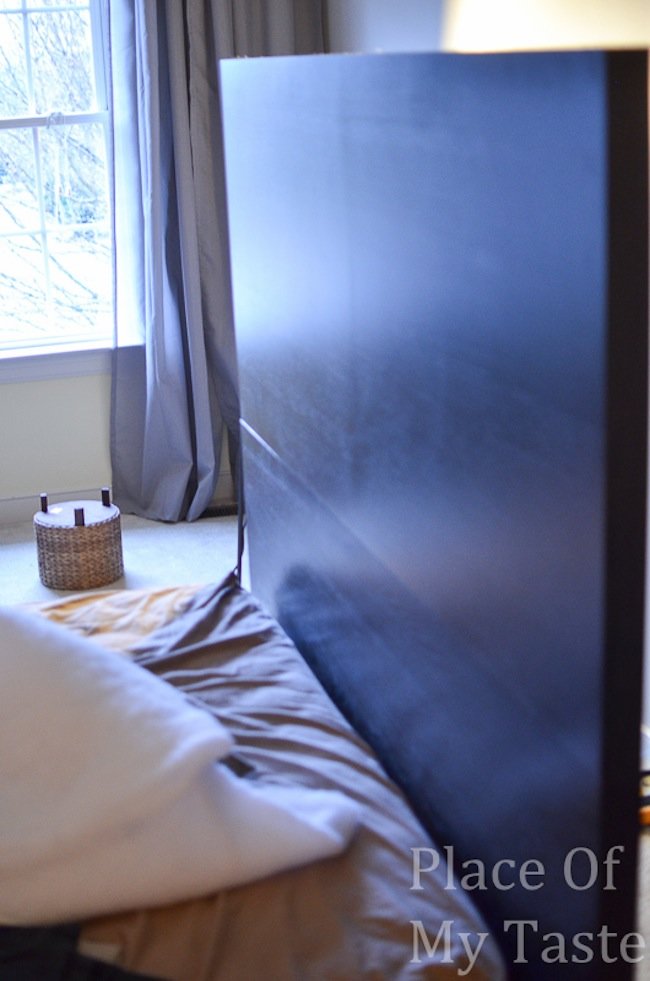
STEP 3
Then we lifted the bigger piece and attached it together with 6-8 screws on each side. This is how it looked after the two pieces were screwed together. Nice and tall.
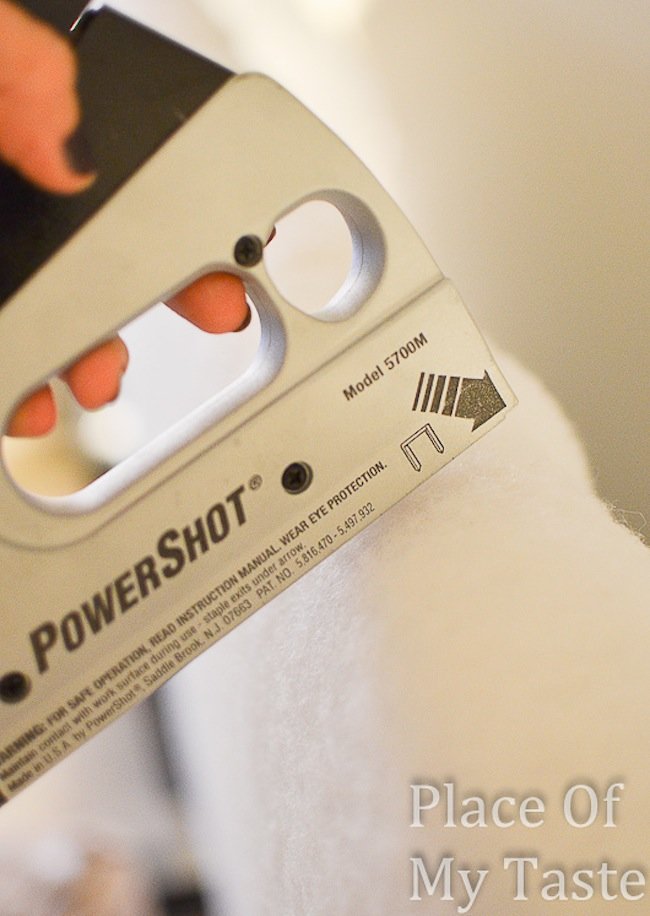
STEP 4
We wrapped the batting around the headboard, and stapled it to the back of the huge piece. If you would like to have nice and thick tufted headboard, double the batting. Make sure you pull the batting out completely straight on each side.
STEP 5
Once this step is done, you can add your fabric.
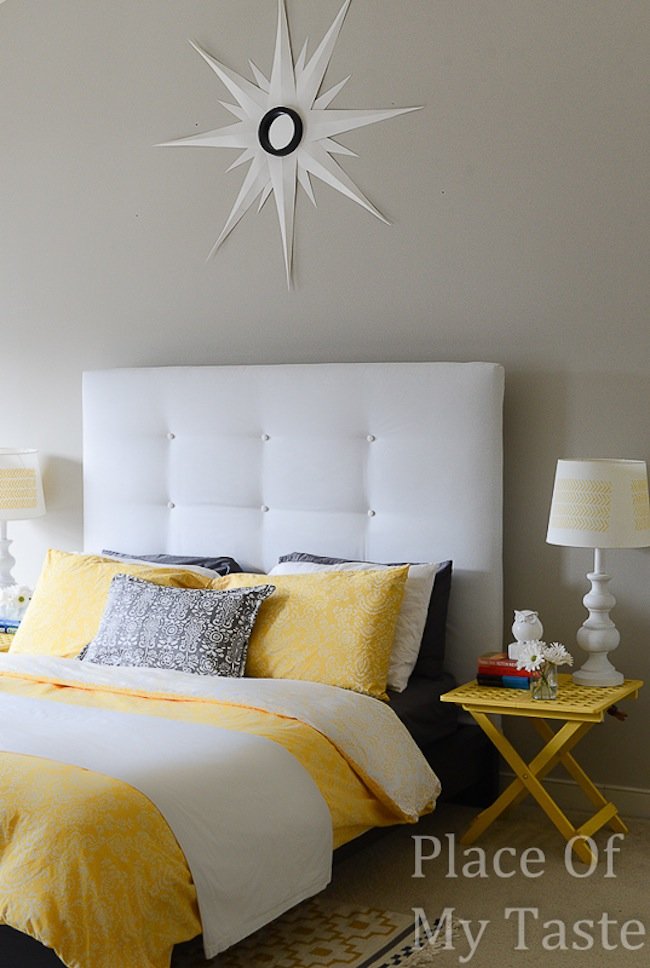
I chose white for my project. I am not sure what is with me and white lately, but lots of times I am leaning towards white when it comes to color choices…
The nice thing about this headboard is that if I ever want to change the look of it, I could take off the fabric and staple a new one on.
I wrapped the fabric over the batting , pulled the fabric out on each corner to make sure it is not wrinkled, and as a final step I stapled it to the back of the board.
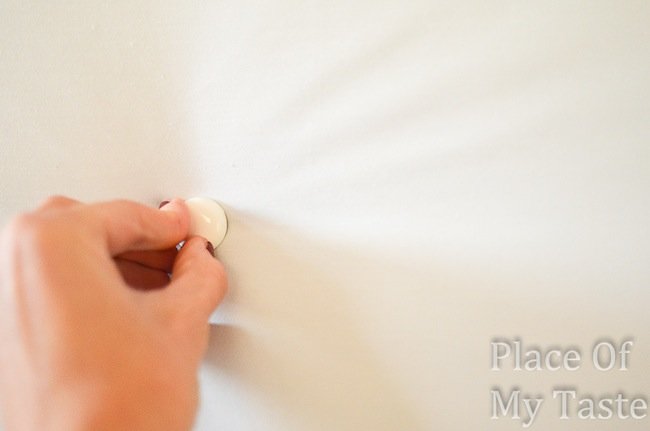
STEP 6
Using a tap measure, we measured nine spots for the buttons, counting equal distance from each side. Then using a staple gun, we stapled each spot where a button would go.
STEP 7
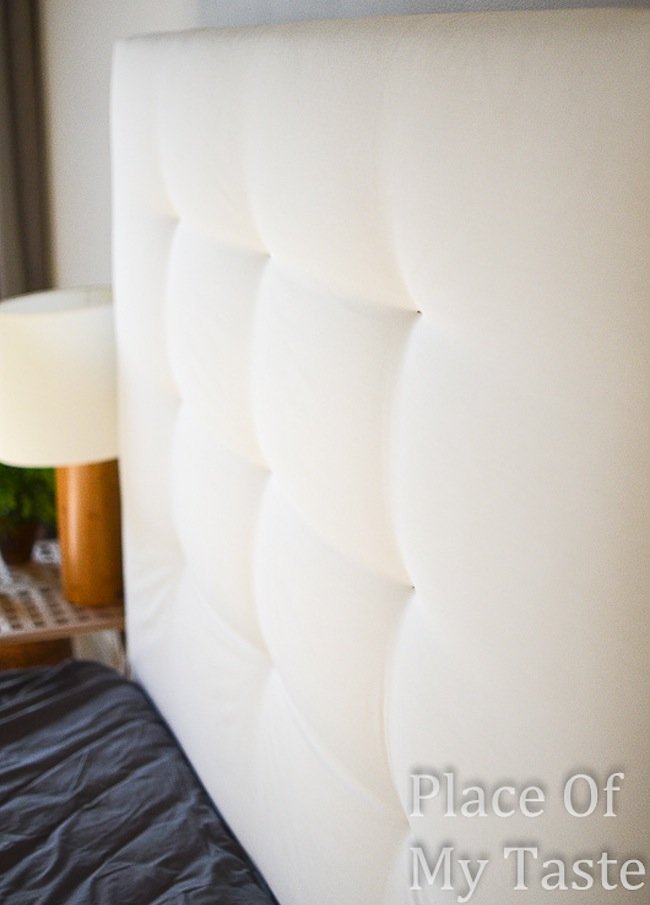
We glued each button to the headboard with a hot glue gun. I was hesitant to glue with a hot glue gun, but I was hoping to see the buttons stay on. They did!
I think it turned out just beautiful.
Thanks for sharing, Aniko! To see how she made the herringbone lampshade or sunburst mirror pictured here, or to see even more DIY inspiration, visit Place of My Taste.