
We may earn revenue from the products available on this page and participate in affiliate programs. Learn More ›
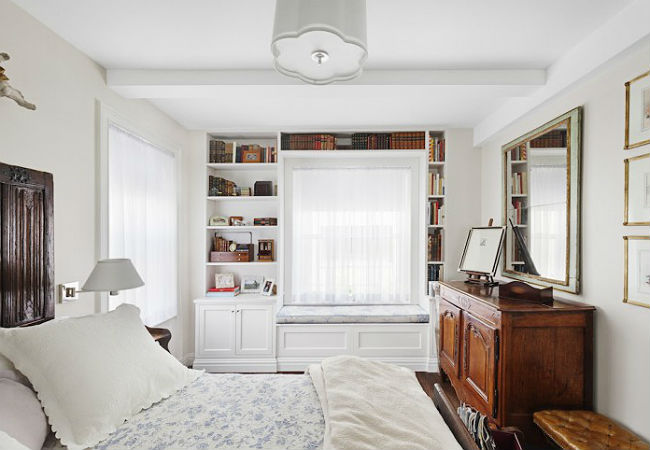
When it comes to coziness, nothing compares to a window seat. Nestled against the glass, bordered on both sides by narrow walls, and amply supplied with cushions and pillows, these benches offer comfort and relaxation while providing a view to the outside world. If the idea of curling up with a good book or a bite to eat in the warmth of a window seat has you longing to add one to your home, keep reading. We’ll let you know how to create a wonderful window seat—on just about any budget.
Whence the Window Seat?
The popularity of the window seat is nothing new. The first ones—small, ornate, backless sofas positioned in front of tall multi-paned windows—were all the rage among the elite during Britain’s Georgian era (1714 to 1830). They boasted tufted seats upholstered in luxurious fabrics often chosen to match the draperies of parlors and sitting rooms.
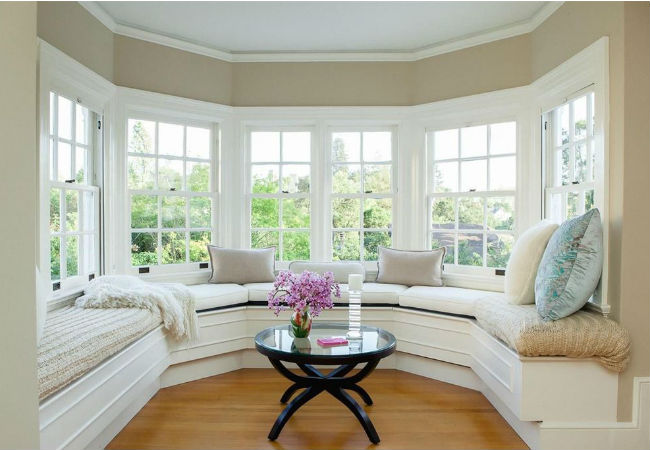
The timeless allure of a comfortable spot in front of a window isn’t limited to that British period—classical, contemporary, and even rustic American architectural styles all make use of window seats. Those built into homes today are perhaps even more appealing than their predecessors, because they’re often set into recessed alcoves, bringing a greater sense of privacy and security.
Design Details
When designing your window seat, incorporate details that make it feel warm and welcoming. The following design and décor suggestions
will help get the creative juices flowing.
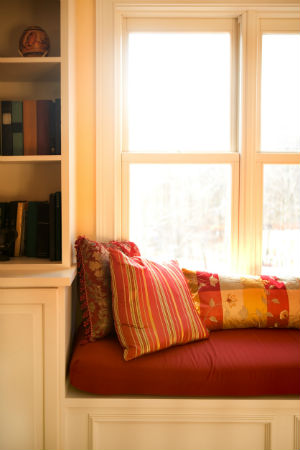
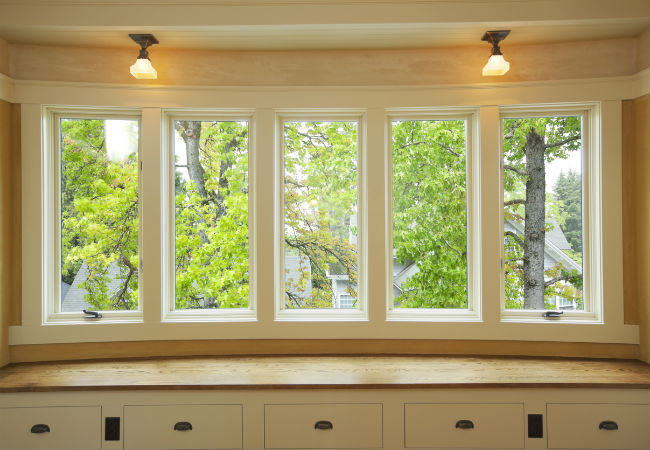
- Consider adding drawers or cubbies under the bench to stow books, toys, sewing, or other items. You can also sneak in storage with recessed shelving on the inside of alcove walls. It’s convenient to have things you’ll use while sitting there handy, but with storage at a premium in most homes, that area beneath a window seat shouldn’t go to waste.
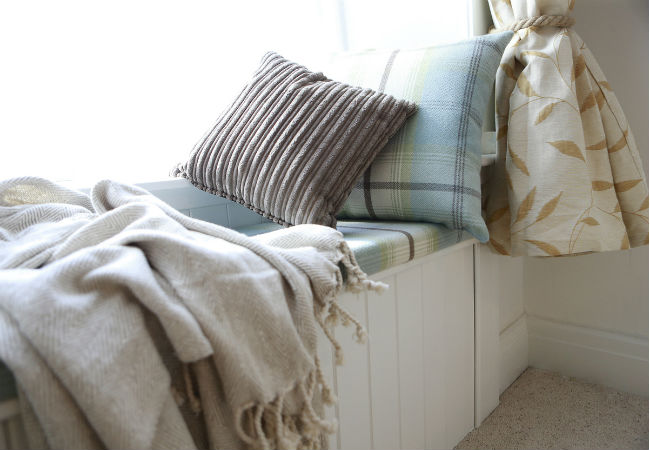
- Don’t skimp on the stuffing. A seat cushion should be a minimum of three inches thick, and you’ll want to add large pillows if you plan to sit sideways and lean back against one wall. Bolster rolls are great additions to the sides.
- Enhance the appeal of the window seat with a bulkhead—a dropped (lower) area of the ceiling. Bulkheads over window seats are often arched for a secluded feel, but they can also run straight across from one side of an alcove to the other.
- Trim a built-in window seat with molding that matches the rest of the room for cohesion—you don’t want the seat to look like an afterthought. Use the same baseboard around the bottom of the seat and paint or stain the wood to match. Matching the fabric of the window seat cushion to pillows or draperies also unifies the look.
- Install a deep windowsill. A sill that’s eight to 10 inches wide offers additional room for books, potted plants, or vases.
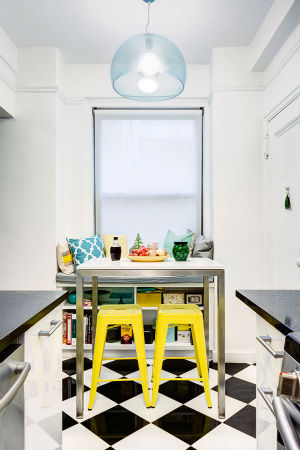
- Attach built-in benches along the window side of a breakfast nook to serve as informal seating for one side of your table.
- Install blinds or light-blocking curtains that can be closed during the hottest part of the day if you have a south-facing window.
- Fake a seat. Can’t manage a built-in alcove? Create the snug allure of a window seat with smart decorating techniques. Simply placing two tall objects, such as bookshelves, cabinets, or highboys on either side of a window, and positioning a bench or even a sturdy cedar chest in between, will bring the feel of a window seat to a room.
Cost Considerations
The price you’ll pay for a new window seat varies widely, based on size, material, and whether you build it yourself or hire a carpenter. A basic, professionally installed five-foot window seat in a recessed alcove will run you between $2,500 and $3,500 and get you a painted unit made from finish-grade plywood; expect to pay an additional $300 to $1,500 for stained hardwood. When you start adding custom features and intricate trim, such as built-in bookcases, electrical outlets, and reading lights, you could easily pay up to another $1,000.
Building the window seat yourself will save you a substantially. The simple five-foot window seat described above will run approximately $250 in materials for painted plywood and $500 to $1,000 for hardwood. Installing pre-made cabinets for the seat will save you some labor, but will add another $100 to $350, depending on the cost of the cabinet. Of course, if you rearrange tall furniture to create a faux alcove and use Aunt Mary’s cedar chest for the seat, you’ll only be out the cost of the cushion and pillows.
DIY Tips for Building Your Own Window Seats
If you’re someone with finish carpentry skills, you should be able to construct and trim out a DIY window seat you’ll be proud of as the room’s focal point. Window seats are usually scratch built from hardwood or plywood, but pre-made cabinet bases and benches can also get you a great look. Keep the following tips in mind to get off to a good start.
- The height of the bench should not exceed the bottom of the window. If it’s any higher, the bench will show through the window from outside. It could also create a safety issue if the person on the seat leans on the window. Ideally, the window should be a minimum of six inches above the bench.
- The most comfortable height for a window seat (with cushion on) is between 16 and 21 inches. Standard chair seat height is right around 19 inches from the floor, so you have a little leeway here when constructing the bench.
- Minimum seating width (one side of the bench to the other) should at least 32 inches, which will allow one person to sit and face forward. If you plan to sit sideways, with your back against one wall of the alcove, the seat should be at least 48 inches wide. Don’t be afraid to go wider, however, if you have the room. A window seat that is 60 inches wide or more will offer additional seating.
- The depth of the seat (front to back) should be at least 16 inches for comfortable forward-facing sitting. It can be deeper if space allows. At 39 inches deep, built-in daybeds serve as side-sitting window seats, and they can double as an extra bed for guests, but the extra depth makes forward-facing sitting difficult unless you add extra cushions to the back of the seat.
- Don’t skip the electrical outlets. You may want to recharge your smartphone or work on your laptop while enjoying your window seat. Most local building codes require electrical wiring to be done by a licensed electrician.