We may earn revenue from the products available on this page and participate in affiliate programs. Learn More ›
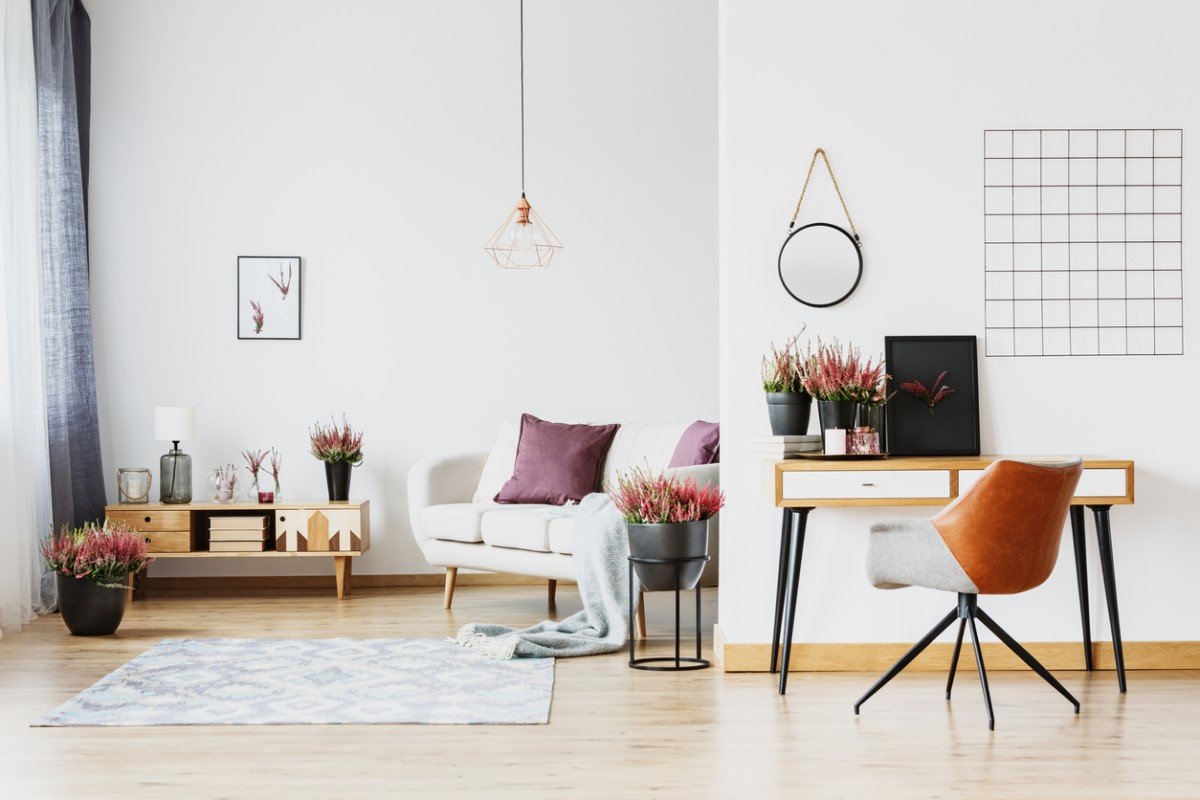
If you can’t live with the layout of your space, a temporary wall may be just the solution you need. For decades, renters have relied on temporary walls to “make it work” under less-than-ideal circumstances, cutting off living rooms to create private bedrooms.
Homeowners, too, can benefit from temporary walls: Building one enables you to judge whether a planned change is worth pursuing. And because a temporary wall does not tie into the framing, removing it is easily done, with a minimum of mess!
So why wait to carve an office out of an open floor plan or install a floor-to-ceiling partition to hide kitchen mess from view of the living room? See how either looks in your space by following these steps for how to build a temporary wall.
Note: Before you undertake to build a temporary wall, be sure that you check local building codes, paying close attention to relevant stipulations. Contact your municipal building department for clarification, if necessary. Renters are advised to ask the building owner or management company for permission.
Tools & Materials
Bobvila.com may earn a commission from purchases made through these links.
How to Build a Temporary Wall
STEP 1: Apply the sill seal to those surfaces that the temporary wall will touch.
Sill seal is foreign to many do-it-yourselfers, even those who’ve successfully completed scores of projects. Here, the ¼-inch-thick foam performs two functions. First, it protects the existing floor, walls, and ceiling from damage. Second, and more importantly, the sill seal provides the pressure needed to secure the temporary wall wherever you choose to position it.
STEP 2: Cut a pair of 2x4s to the length you want the temporary wall to be.
These two pieces of wood are known as the “plates”; they will form, respectively, the top and bottom margins of the wall.
STEP 3: Cut two more 2x4s to be 3 inches shy of ceiling height.
Next, measure the height from floor to ceiling. Because that height may vary, it’s wise to measure twice: once for the left edge of the temporary wall, then again for the right edge. Subtract three inches from each measurement, then cut a 2×4 to correspond to each length. These are the end studs.
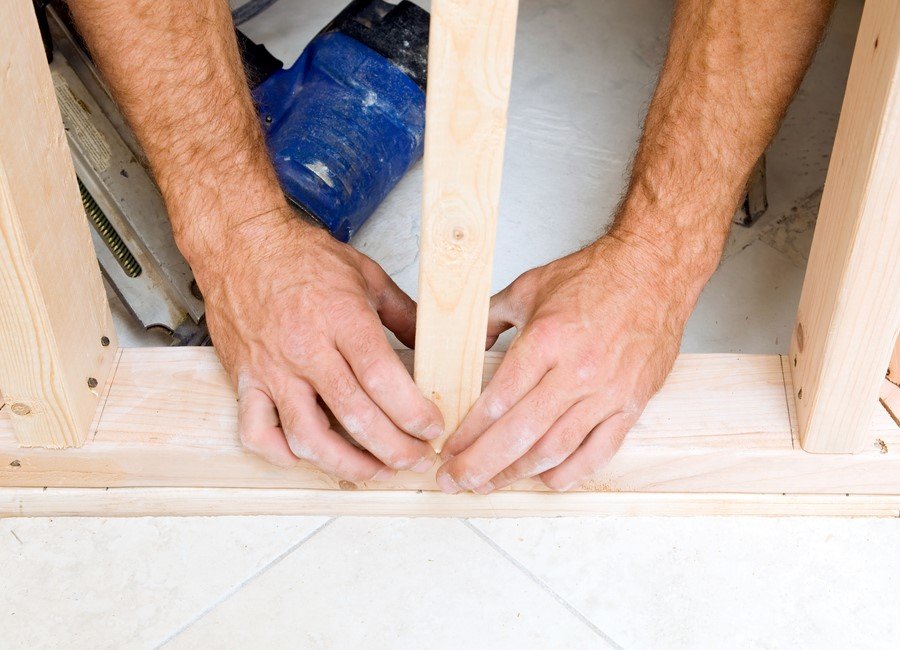
STEP 4: Fit vertical studs between top and bottom plates of the temporary wall.
Set the bottom plate over the sill seal you’ve already applied to the floor. Next, ask a helper to hold up the top plate—with sill seal between the board and ceiling—as you wedge the end studs into place. (Remember that sill seal also needs to run along the existing walls against which you are placing the vertical members.) If either stud needs persuading to fit snugly between the plates, tap it in with a hammer.
Are the studs too tall? Trim off some height with a sander or circular saw, then try your luck again. With short studs, use one or more wooden shims to close the gap.
STEP 5: Nail or screw the outside studs to the plates.
Now that you’ve established the wall perimeter, fasten the end studs into the plates by means of either nails or screws (the latter are easier to remove). For added stability, particularly if you have kids or plan to install a door, it’s smart to nail or screw the top plate to the nearest ceiling joist.
STEP 6: Install additional studs and attach drywall panels with screws.
Install the remaining studs at intervals of 16 or 24 inches. (At this point, if you’d like to inhibit the transmission of sound through the temporary wall, add batt fiberglass insulation in the stud cavities.) Finally, put up the drywall panels; for ease of removal later, screws are recommended.
STEP 7: Finish the wall however you please.
Some may be perfectly satisfied with the rudimentary look of unfinished drywall. Others may choose to paint the surface or even to install baseboard. Much depends on the purpose of the temporary wall, but it’s certainly possible to make it resemble your permanent walls. But remember, the more you add on, the more you’ll eventually need to take off.
Follow your design sense and do what makes you happy. After all, it’s your (newly defined) space!