
We may earn revenue from the products available on this page and participate in affiliate programs. Learn More ›
Learning how to install a vinyl window is something most DIYers can do, and it can save them a lot of money. For starters, they’ll save money by not having to hire a vinyl window installer. But on top of the installation savings, they’ll benefit from better energy efficiency, possibly saving a bit when the utility bill hits the mailbox.
The steps for vinyl window installation are fairly straightforward, and the tools are usually already part of the average DIYer’s collection. Keep reading to learn more about how to install vinyl replacement windows.
Tools & Materials
Bobvila.com may earn a commission from purchases made through these links.
- Tape measure
- Pry bar
- Hammer
- Oscillating multi-tool (optional)
- Level
- Caulking gun
- Shims
- Window insulation foam
- Power drill
- Mildew remover
- Silicone caulk
- 2 ¼-inch stainless steel screws
- Window stop material
- Paintable latex caulk
- Paint and paintbrush (optional)
Before You Begin
There are two key considerations that are critical to a successful vinyl window installation. The first is to plan the project for warmer weather. If the project ends up taking a little longer than expected, cold weather is far more of an issue than warm weather. Second, be sure to take accurate measurements and order windows that are as close to those measurements as possible.
Beyond those important points, it’s a good idea to unbox and inspect each new vinyl window before beginning the project. Ensure that the windows are in good working order and free from shipping damage or imperfections. This is also a good time to remove the vinyl covers that snap into the new windows’ jamb tracks, as this is where the screws to secure each new window will go.
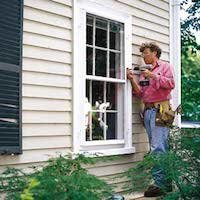
STEP 1: Remove the old window.
The first step in vinyl window installation is to remove the old window. Slide both sashes to their lowest positions for safety’s sake.
From the inside of the window, use the prybar and hammer to pry the window stops (the thin strips of wood that hold the window sashes in place) from the sides and top of the window. Leave the outermost stops and windowsill in place. With the stops removed, pull the window sashes from the window.
If the stops aren’t easy to remove, consider using an oscillating multi-tool to cut them off, taking care not to damage the jamb.
STEP 2: Prepare the window frame for vinyl window installation.
With the old window sashes removed, inspect the existing frame for serious imperfections like rot, mold, splitting, or another issue that might require an in-depth solution. For mildew and other dirt and grime, a mildew remover will often be all it takes to clean the frame.
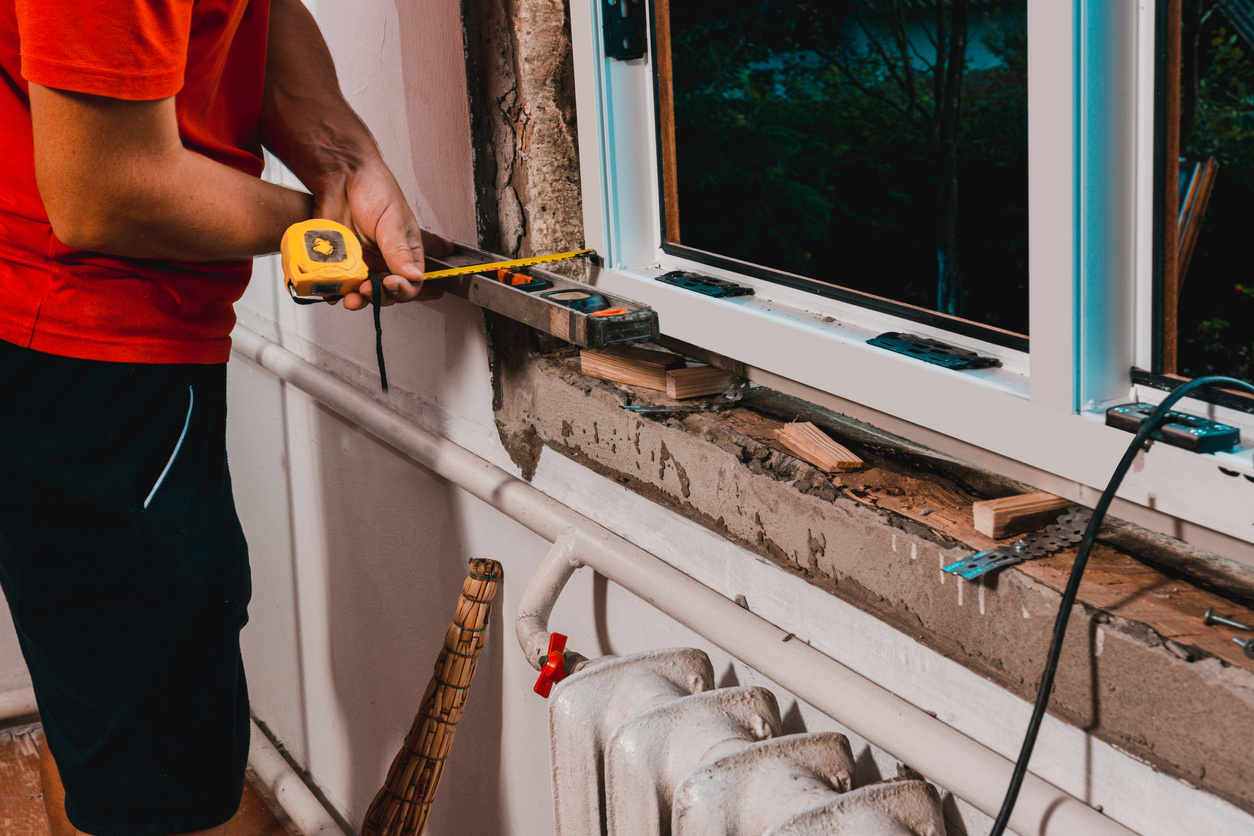
It is important that the frame be level and plumb, but this is not nearly as critical as its being square. Use a tape measure to measure from diagonally opposing corners to ensure they’re within ¼ inch of each other. If not, it might be necessary to remove the window trim and adjust the actual frame with shims.
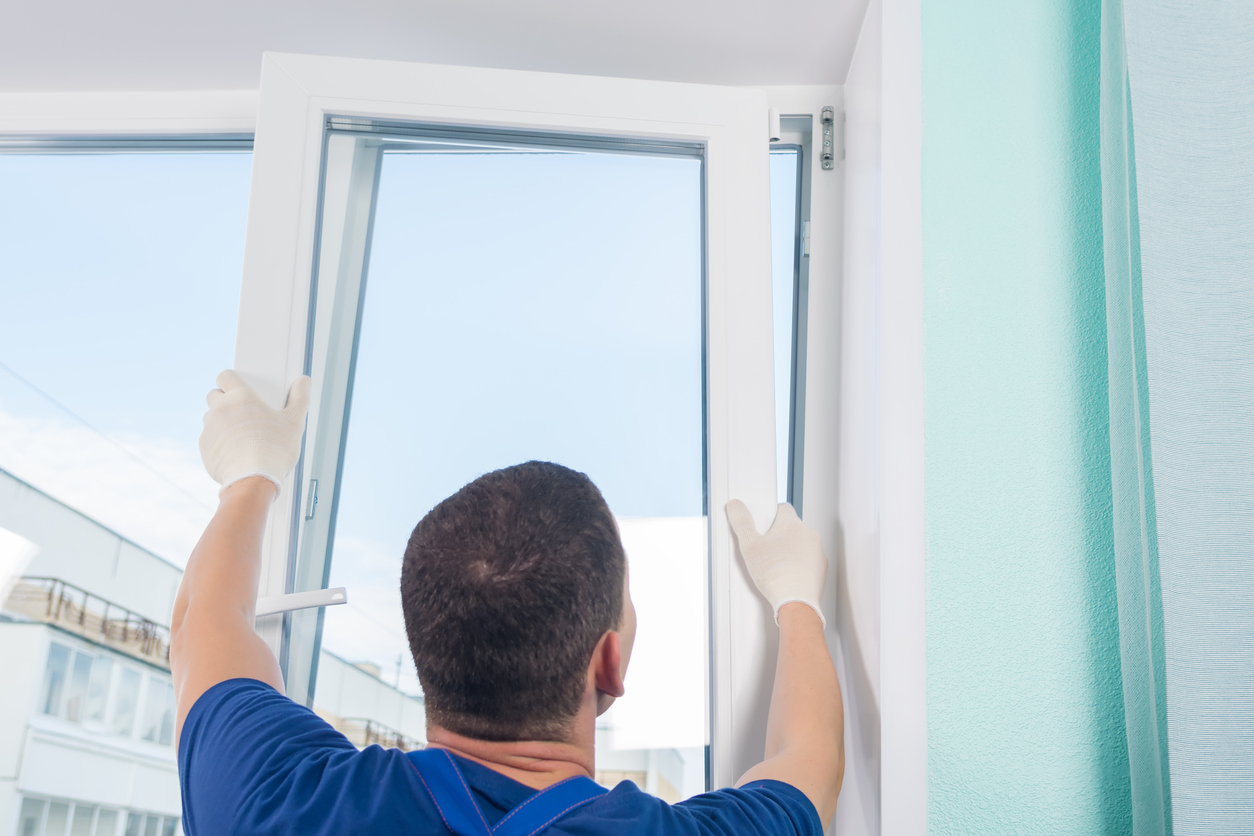
STEP 3: Center the replacement vinyl window in the opening.

First, test fit the window to ensure that it fits in the opening. After confirming the fit, remove the window before squeezing a bead of caulk along the inside of the outer window stops.
Place the new vinyl replacement window in the opening and center it, leaving some space on either side of the window for shims and insulation. Use a tape measure to check that the reveal is uniform on each side to ensure that the window is centered.
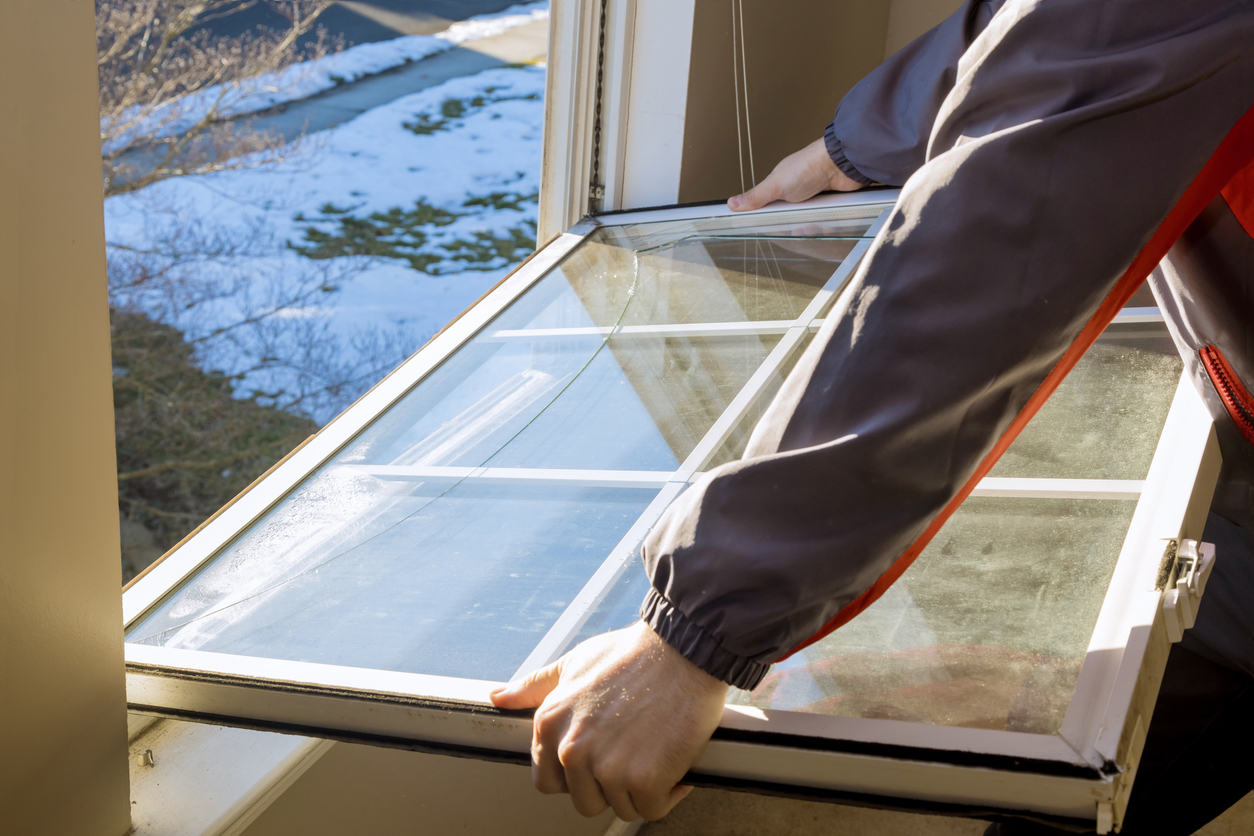
STEP 4: Use shims to position the window properly.
With the window sashes in the closed and locked position, place shims under the window to lift and level it in the window opening. If the window frame is quite out of level (particularly in older homes), follow the window’s slope to ensure the window doesn’t appear crooked when finished.
Shim along the sides of the window at the top, bottom, and middle of the window. The shims should hold the window in place but not be so snug that they’ll interfere with the window’s operation.
STEP 5: Drive a 2 ¼-inch screw into each corner of the window frame.
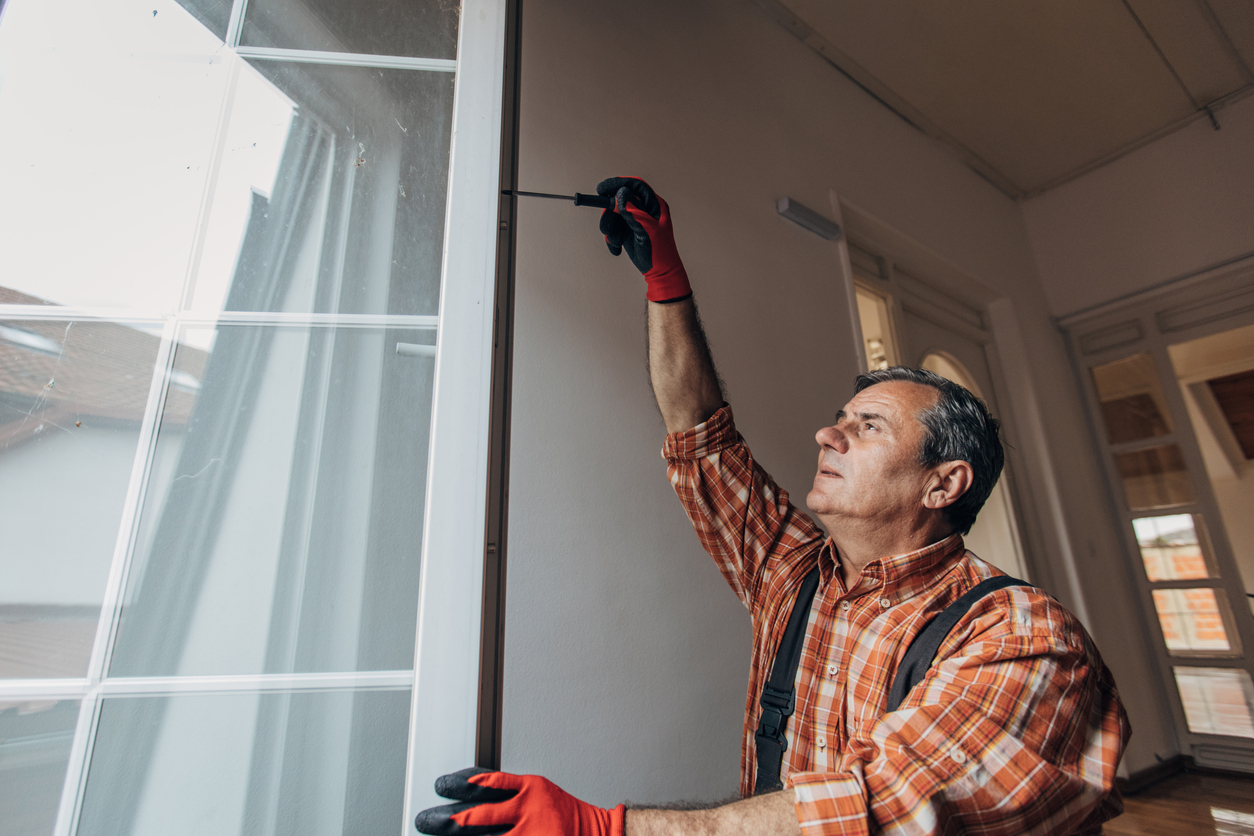
Open the window and locate the screw hole in each corner. They’re typically at the bottom and top of the window, within the tracks.
It’s important to screw from inside the window, through the shims, and into the frame, so be sure that the shims are behind these holes. Drill a pilot hole through the shims to keep them from splitting, and then drive a 2¼-inch screw through the inside of the replacement window and into the frame.
Pro Tip: Don’t over-tighten or the screw could pull the frame out of alignment. The window should be snug to the shims, and the shims to the frame, but not so much that the screw pulls through the frame or shifts its positioning.
STEP 6: Insulate around the window.
The gaps on all sides of the window exist for a reason: insulation. Fiberglass insulation is not a good candidate for this project, as stuffing the batting into the cracks compresses the fibers and prevents them from working. Foam, on the other hand, works well.
Cover the inside perimeter of the window frame with painter’s tape. Use minimal expanding foam to squeeze a barrier of foam between the replacement window’s frame and the existing window frame. Allow it to dry, then cut the excess foam off and remove the tape.
STEP 7: Install new window stops and caulk.
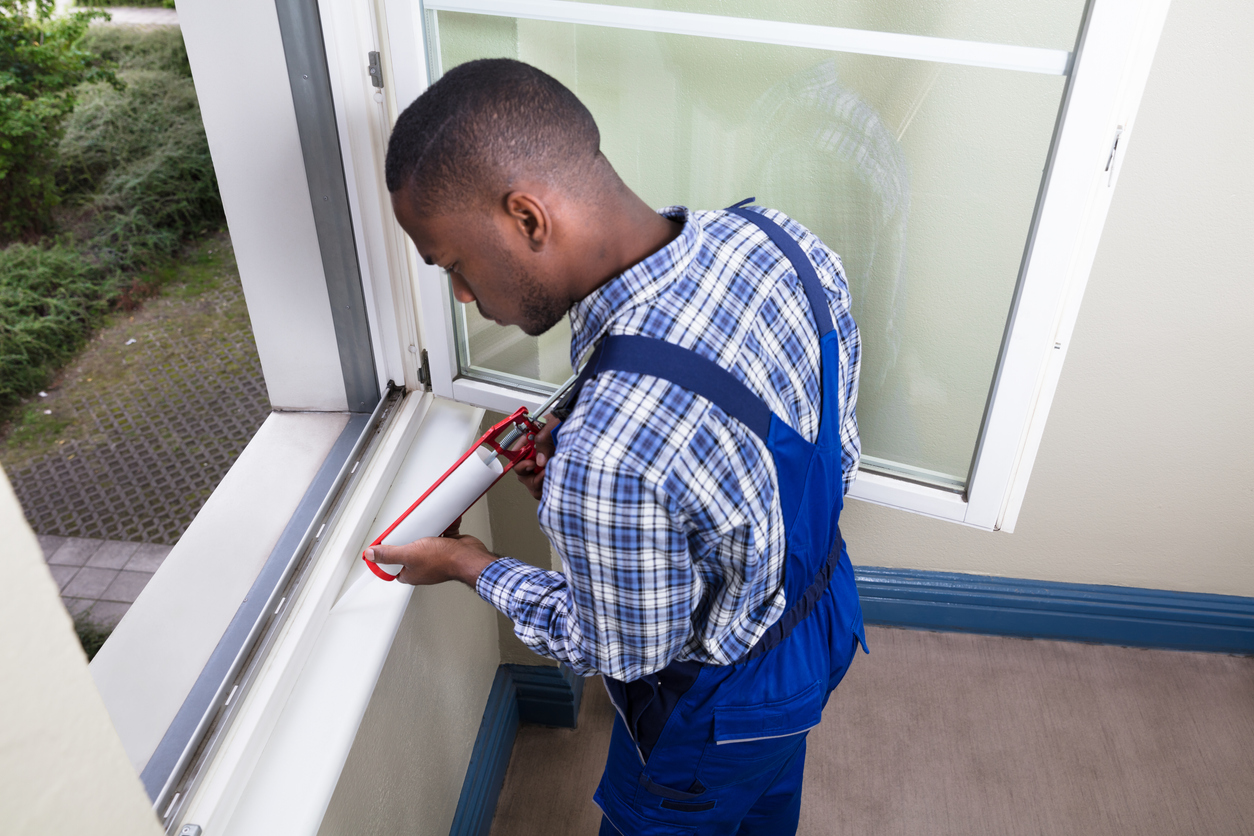
Finally, finish the look of the window by installing new window stops on the inside of the window. Make sure these stops are thick enough to cover the gap between the replacement window and the existing frame for a finished look.
For painted applications, latex caulk will fill any gaps or seams. Use the caulking gun to squeeze the caulk into each seam and then smooth the caulk out with a fingertip dampened on a wet paper towel.
STEP 8: Stain or paint the window trim to match the frame (optional).
Vinyl windows are available in a few different colors, but they’re typically white. If the new vinyl window is replacing a natural wood or painted window, you may decide to paint the trim to match the new window. This can be a big project, however, as the baseboard trim, door moldings, and crown molding will probably need to be painted to match as well.
Types of Vinyl Replacement Windows
When replacing a window, there are two main types to choose from: full-frame and pocket/insert windows. The two types are very different when it comes to style, installation method, and measurement. It’s important to know the difference before placing your window order.
Full-Frame Windows
Full-frame replacement windows, also known as new construction windows, are vinyl windows meant for installation into a new or empty rough opening. The rough opening is the space within the actual wall framing, and instead of installing within a window frame, full-frame windows install in the rough opening.
Full-frame windows have a built-in flange for nailing, so installing these windows is fast and easy when the siding isn’t installed yet. The vinyl window installers simply flash the opening from the outside, place the window in the opening, and nail through the flange and into the framing. They then flash the outside of the window, install trim, and hang the siding. In a replacement setting, however, the installer has to first remove the siding and trim, remove the old window, and flash the opening before installing the new window.
Pocket or Insert Windows

Pocket windows, which are also called insert replacement windows, fit within the existing frame. This means that the installer shouldn’t have to do much, if anything, on the outside of the home. You should be able to leave the existing trim, siding, and sheathing intact.
In situations where the windows are older but still in decent condition, pocket windows are often the best options for vinyl window replacement. The installer simply removes the old window stops and sashes, and then fits a new replacement window inside the original window frame.
The overall process is simple, but because a replacement window sits within an old opening, it’s really important that the window fit properly. Also, the installer must seal the window carefully so that water and air penetration as well as air movement.
Final Thoughts
Learning how to install replacement windows is fairly straightforward. As long as the measurements for the replacement window are a match, the job typically goes well. Most DIYers find themselves feeling pretty confident after finishing the first two or three installations. With a bit of preparation, the steps and tools listed above, and some careful measurements, replacing the vinyl windows in an entire home is a DIY-able job.
FAQs About Vinyl Window Installation
You’ve just absorbed a lot of information about vinyl window installation, but you may still be left with questions that aren’t so transparent. The following includes some of the most frequently asked questions about how to install vinyl windows. Check below for answers to your remaining questions.
Q. Are windows installed from the inside or outside?
New construction or full-frame windows are installed from the outside of the house. Replacement or pocket/insert windows are installed from within the home.
Q. What time of year is best to replace windows?
It’s best to wait for warmer weather to replace vinyl windows, for two main reasons:
- If there are any issues during the installation, warm weather is much less dangerous than cold weather.
- Vinyl is affected by temperature fluctuations. In the winter it contracts, so if you install windows snugly in the winter, the frames may expand in the summer, making the windows difficult to operate. Also, vinyl can crack in cold temperatures.
Q. What is the average cost of vinyl replacement windows?
The average cost of window replacement is around $650 per window. However, DIYers can save considerably on the amount by installing their windows themselves.
Q. How long does it take to install a vinyl window?
Installing a new construction window in a fresh rough opening takes very little time. An experienced DIYer can handle each window in under an hour. Installing a replacement window can take a bit longer—around 3 to 4 hours per window, from start to finish.
Q. What is retrofit window installation?
“Retrofit window” is simply another term for a replacement window. Replacement windows install within an existing window frame. They take the place of the existing window sashes to offer a more efficient window with a clean look.