
We may earn revenue from the products available on this page and participate in affiliate programs. Learn More ›
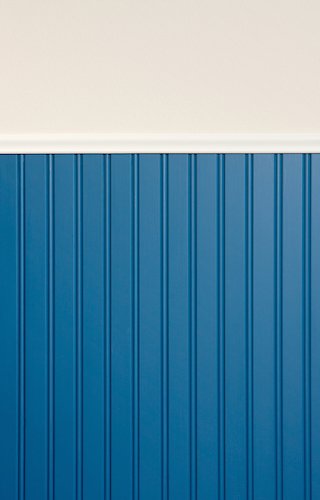
The term “wainscoting” refers to any type of paneling that covers the lower portion—usually the lower third—of an interior wall. Originally, wainscoting was meant to protect plaster walls from dings and dents, but today it’s primarily decorative. Whether it’s elaborate and elegant or simple and casual, wainscoting adds warmth and character, making a room look more inviting.
If you’ve ever seen a beautiful wainscot, you might think it’s not possible for a do-it-yourselfer to re-create the look. But the fact is, if you’re comfortable working with wood and handling a few basic tools, you can install wainscoting yourself over a long weekend.
Wainscoting Materials
Wainscoting took off in the 19th century, when industrial milling made low-cost wood products widely available. These days, although many homeowners continue to install wainscoting made of solid wood, newer and cheaper materials like MDF and PVC are perhaps the most commonly used.
MDF WAINSCOTING
If you’re planning to paint, not stain, the wainscoting, give due consideration to MDF. Because it comes with no knots, it’s easy to cut and work with. Plus, MDF resists the sort of warping and splitting that solid wood might undergo due to seasonal expansion and contraction.
One caveat: Standard MDF fares poorly if exposed to moisture, so if you’re wainscoting a bathroom or mudroom, be sure to purchase (and expect to pay more for) the moisture-resistant variety.
PVC WAINSCOTING
Alternatively, for wainscoting that stands up well to both heat and moisture, think about opting for PVC. No, you might not think of PVC as the most stylish stuff for a home interior, but once painted, it looks no different from more traditional materials, and it lasts a long time without maintenance.
WOOD WAINSCOTING
There’s one major downside to inexpensive sheet wainscoting products: As easy as they are to install, they can accentuate an uneven or wavy wall. If yours is an older home that’s fallen out of plumb, it’s probably worth it to spring for tongue-and-groove solid wood wainscoting. Here, you can use furring strips to correct for minor imperfections, and you can sand down any protrusions.
Wainscoting Styles
When you set out to install wainscoting, don’t underestimate the importance of planning. To a large extent, the installation process hinges on the design decisions you make early on. In fact, some people choose to create cardboard stencils and mount them on the wall in order to test different looks.
DECIDING ON A DESIGN
One key question: Do you want the wainscoting to have decorative panels? Eschewing panels tends to make for easier installation.
That said, frame-and-panel wainscoting is by no means beyond the skilled amateur. Get ready to use your tape measure, though. For the installation to look right, you must figure out a design that allows the wainscoting panels to be of equal size.
If uniform panels are simply not possible given the size or shape of the room, there’s a compromise: Only panels on the same wall technically need to share the same dimensions. So if you are adding wainscoting to multiple walls, different walls can have panels of a different set size.
DECIDING ON A FINISH
During the planning stage, it also helps a great deal to settle on a finish. If you decide to stain or clear coat the wainscoting, it’s easiest to do so prior to installation. Another reason to get your ducks in a row before getting to work: You can buy prefinished wainscoting products, which can save you significant time.
Do’s and Don’ts of Installing Wainscoting
There are further nuances and complexities involved in DIY wainscoting work that must be considered from the outset.
- Perhaps the hardest part of this project is ensuring that the wainscoting gets along with the door and window trim in the room. Depending on the thickness of the wainscoting that you’re adding, it may even be necessary to replace the door and window casing.
- Remember that wainscoting must be notched to fit around electrical boxes. And because building codes normally require electrical boxes to be flush with wall paneling, you may need to extend the boxes. Luckily, box extensions are inexpensive, widely available, and easy to fit behind either switches or receptacles.
Whether your home was recently built or has been around for more than a hundred years, wainscoting imparts depth and texture, giving any interior space a three-dimensional appeal that no mere coat of paint could possibly achieve, no matter how striking the color.