We may earn revenue from the products available on this page and participate in affiliate programs. Learn More ›
Of all the many types of molding installed to put the finishing touch on a room, there’s none more common than baseboard.
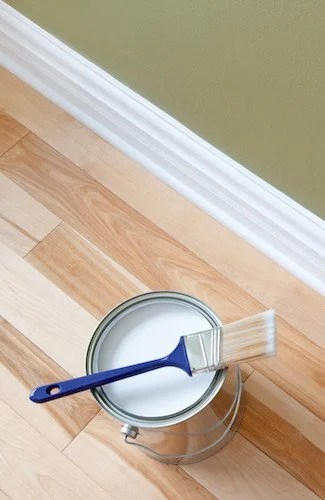
Whether simply or elaborately profiled, baseboards perform two important roles in a room: They create a pleasing visual transition between the walls and floor, and they conceal the often imperfect perimeters of a flooring installation (hardwood boards with uneven edges, for example, or vinyl sheeting that curls up at the end).
Although baseboard molding is an essential component of a truly polished look, most people don’t give it a second thought—that is, until the baseboard gets scuffed, or the paint starts to chip or look tired. Fortunately, renewal requires only a fresh paint job, a project that virtually anyone can do, although there are a handful of important considerations to bear in mind. Read on for the step-by-step details.
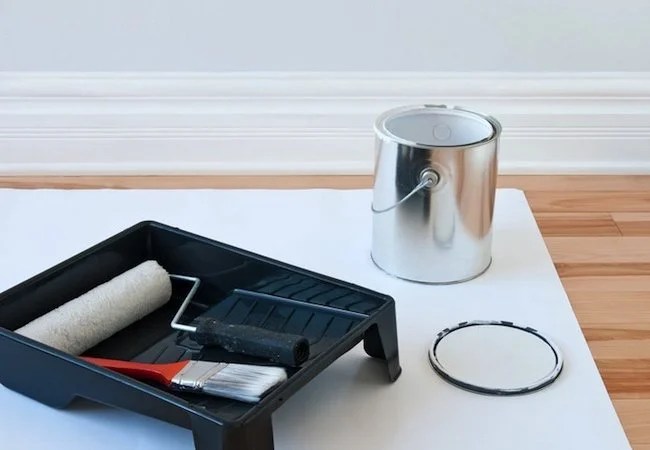
Tools & Materials
Bobvila.com may earn a commission from purchases made through these links.
Step 1
Painting a baseboard is a fine illustration of the rule that preparation makes the difference between a subpar job and a satisfying, professional-quality finish. After you’ve protected the floor by laying down a drop cloth or taping down a layer of plastic sheeting, it’s best to begin by inspecting the baseboard molding for any nicks or dings. If you find any, patch those areas with spackle and allow the spackling compound to dry. Next, sand the baseboards, including the areas you repaired, using medium-grit sandpaper. Finally, vacuum the baseboards before wiping them down with a damp cloth. Before proceeding, be sure to wait long enough for the baseboards to dry completely.
Step 2
Adhere strips of painter’s tape along two seams—where the baseboard molding meets the wall, and where it meets the floor. Do your best to eliminate any space between the painter’s tape and the chosen floor protection, be it a drop cloth or plastic sheet. Now, stir the paint before dipping in your small (approximately two-inch) angled paintbrush. Cover the bristles about two-thirds of the way, then tap or dab the brush against the inside lip of the paint can to clear the excess away, not only from the sides of the brush, but from the tips of its bristles as well. Repeat each time you load the brush in order to ensure the tidy and precise application of paint.
Step 3
Leading with the short edge of the angled brush, start to apply paint to the baseboards. Work slowly, in one-foot sections, and whenever possible use long strokes in a single direction—don’t brush back and forth over the same area. Are you dealing with an intricate trim profile? Pay special attention to the contours, taking pains to push paint into the recessed portions of the molding. To achieve crisp lines along the edges, you can use a specialty paint guard (or, alternatively, a wide drywall taping knife), which you can hold where the molding meets the wall or floor to prevent any wayward strokes from landing beyond the baseboard itself.
Plan on doing two coats, possibly three. For the smoothest possible finish, sand between coats and clean up any dust or debris created during the sanding process. Also remember that if paint ends up any place you didn’t intend it to go, the wise course is to address the error immediately. Simply wipe up any drips or smudges with a damp cloth before the paint has the opportunity to dry.
In the end, like so many other do-it-yourself home improvement projects, painting baseboards isn’t a complex undertaking. It requires neither great skill nor years of experience, only patience, persistence, and the willingness to stay on task.