
We may earn revenue from the products available on this page and participate in affiliate programs. Learn More ›
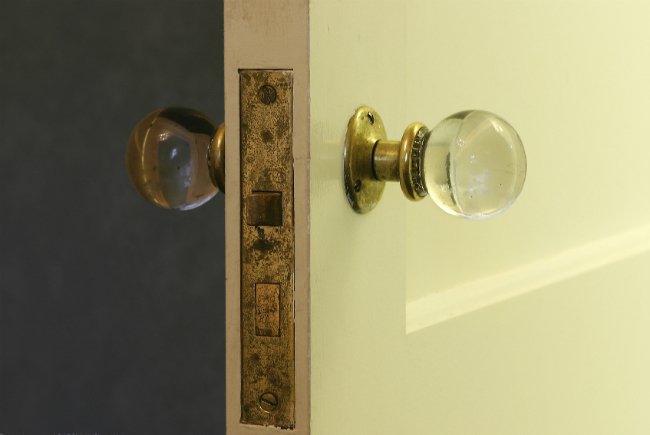
It’s easy to take doors for granted. Until they start sticking or binding, that is—or you install a new floor and suddenly have a clearance problem. The ideal gap between a door and its frame is about 1/8 inch on all sides, so once you’ve determined that the door isn’t overly snug due to loose hinges (which can be tightened for an easy fix), you may need to shave, or plane, excess wood from the raised side to get it working smoothly again. Your go-to tool? A plain old hand planer. Its sharp, angled blade shaves thin strips of wood as you push it over the surface, and while electric planers or belt sanders can be used for planing, the simpler device gives you maximum control.
Tools & Materials
Bobvila.com may earn a commission from purchases made through these links.
Step 1
Open and close the door a few times (if it’s not blocked at the bottom) to see where it’s rubbing the jamb. Run a thin piece of cardboard or paper between the jamb and door to identify a starting and ending point for the raised area; mark these points with a pencil on the side—not the edge—of the door. If it helps you see the planing zone better, use a ruler and pencil to draw a line between the points. This might be a short length, or the entire edge might need a shave. In the latter case, use a carpenter’s compass: Set the pencil tip and compass point about 1/8 inch apart and run the point down the jamb to draw a straight line down the vertical edge of the door. Do this on both sides of the door so the full-length cut will be symmetrical. If you’re trimming from the bottom to accommodate flooring, measure 1/8 inch up from the floor’s surface.
Step 2
If the door is only slightly out of square and just a small raised section needs to be removed, you should be able to avoid removing it from the frame. Immobilize it with a doorstop and plane it in place (see Step 3). But for maximum control and to plane longer portions, take the door off its hinges with a screwdriver or drill.
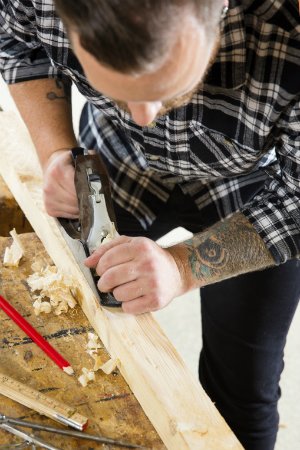
Turn the door so that the edge requiring adjustment is facing you. Hold it in place between your legs and plane the high spots from above. For a full-length trim, remove the hinges from the back and take wood from the back or hinged edge of the door—this will allow you to avoid detaching latch hardware. If you need to remove up to an inch at the top or bottom of the door, lay it flat across two sawhorses—for this work, skip the hand planer and start with a circular saw, then finish with a sander.
Step 3
On vertical edges, shave following the wood grain; on horizontals, work toward the center from each outside edge. Apply steady but light pressure on the planer so you don’t gouge the wood or shave off more than necessary. Unlike a bad haircut, trimmed wood won’t grow back!
Tip: If you find you must remove more than 1/8 inch, consider using an electric planer or belt sander, but remember that what you gain in speed you sacrifice in control. Proceed carefully with power tools to avoid creating visible dips or gouges.
Step 4
After planing the intended amount, rehang the door and give it a swing. If it’s still sticking, remove it and shave a little more. Once it opens and closes perfectly, remove it to sand, prime, and paint the planed surfaces. Reinstall any hardware you might have removed before rehanging the door for good.