
We may earn revenue from the products available on this page and participate in affiliate programs. Learn More ›
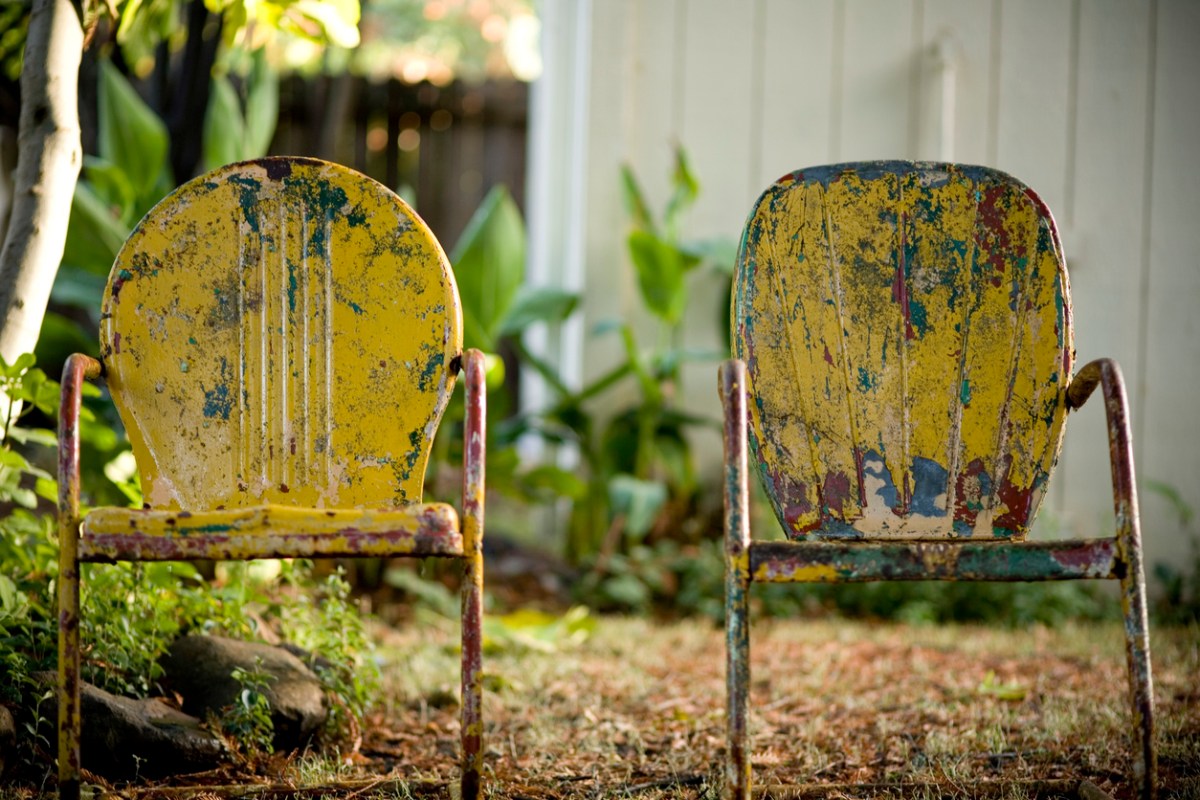
Although metal patio furniture is elegant and durable, it can over time become a rust-coated symbol of neglect. Instead of offering an inviting spot to relax on a warm summer afternoon, corroded furniture merely reminds you of better days gone by. But if underneath all that rust the essential frame of each piece is structurally sound, why spend money to replace the set? Consider the much more affordable alternative of refinishing your metal furniture. Using the right tools and easily mastered techniques, you can restore those rusty eyesores to near-new beauty.
Before you begin, know this: Refinishing iron patio furniture isn’t the kind of project you can spread out over a few days. Once you start removing the rust, you have to continue until the entire piece has been cleaned and treated with a rust-resistant primer. If you remove the rust and head for the hammock too soon, a condition known as “flash rust” can cause the flaky, reddish coating to reappear as quickly as the name implies—sometimes in a matter of hours. After the coat of primer is in place, however, you can move on through the rest of the job at a more leisurely pace.
Tools & Materials
Bobvila.com may earn a commission from purchases made through these links.
Step 1
Streamline your patio-refinishing project by choosing the right spot for the job and preparing it properly. A shady, protected corner of your yard or an empty garage works best. Above all, avoid priming or painting the furniture outside on a windy day or in direct sunlight—either can cause the outer layer of the paint to dry too rapidly and thus reduce the lifespan of the paint. Protect the ground or concrete floor with a nonslip drop cloth, and keep a few cinder blocks handy for elevating the patio furniture so you’ll be able to reach the bottoms of the legs without tipping the pieces over.
Before you start, gear up with some old clothing, goggles, a respirator mask, and gloves. If you use a chemical to assist in rust removal, your goggles will need to protect your entire eye area from splatters, and your gloves should be chemical-resistant.
Step 2
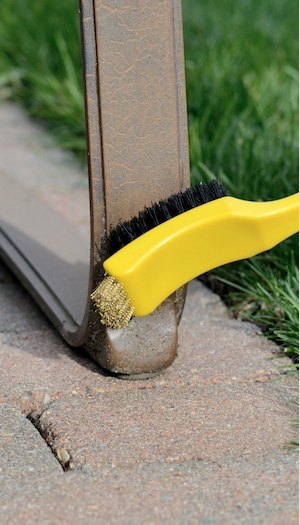
For this next part, all you need is a talented multi-tool like the HYDE 3-in-1 Paint Stripping Wire Brush to remove the flaking coating. Scrub the flat surfaces on your patio furniture with the rectangular brush; its dense wire bristles quickly remove light rust and loose paint. Reach rust in nooks and crannies using the narrow wire bristles on the tip of the tool. Finally, turn the tool around to use the flat scraper at the end of the handle to remove larger sections of peeling paint. One tool, three functions—all you add is elbow grease!
Step 3
If the rust and paint come off with ease, count your lucky stars and continue to brush all surfaces until completely clean. (Here, it really helps to elevate the piece you’re cleaning on cinder blocks so you can reach the bottoms of the legs.) When you’re done, you can skip ahead to Step 6.
If, however, you run into some more heavily rusted patches, you’ll need the assistance of muriatic acid or another rust-dissolving solution, both of which are readily available at home improvement centers.
STEP 4
Apply rust-removing acids or solutions as directed by the manufacturer, and use the formulas in conjunction with the HYDE 3-in-1 Wire Brush to scrub away the most stubborn rust. Some rust-removing acids and chemicals must be hosed off after application, so be prepared to move your item to a spot where you can wash it off without worry of the runoff damaging grass or other plants.
STEP 5
Dry the item thoroughly with old towels. Any moisture left on the bare iron can lead to new rust, even if the furniture is only slightly damp. Because your clean patio furniture is highly vulnerable at this point, complete the drying step and proceed quickly to the next.
STEP 6
Apply a rust-convertor solution to the clean patio furniture using either a spray can or paintbrush. Rust convertors are different from rust removers in that they contain polymers and tannic acid, which chemically convert trace bits of residual rust into iron tannate—a solid substance that coats, seals, and protects the iron furniture. If you’ve inadvertently missed rust lodged in joints or tight spots—which is easy to do—a rust converter acts like an insurance policy against rust developing under your new paint job.
STEP 7
Prime the patio furniture with rust-inhibiting metal primer and follow up by painting with rust-inhibiting metal paint. (Both must be suitable for exterior use.) The trick to getting a great finish is to apply both the primer and the paint in multiple, very thin coats. Because iron patio furniture often features intricate patterns and weaves, it’s usually better to spray both the primer and paint rather than brush them on. If you don’t want to use paint that comes in spray cans, you can rent or purchase a sprayer to apply another suitable variety of rust-inhibiting primer and paint.
Count on applying at least three thin coats of primer and three or more thin coats of paint; if you apply the coats too heavily, you’ll end up with paint runs. Once the primer has been applied, feel free to take breaks between applications to tend to other around-the-house activities—you’ll want to wait at least the minimum amount of time recommended by the paint manufacturer before applying another coat, anyway. Once again, don’t forget about the bottoms of the legs!
This post has been brought to you by Hyde Tools. Its facts and opinions are those of BobVila.com.