
We may earn revenue from the products available on this page and participate in affiliate programs. Learn More ›
Metal furniture and home decor items can last a long time, but they start to lose their appeal when their original paint job is looking less than spectacular. The good news is that it’s possible to strip the paint from metal so you can apply a new coat of paint in your current color scheme.
While there are a range of shapes and sizes for household metal objects—from railings to side tables—there are several methods that can work to remove paint from them. Here are a few of the most effective ways of stripping paint from metal so it’s ready to be refreshed.
Project Overview
Working Time: 2+ hours
Total Time: 2+ hours
Skill Level: Beginner
Estimated Cost: $10 to $50
Before You Begin
Painted metal can range from cabinet hardware to a metal door, so preparing for the project will depend on the painted metal object. No matter the size, select an area that is well-ventilated. It’s just as important to protect yourself, so don your rubber gloves, safety glasses, long-sleeved shirt, shoes, and pants to cover your skin completely. Then, avoid inhalation of fumes from the chemicals by opening all windows and wearing a respirator.
Before you remove metal paint, prepare the work area by covering the work surface and surrounding ground with drop cloths. If you want to save money on supplies, recycled newspapers or unfolded cardboard boxes can substitute as surface protection against the chemical stripper you’ll be using—just make sure not to leave any gaps between pieces. Paint dust and flecks can be tough to chase around later.
7 Ways to Remove Paint from Metal
When considering which method to use to remove paint from your metal object, take note of the shape and size of the item. Some methods below are better suited for flat surfaces and others are best suited for small objects. No matter which you choose, make sure to protect your skin, eyes, and surrounding area from paint flecks and dust that could contain lead.
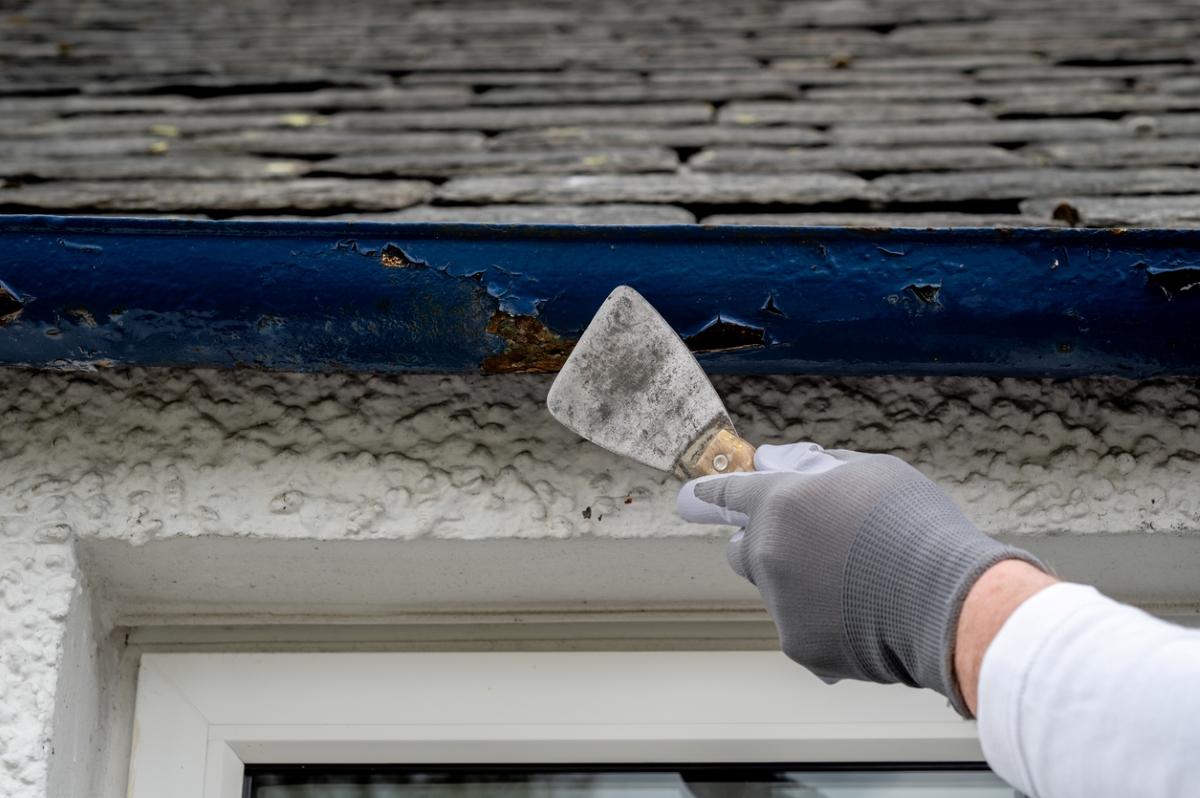
1. Paint Scraper
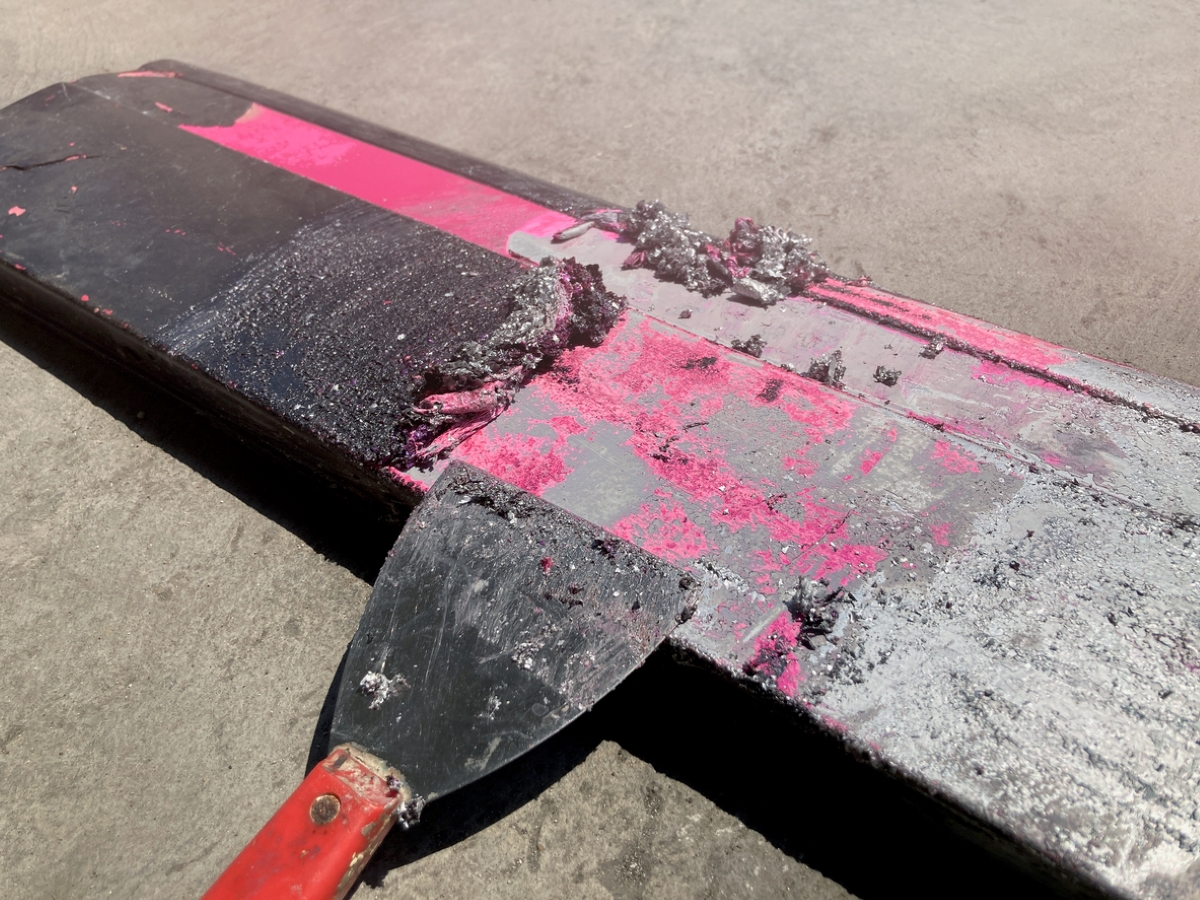
Scraping paint from metal with a paint scraper can be a useful method for removing flaking paint from flat metal surfaces. Be mindful that softer metals may scratch more easily, so it’s important to use a plastic scraper and a lighter touch when using this method. It’s likely that you won’t be able to remove all of the paint with just a scraper, so another method may need to be used to help finish the job.
SUPPLIES
Drop cloth
Paint scraper
Rubber gloves
Eye protection
Respirator mask
Cloth
- Lay out the drop cloth and don protective gloves, eye protection, and mask.
- Take the paint scraper at an acute angle to the surface and push the scraping edge along the surface.
- Repeat the scraping motion until all paint is removed.
- Wipe the surface clean with a cloth.
2. Boiling Water
While boiling water can be a helpful way to loosen paint from metal surfaces, it’s another paint remover for metal method that isn’t practical for larger surfaces. Make sure to always wear heat-resistant gloves when removing metal from boiling water.
SUPPLIES
Pot
Heat-resistant gloves
Paint scraper
Cloth
- Put on heat-resistant gloves and boil water in the pot.
- Either pour boiling water over the object or submerge it in the boiling water.
- After the paint begins to bubble on the metal surface, use a scraper to remove the paint.
- Wipe the surface of the object with a clean cloth.
3. Baking Soda or Vinegar

One way to ease paint from a metal surface is to use baking soda with boiling water. If you don’t have baking soda, white vinegar can be used in its place. While it’s an effective method for removing paint, it’s a process that’s best for smaller pieces.
SUPPLIES
- Add ¼ cup of baking soda to 1 quart of water in a disposable pot.
- Turn on the burner and bring the mixture to a boil.
- Place the painted metal object in the boiling water.
- After about 10 to 15 minutes, the paint will likely start to lift from the surface.
- Turn off the heat.
- Put on heat-resistant gloves and remove the object from the pot.
- With a stiff brush or scraper remove any remaining paint.
- Wipe the surface of the object with a clean cloth.
4. Heat Gun
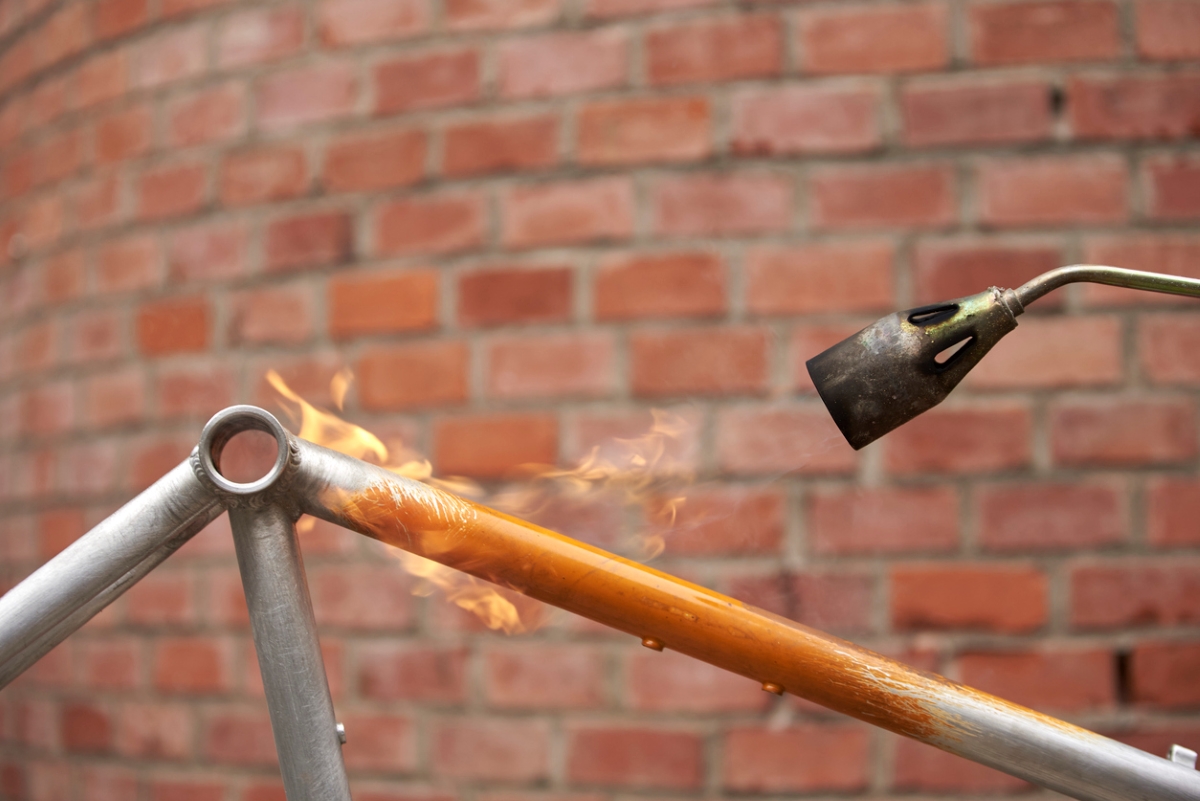
Essentially, a heat gun will liquefy the paint on the surface enough so that it will be easier to scrape away with a paint scraper. Always start with the lowest setting and wear heat-resistant gloves.
SUPPLIES
Heat-resistant gloves
Eye protection
Heat gun
Wire brush
Cloth
- While wearing heat-resistant gloves and eye protection, turn on the heat gun to its lowest setting.
- Move the heat gun slowly across the surface.
- When the paint begins to crack and melt off the metal, use a wire brush or a paint scraper to remove the paint.
- Wait for the surface to cool and then wipe the metal surface with a clean cloth.
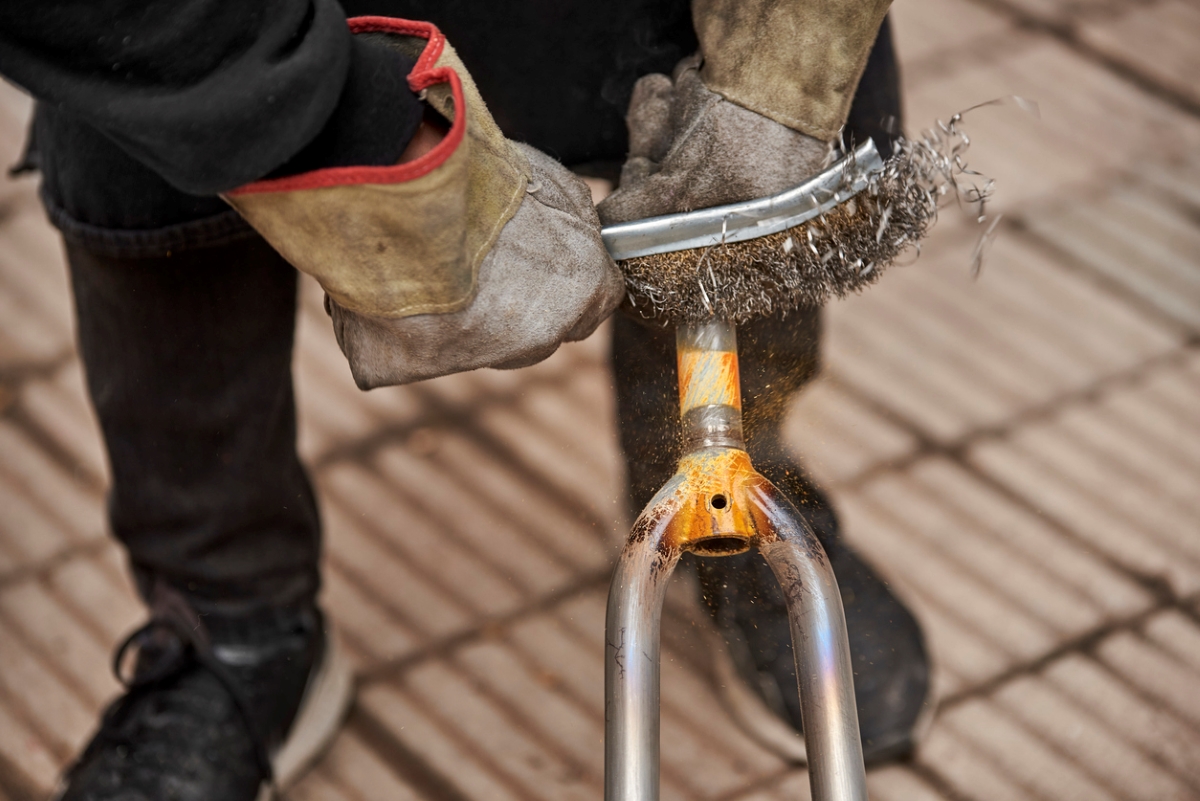
5. Drill
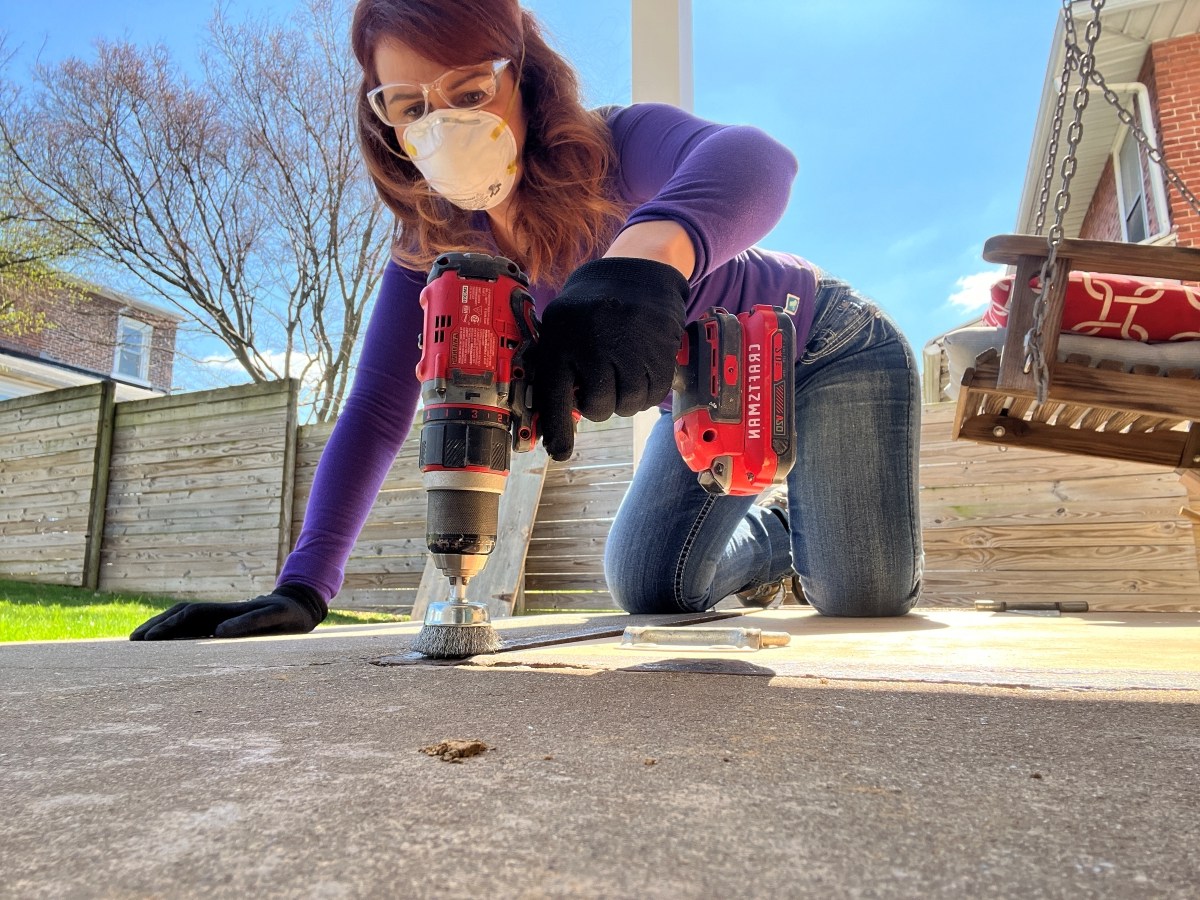
Sturdy and complicated surfaces like metal railings may require the flexibility offered by a drill with a wire wheel attachment to successfully remove paint. Wire wheels can be flat or brush-shaped, which offers the ability to attack both flat and spindly surfaces.
SUPPLIES
Drill
Wire wheel
Eye protection
Heat gun
Wire brush
Rubber gloves
Eye protection
Respirator mask
Cloth
- Put on eye protection, mask, and gloves.
- Attach the wire wheel to the drill.
- Turn on the drill at a low speed.
- Apply the wire wheel to the surface of the painted metal, and work the wheel over the surface to remove the paint.
- Wipe the debris off the surface with a cloth.
6. Angle Grinder
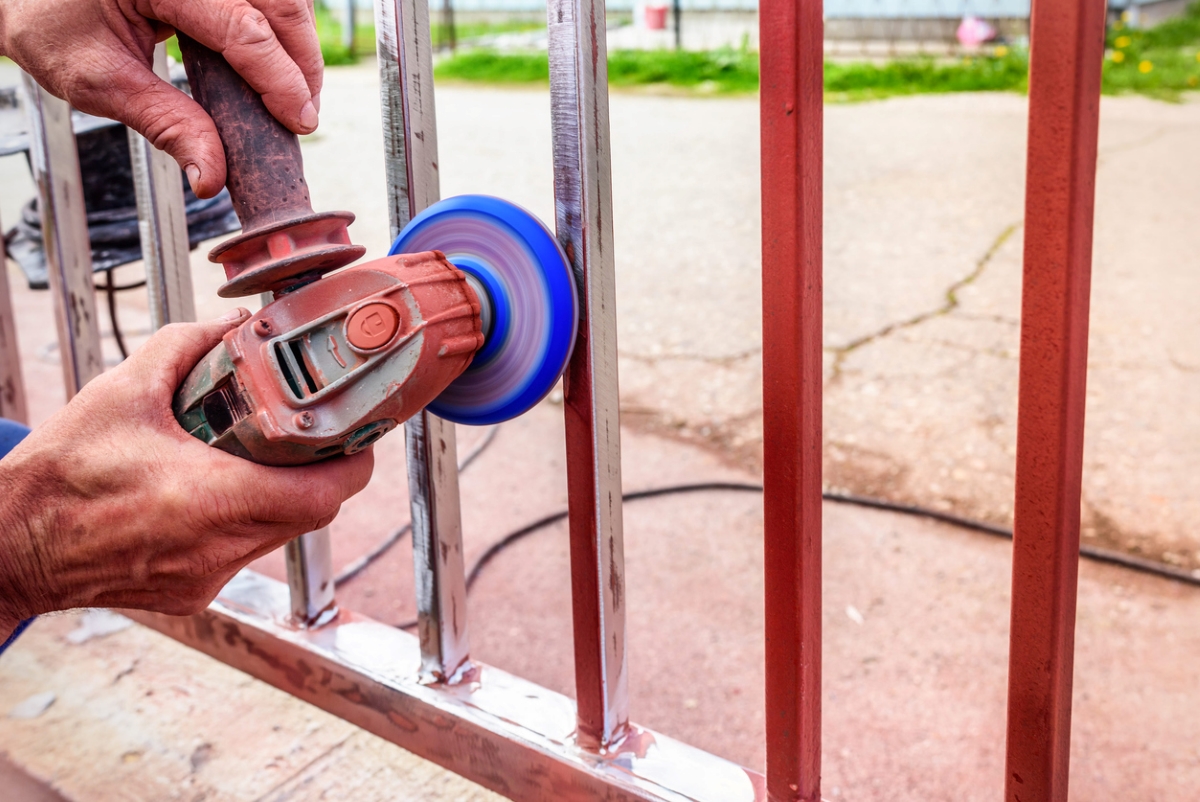
An angle grinder in combination with a flap disc (flapper wheel) can be a good choice if you know the paint is not lead-based and there is a lot of paint to remove from the metal surface. Grinders spin up to 10,000 rpm, so be careful while using one and wear a face shield and gloves to protect your eyes and skin from flecks.
SUPPLIES
Angler grinder
Flap disc (flapper wheel)
Eye protection
Heat gun
Wire brush
Rubber gloves
Eye protection
Respirator mask
Cloth
- Put on eye protection, mask, and gloves.
- Attach the flap disc to the angle grinder.
- Turn on the angle grinder and hold with two hands.
- Starting with a fine grit, apply the flap disc to the painted surface. Do not force the tool by pressing too hard.
- Increase the grit of the disc until the paint is gone.
7. Paint Stripper
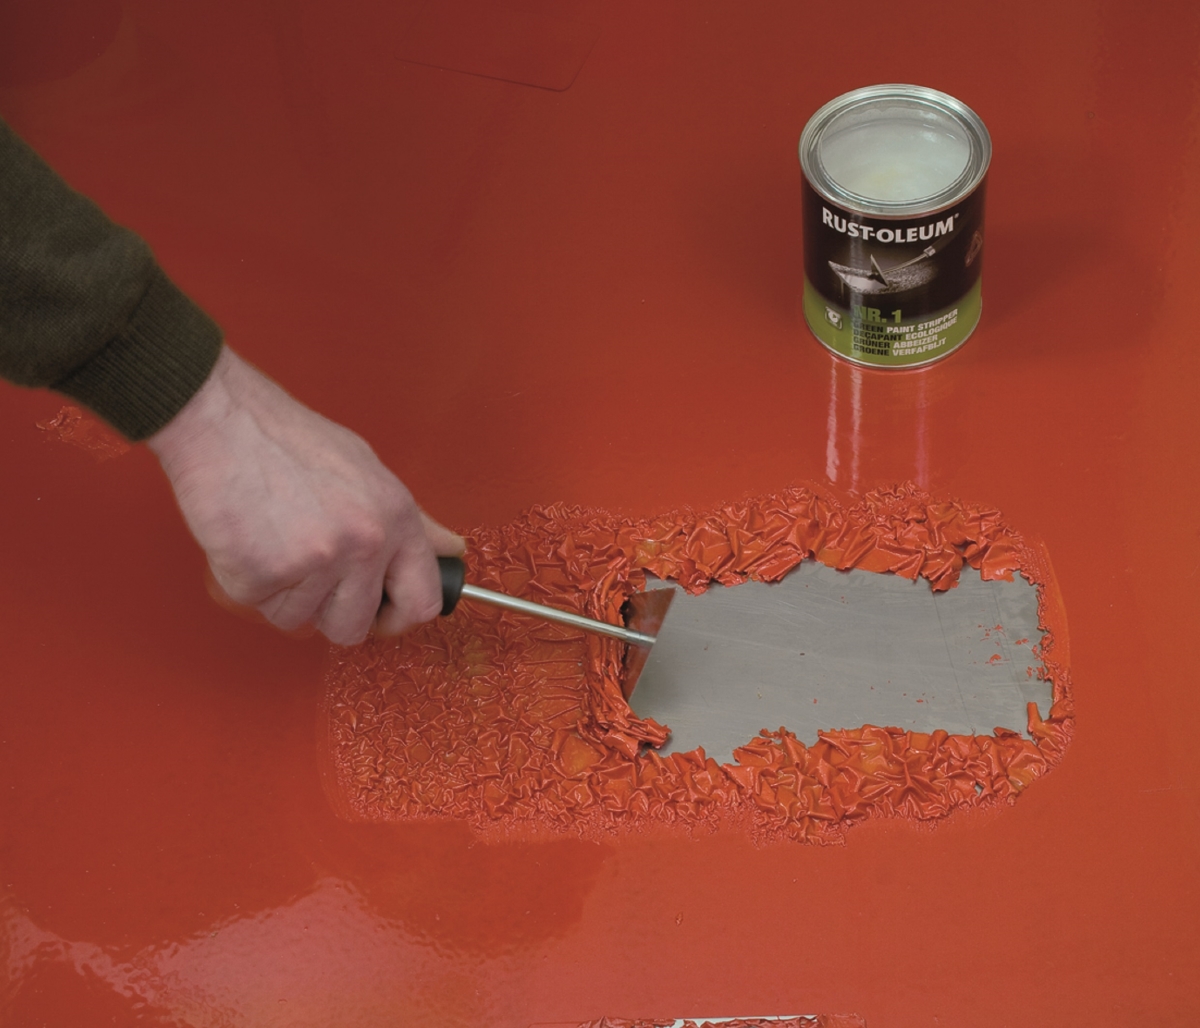
A seemingly easy way to remove paint is with a paint stripper. Older versions are notoriously odorous and not environmentally friendly. However, there are newer versions that are low-odor and made from more organic materials.
SUPPLIES
Drop cloth
Paint-stripping gel
Disposable paint brushes
Rubber gloves
Eye protection
Respirator mask
Nylon brush
Mineral spirits
- Pour a small amount of the stripper into a glass jar or metal can. Using a disposable paint brush, apply the chemical paint stripper to the metal, and let it set according to the instructions on your commercial stripper. As it sets, you should start to see the paint bubble up from the surface of the metal.
- Wearing protective gear, take a paint scraper, and chip off the bubbled paint from all the flat surfaces of the metal. For crevices and harder-to-reach areas, switch to a scrubbing pad or nylon brush (you can use the one from Step 2, but first give it a good wash and trim the bristles short!) and continue to chip away. Reapply stripper and scrape or brush away again as needed until the whole piece is paint-free.
- Next, dampen a rag with mineral spirits and wipe the surface down. This will remove any leftover flakes of lifted paint and the bulk of the remaining chemical residue.
- Thoroughly rinse off the metal with water to completely remove all traces of the stripper, then wipe it down using a fresh, dry rag.
Tips for Removing Paint from Metal
Removing paint from metal surfaces can sometimes be an easy project; in other instances, it can be time-consuming and difficult. Make sure to take time to adequately set up the project area and gather everything you need, including personal protective equipment, before starting. Here are some more tips:
- Set up the project in a well-ventilated area.
- Protect the area with a drop cloth to collect the paint chips and dust.
- Always wear a face mask and gloves when removing paint from metal.
- Use a plastic paint scraper on softer metal surfaces to prevent scratching.
- You may need to use a combination of methods to remove all paint from a metal surface.
- Always try the easiest method before moving on to power tools and chemical stripping.
FAQs
Removing paint from metal is usually straightforward, but it can involve a few nuances. Here are a few answers to some common questions about removing metal paint.
Q. How do I remove paint from metal without scratching it?
If you need to know how to remove paint from metal without scratching, consider the type of metal you’re working with. Softer metals, such as silver, gold, and tin, can be susceptible to scratching when using a metal paint scraper or other tools. It’s best to use a plastic paint scraper and the most gentlest methods while working with soft metals to avoid scratching. If there is an inconspicuous area on the metal surface, attempt to remove the paint from that area first.
Q. How do I remove spray paint from metal?
If you are wondering how to remove spray paint from metal, it’s similar to removing bucket paint from metal. Spray-painted metal objects can be stripped of the paint finish with the methods described above.
Q. How do I remove rust from metal objects?
How to remove rust from painted metal is a common question, since old metal paint is usually accompanied by rust. Rust can make the process a little more difficult and a lot more messy. The easiest way to remove rust is to use a drill with a wire wheel. Operate the drill on a low setting and make sure to wear eye protection as well as protection of your skin.
Final Thoughts
Learning how to remove paint from metal surfaces will help save money and resources as you can refresh and reuse those household items. Depending on the size and shape of the metal object, one method may be better suited than another. Also, you may need to try a few methods before all of the paint is gone. If removing paint from a metal item is only the first step in a bigger upcycling project, you may want to learn more about the best paints for metal.
About the Author
Theresa Clement is a handy designer who has been improving homes for more than 20 years. A certified color expert, she is known for solving design dilemmas with paint, and has painted everything from metal and wood furniture to plastic hopper balls and gum balls to complete a look for a client. Starting with her work at architecture firms, she has authored DIY books; writes for Architect magazine, JLC magazine, and Remodeling magazine; and worked as a design producer on makeover shows. She now works with her carpenter husband on private homes and their home improvement brand, MyFixitUpLife.