We may earn revenue from the products available on this page and participate in affiliate programs. Learn More ›
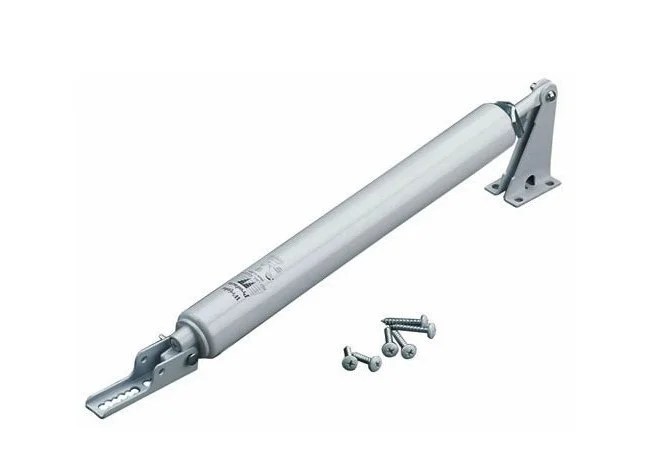
The door closer on my front porch—that mechanical cylindrical device that keeps the door from flying open too far and then automatically closes it afterwards—had seen better days.
With numerous furniture and building material deliveries over the years, the “hold-open” washer had begun failing to do its job. And the door itself had become so misaligned that it remained slightly ajar even when closed. The solution? Replacing the door closer.
Changing a door closer couldn’t be an easier DIY project, particularly if you install one that duplicates the style and size of the one you are replacing.
I brought the old door closer to my local ACE Hardware to make certain that the one I purchased was, if not exactly the same, as close as could be to the original. I hoped by doing so I would find one that could be re-installed using the same screw holes.
Here’s all you need to do:
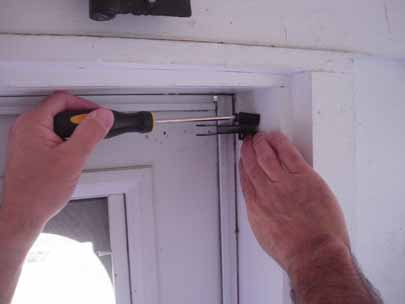
Step 1
Once you have removed the old hardware, secure the Jamb Bracket (the larger, angled mounting hardware) to the door frame with the large screws provided. If the holes do not align exactly, or this is a first-time install, follow the manufacturer’s instructions for positioning and mounting the bracket hardware.
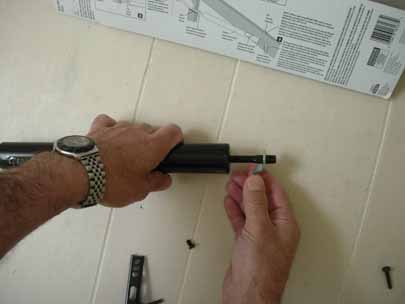
Step 2
Slip the small metal “hold-open” washer on the protruding end of the cylinder. This will enable you to keep the door open when necessary.
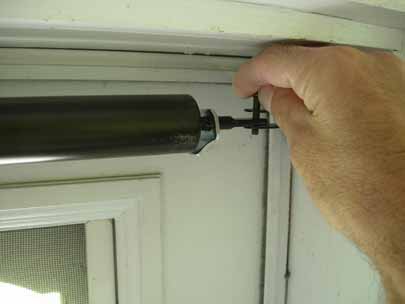
Step 3
Position the extended end of the door closer so that it aligns with the holes in the Jamb Bracket. Once it is aligned, simply insert the anchor pin into the hole. This will hold the closer in place.

Step 4
Close the door and see where the door bracket needs to be installed to secure the other end of the door closer. If the existing holes align, simply secure the door bracket with the screws provided. If not, you will need to follow the instructions for drilling holes in the door. Once installed, align the holes with the cylinder (as you did on the other end) and insert the anchor pin.
Test the door and make certain that it opens and closes. You can adjust the screw on the end of the cylinder to make it close slower or faster.
That’s it. I told you it would be simple!