We may earn revenue from the products available on this page and participate in affiliate programs. Learn More ›
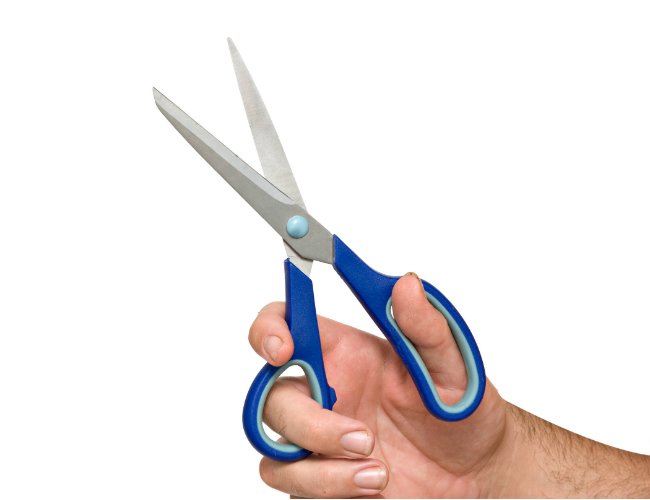
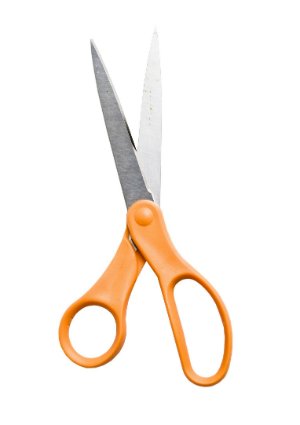
Used for cutting paper, cardboard, fabric, string, price tags, plastic packaging—that list goes on—those scissors in your office or kitchen drawer might be the most reliable everyday tool in your house. With such regular use, that trusty tool dulls over time. Most scissors are not prohibitively expensive, so when one pair dulls you may consider just going out and buying another. But of course that’s not necessary (not to mention a waste of money) if you how to sharpen scissors. Essentially, scissors are two knives connected at a pivot point. So not surprisingly, you can sharpen scissors just as you would kitchen knives, with a couple of simple tools and some practice.
Tools & Materials
Bobvila.com may earn a commission from purchases made through these links.
STEP 1
To sharpen scissors most effectively, you need a sharpening stone (sometimes called a bench stone). You can get one at the hardware store for less than $20, and it will serve to sharpen most any blade you have, from your kitchen knives to your pruning shears. We like the Lanksy Puck (view product on Amazon) for its compact size and user-friendly shape, but you can’t go wrong with any quality, two-sided stone.
hanIf your scissors are very dull, you’ll need to start with the coarse side and then move to the finer side to finish. If your scissors just need a light tune-up, you’ll use only the finer side.
Lay your sharpening stone on a towel and lubricate it with oil or water. Stores sell honing oil alongside sharpening stones, but you can use any oil, or even water, for lubrication.
STEP 2
Remove the screw that holds your scissors’ blades together in order to treat each one separately. It will be much easier to work on them.
STEP 3
As mentioned, if your scissors are particularly dull, you’ll want to turn over your stone to work first on the coarse side; if not, start working with the finer side. Place the blade onto the stone with the beveled edge facing you. Then, gripping the handle, tilt the blade toward you until the beveled edge lies flat on the stone. Now, slowly pull the blade across the stone to you, keeping that beveled edge flat against the stone. Repeat this action—carefully!—until the blade has sharpened. If you started on the coarse side of the stone, finish with a few swipes on the finer side of the stone.
Until you’re practiced, you may find it hard to judge when the edge has been completely sharpened. Here’s a tip: Before starting, run a permanent marker across the blade edge. When the marker has disappeared, you’ve sharpened the entire blade.
STEP 4
Repeat Step 3 with the second blade of the scissors.
STEP 5
Once you’ve finished with the sharpening stone, you will see a fine edge of burrs along the blade; these need to be removed. Reassemble the scissors by screwing the blades back together, and open then shut them a few times. Knock the burrs off by making a few trial cuts through a piece of material those scissors are meant for, be it fabric or paper. If you’re happy with how sharp the scissors are, you’re finished. If not, repeat the process.
You should practice on some old scissors until you get the hang of it—Grandma will be mad if you ruin her antique sewing scissors! But it won’t take you long to get comfortable, and then you’ll never have dull scissors in the home again. Once you’re familiar with how it’s done, it’s really no sweat to sharpen scissors and keep them sharp with quick, regular maintenance every couple of months. Happy cutting!