
We may earn revenue from the products available on this page and participate in affiliate programs. Learn More ›
If your around-the-house to-do list includes an ambitious DIY electrical project, be it installing a light fixture, replacing a switch, or extending electrical wires to add another outlet in the garage, you’ll need to know the fundamental skill of splicing wires. Learning how to splice wires correctly will not only ensure that your electrical repairs and upgrades function properly, but equally importantly, will also keep you and your property safe. If you’re not sure you know exactly how to splice wires, read on for more info.
Before You Begin Splicing Wires
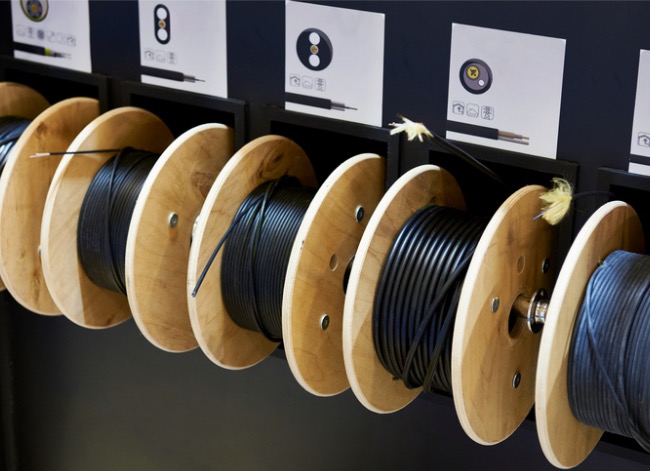
The following instructions assume that you’re splicing together two Romex wires of the same type. (In this example, we’re connecting a 12/2 NMC with ground to the same type and size of wire.) Romex is a brand name of wire preferred by many electricians that is commonly used in residential applications. The markings stamped on the outer insulation, “12/2 NMC with ground,” indicate the size and type of wire—in other words, a 12-gauge wire with two inner insulated conductors (a black “common” and white “neutral”) as well as a non-insulated grounding wire.
Note: “NMC” is an acronym for nonmetallic cable, the type of wire that is most common in residential applications.
Other types of Romex wire used in residential construction are:
- 12/3—12-gauge wire with three inner insulated conductors and ground, commonly used for switches and light fixtures
- 10/2—10-gauge wire with two inner insulated conductors and ground, commonly used for water heaters
- 10/3—10-gauge wire with three inner insulated conductors and ground, commonly used for electric clothes dryers
- 6/3—6-gauge wire with three inner insulated conductors and ground, commonly used for electric ranges and ovens
It must be noted that while it is possible to splice different types of Romex wire—12/2 to 12/3, for instance—you should never splice together wires of a different gauge. Wire gauge is determined by the amount of amperage the wire is expected to carry. For example, a 12-gauge wire is capable of handling approximately 20 amperes, while a 10-gauge wire is capable of handling 30 amperes.
Overloading a wire with more than its intended amperage could cause it to overheat, melt, and possibly catch fire.
RELATED: The Best Multimeters for DIYers and Pros
Safety Precautions for Splicing Electrical Wires
Before beginning any work to connect electrical wires, turn off the circuit breaker supplying electricity to the wire that you want to splice. Use extreme caution when working with electricity, as it can cause serious injury or even death when not handled properly.
Verify that the power is indeed off using a voltmeter, a device that measures the electrical current in wires. If you still aren’t certain that the power is off, turn off the main circuit breaker for the entire house.
Additional precautions you should take before beginning your project:
- Find a partner. Never work on electrical wiring alone. You want someone around in the event that an unfortunate circumstance occurs.
- Switch your shoes. Wear rubber-soled shoes to insulate your body.
- Make sure the space is dry. Never work on electrical wiring in wet or damp conditions.
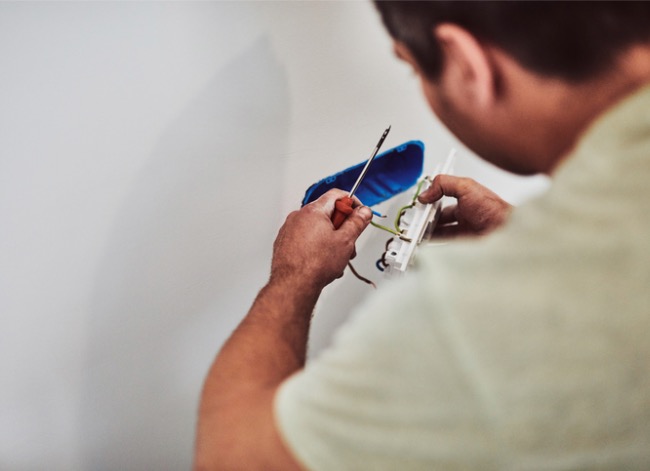
How to Splice Wires
When a home project requires splicing wires, be sure to follow these steps carefully and exactly. A solid electric wire connection will bring the desired result—a new light fixture or fan, for example. A single misstep, however, can result in, at best, a mess that must be corrected, or at worst, a disaster. Read through these directions carefully, and assemble all the necessary equipment before you get started. Most important: if you’re ever in doubt, call a professional.
Tools & Materials
Bobvila.com may earn a commission from purchases made through these links.
- Voltmeter
- Electrician’s pliers
- Romex wire connector
- Needle-nose pliers
- Screwdriver
- Utility knife
- Wire strippers
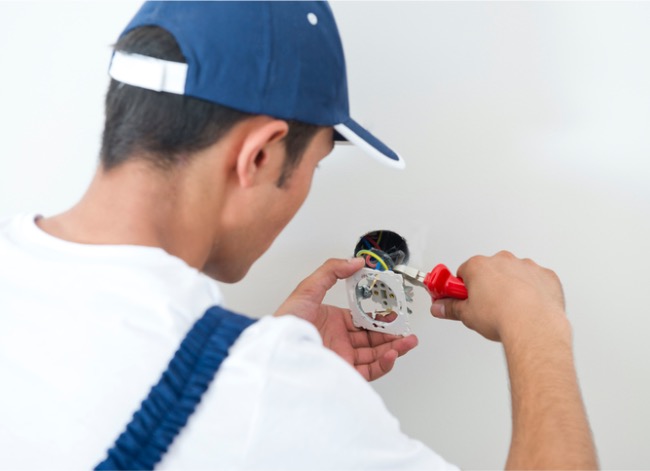
STEP 1 : Prepare and install the junction box.
Use the electrician’s or linesman’s pliers to remove two of the knockouts on the new junction box, which will house and protect the spliced wires and contain any sparks that could cause a fire if something should go wrong. The knockouts are pressed into the box in predetermined locations during manufacture for easy removal.
Most junction boxes are universal and include knockouts of various sizes to accommodate different applications and a range of wire gauges. This setup lets you choose the locations on the box where you want to install the wire connectors and wire during installation.
Insert a Romex connector in each knockout hole in the junction box. Be sure to purchase a connector that fits the knockout holes you’re using on the junction box and is suited for the diameter of wire you are splicing.
Secure the connector to the junction box using its threaded locknut and tightening with needle-nose pliers and/or a screwdriver. The connectors act as protective guides that also secure the wires to the junction box. Without them, the wires could be damaged by the sharp edges of the knockout holes.
Install the junction box appropriately—many types attach directly to the wall stud or surface with mounting screws or anchors—and in an area within range of the existing wire.
RELATED: The Best Electrical Tape for Your Projects
STEP 2 : Prepare wire splice connectors.
Thread the end of each 12/2 Romex wire—the existing wire and the wire you’re splicing to it—through one of the Romex wire connectors attached to the box. Tighten the screws on the sides of the wire connector designed to hold it in place, using the appropriate type of screwdriver.
STEP 3: Ground the junction box.
Thread a grounding screw through the threaded hole on the back of the junction box. The grounding screw grounds (returns excess electrical current safely to the ground) the junction box in the event of a short circuit.
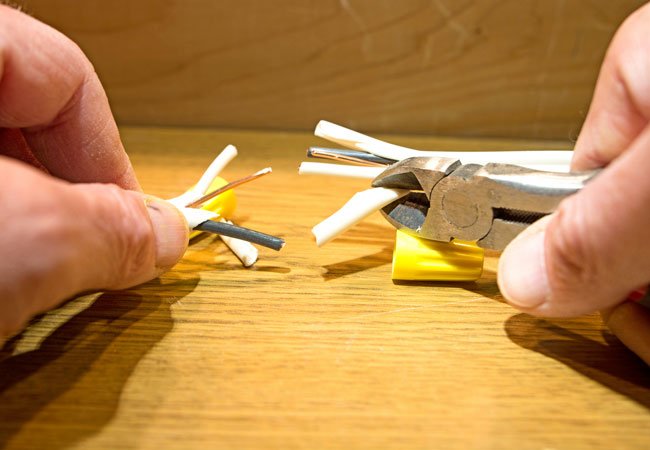
STEP 4: Strip and ground the wires.
Strip approximately 6 inches of the outer plastic sheathing from the end of the wires you’re splicing together. A utility knife is ideal for slicing and cutting away the outer insulation, or you can use wire cutters. Remove the protective paper wrapping surrounding the insulated wires and ground wire.
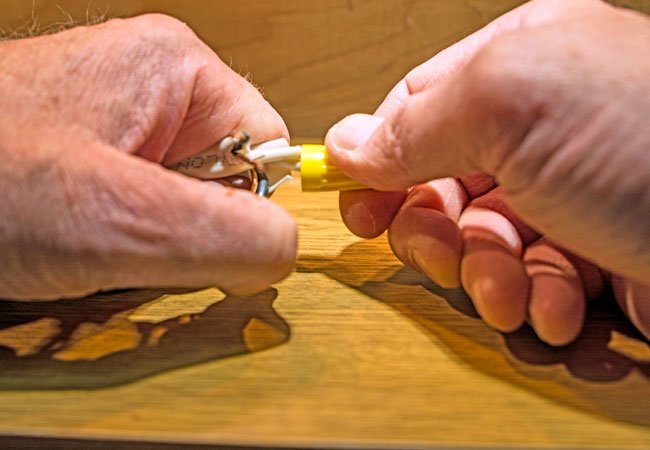
STEP 5: Use a twist-on wire cap.
Wrap one of the bare copper ground wires once around the grounding screw that’s attached to the junction box; you should leave about 6 inches of exposed wire hanging past the screw. Tighten the ground screw using the screwdriver to secure the ground wire to the box.
Now, twist the second ground wire tightly together with the attached ground wire using the electrician’s pliers, and secure the joint with a twist-on wire cap/nut. Fold the joined wires neatly into the back of the junction box.

RELATED: The Best Wire Strippers for Electrical Projects
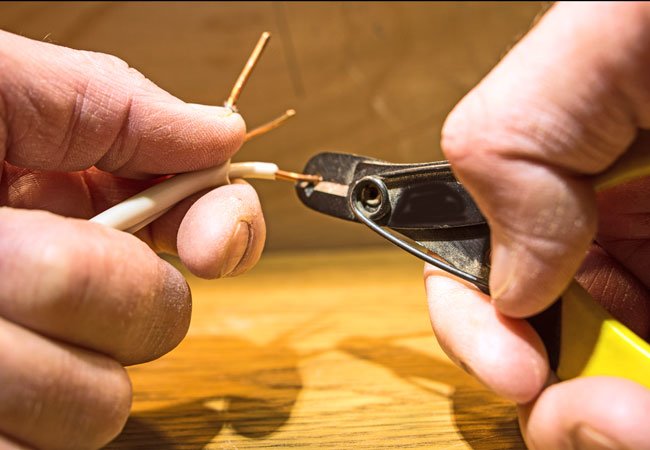
STEP 6: Twist wires together.
Using a pair of wire strippers, remove approximately ½ inch of insulation from the ends of both 12/2 cables, from both the black and white wires. Wire strippers are a convenient tool for this task, as they’re designed to strip a wide range of wire sizes and they’re available at most home improvement centers. Similar to a pair of pliers, the tool incorporates sharp edges and predetermined cutting points that allow you to remove the protective insulation from each wire without damaging the wire itself.
Using electrician’s pliers, twist together the stripped ends of the corresponding wires from each strand of 12/2 Romex, white wire to white and black to black. Twist them until they are tightly joined, and secure each joint with a threaded wire cap/nut. Fold both sets of wires neatly into the junction box.
STEP 7: Secure the junction box.
Align the protective cover with the mounting screws on the junction box, and tighten firmly using a screwdriver.
Final Thoughts
Knowing how to splice wires can save you time and money on numerous electrical and lighting projects around the house. If, however, you’re apprehensive about working with electricity or lack basic electrical knowledge, do not hesitate to hire a licensed electrician for your project.
While hiring an electrician can easily set you back at least $50 per hour, it’s a small price to pay to protect your family and your property from the severe consequences of poorly performed electrical work.
FAQs About How to Connect Electrical Wires
Q. Can you splice wires without a junction box?
Technically, yes, but it’s highly unlikely that splicing wires without a junction box is acceptable under building codes and it’s also not safe, so functionally, it should not be done.
Q. How many wires can you pigtail together?
It depends on the size of the wires you’re using, the size of the wire caps/nuts, and on local building codes. The packaging of the nuts you’re using will provide information about the number of wires of various sizes they will accommodate. Or you can find push-in connectors that support varying numbers of wires.
Q. How many times can you splice a wire?
There is no limit, assuming you do the splices correctly and contain them within an accessible, and preferably metal, junction box. A caution, however: Every splice is a possible failure, so the fewer splices, the lower the potential for problems.