We may earn revenue from the products available on this page and participate in affiliate programs. Learn More ›
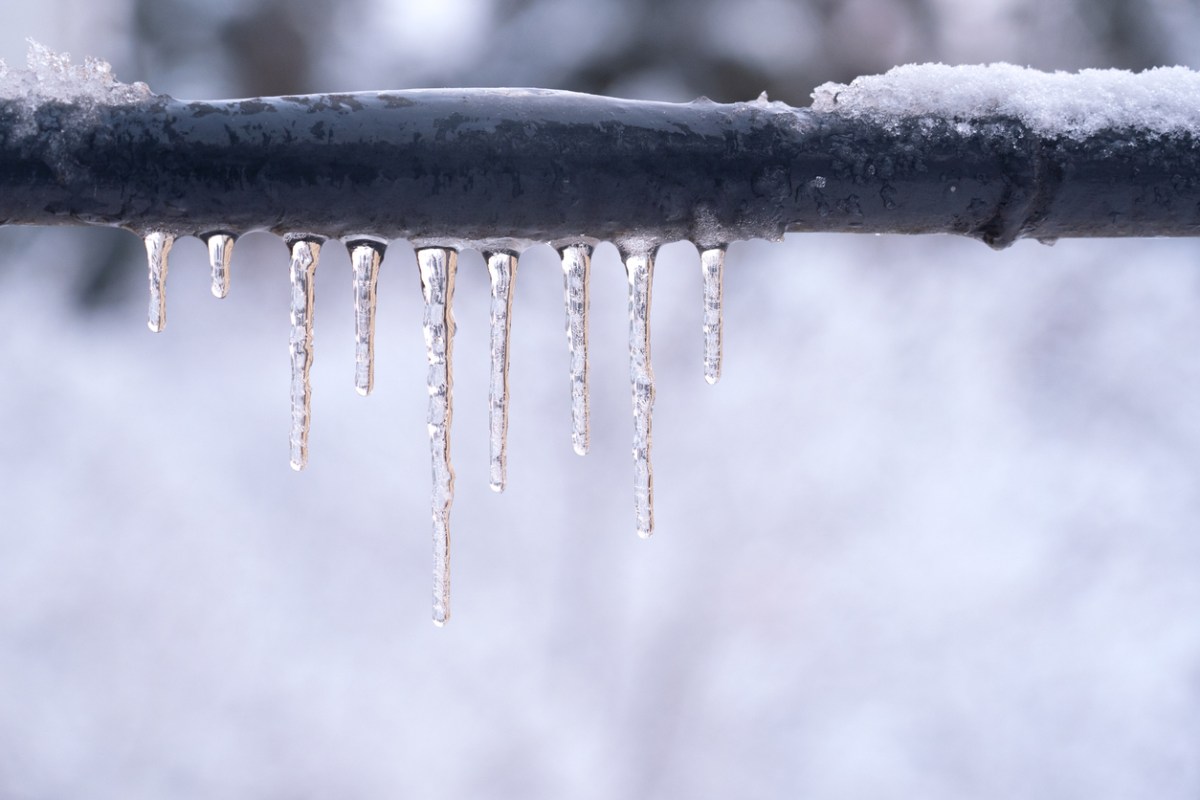
Few problems around the house strike fear into the heart of a homeowner like a frozen pipe: The pressure created by freezing water can damage even the strongest pipes. Once ruptured, that frozen pipe becomes a ticking time bomb: When that pipe thaws out, it will dump up to 8 gallons of water per minute into your home, and probably cause thousands of dollars in damage.
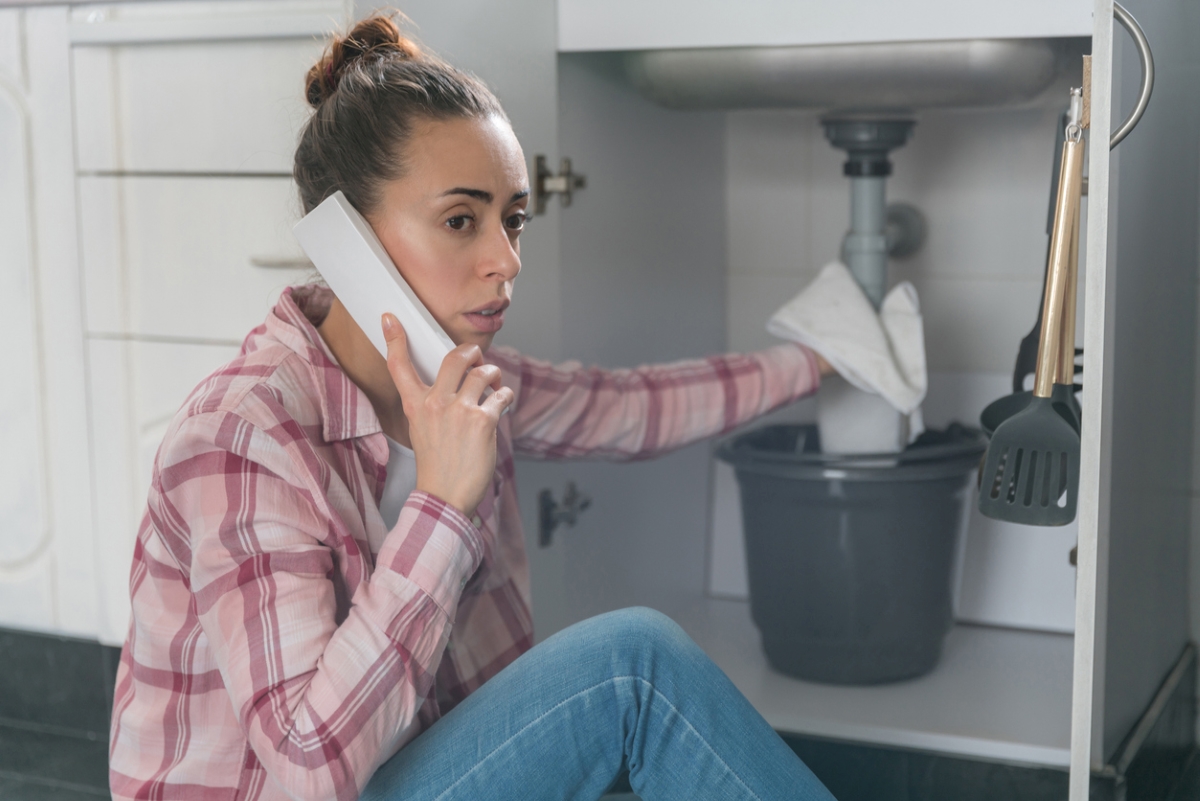
While calling a professional plumber is the best way to deal with this issue, we don’t always have the time (or the funds) to hire a plumber. Don’t panic! You can handle this problem yourself by following the steps below for how to thaw frozen pipes.
Tools & Materials
Bobvila.com may earn a commission from purchases made through these links.
Project Overview
Working Time: 1 hour
Total Time: 1 hour
Skill Level: Beginner
Estimated Cost: $0 to $35
Before You Begin
It’s absolutely crucial that you locate and turn off the water at the main shutoff valve in your home before you start the thawing process. When a pipe freezes, there’s a good chance that the expanding water will cause the pipe to burst. Once thawed, that water will flow unabated, potentially flooding your home. If you don’t know where your home’s main water shut-off valve is, you won’t be able to stop it.
RELATED: Protect Your Pipes From Freezing and Save 20% Off This Highly Rated Heat Cable
How to Thaw Frozen Pipes Inside the Home
Step 1: Find the frozen pipe.
Sometimes the hardest part of this task is locating the frozen pipe. One way to track it down is to open all the faucets in your home. If water doesn’t reach a particular faucet, trace its plumbing lines as they travel away from the fixture.
Every few feet, inspect the plumbing with your hands (a frozen pipe literally feels ice cold), continuing until you locate the affected area. “Common signs include reduced water flow, strange noises, or visible frost on the exterior of the wall. Infrared thermometers can help identify temperature variations, aiding in pinpointing the frozen section, Mehdi Khachani, CEO of Miami-based LMK Plumbing, tells Bob Vila.
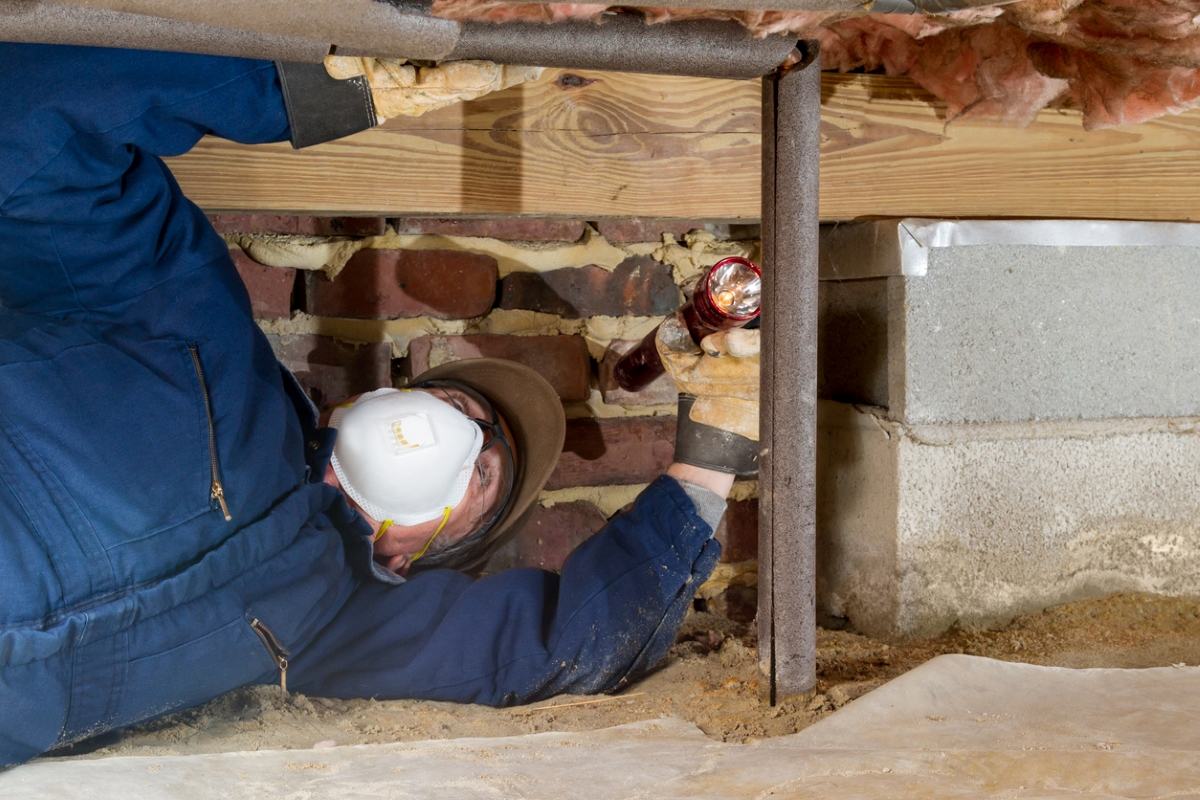
If none of your faucets is getting a flow of water, the problem may be with the main supply pipe. It is typically found in the basement or crawl space, on the side of the house that faces the street.
Step 2: Shut off water to the house.
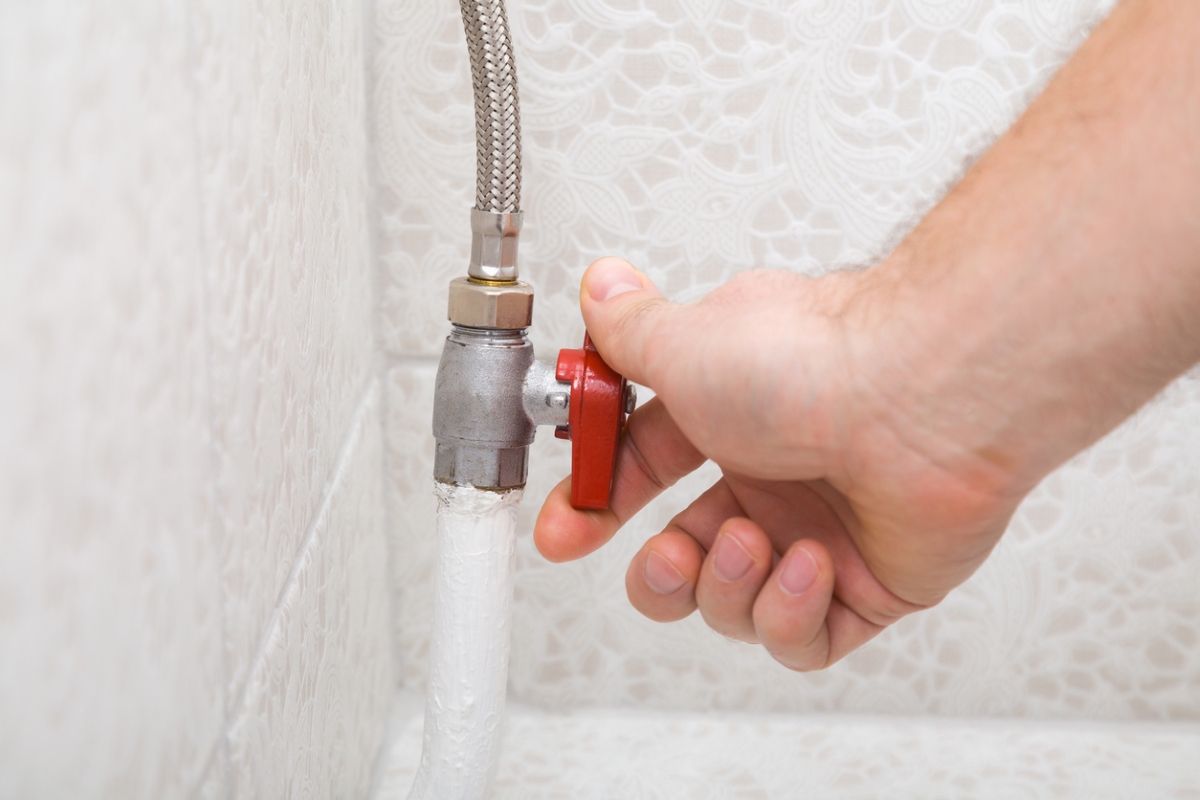
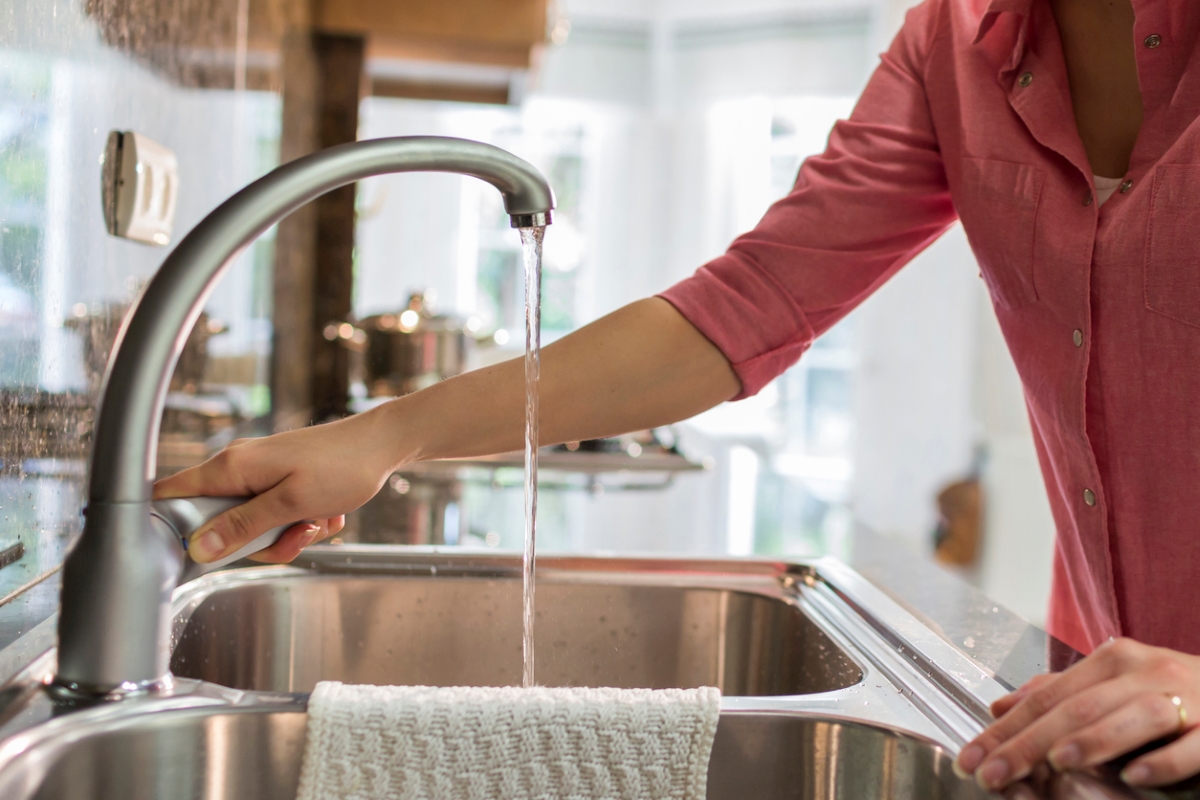
Once you have found the frozen pipe, go to the main water supply valve and turn it clockwise to its “off” position. Next, turn on the water at all the sink faucets and tub spouts in your home, draining what remains of the water in the system. Flush your toilets too.
Bring a bucket, mop, and two or three towels you wouldn’t mind ruining to the site of the frozen pipe.
Step 3: Thaw out the frozen pipe.
At this point, your mission is simple: Apply heat to the frozen pipe. The process is the same whether you are thawing metal, PVC, or PEX pipes. For thawing, homeowners typically use such things as hair dryers, heat lamps, and heating pads. Low-tech solutions can be equally effective.
For instance, you can pour hot water over towels and drape them over the frozen length of pipe. “My preferred method to thaw a frozen pipe involves using a hair dryer and towels. Alternatively, heat tape or heating cables designed for pipes can be effective. Reputable brands for these products include Frost King or Easy Heat,” Khachani says.
More important than your heat source is your technique: It’s best to begin heating near the edge of the frozen area, on the side closest to the nearest kitchen or bathroom. That way, any steam or water generated by the heating can escape the pipe.
Continue heating, inching along the frozen pipe one section at a time. Alternatively, if you can’t directly apply heat to the frozen pipe, try running a space heater in the nearest accessible area.
Note: “While infrared heaters can be useful,” advises Khachani, “I recommend a cautious approach due to potential fire hazards. Instead, consider using portable electric heaters or a properly placed heat lamp. Always prioritize safety when using any heating method.”
If a heater isn’t an option, turn up your thermostat by a few degrees. Any increase in your utility bill would be small in comparison with a costly repair. Whatever method you use, work fast but be patient.
Depending on the weather, where the frozen pipe is located, how long it’s been frozen, it could take between 30 and 45 minutes to thaw a frozen pipe.
Step 4: Check for leaks in the pipe.
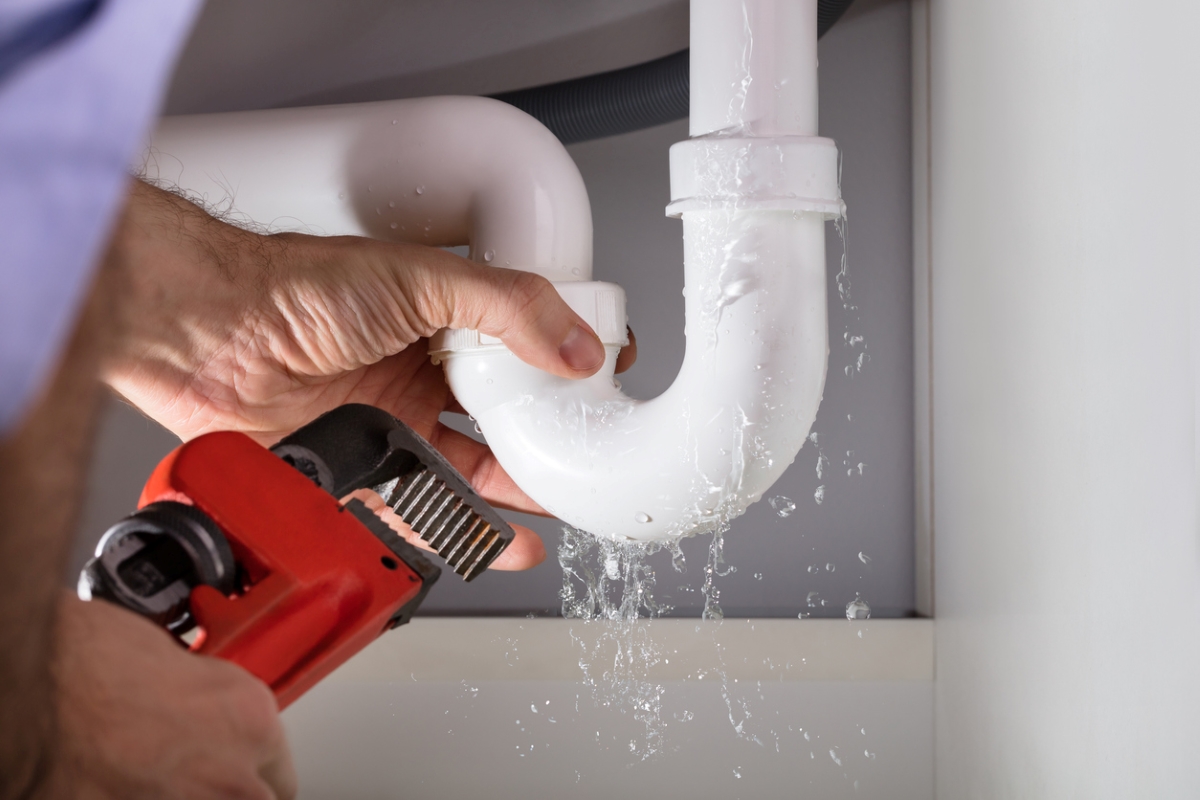
Once you are confident the freeze has melted, return to the main water supply valve and turn it on—partially. Return to the pipe and inspect it for leaks. If it did rupture, turn off the supply again, call the plumber, and get to work cleaning up. If the pipe appears to be channeling water properly, go ahead and turn the water supply all the way on, and close any faucets or spouts that are still open.
How to Thaw Frozen Pipes Outside
If the frozen pipes are on the exterior of a mobile home or enclosed in a wall, you won’t necessarily be able to use a space heater to thaw them. Unless you’re willing to wait for Mother Nature to assist with warmer temperatures, you’ll need to get creative by using one of the following methods.
How to Thaw Frozen Pipes in a Mobile Home
Some trailers have plumbing in an open crawl space under the home, which makes them susceptible to freezing in cold weather. Since it’s impossible to warm the air around these pipes with a space heater, you’ll need to apply direct heat.
You can use a common blow dryer or a heat gun, such as one you might use for curing paint or epoxy.
- Turn the blow dryer to its maximum setting and hold it a few inches away from the frozen pipe to thaw it out. If using a heat gun, choose a medium temperature setting to avoid melting the PVC.
If you don’t have a hair dryer handy, try applying warm towels.
- Saturate a towel with water, wring it out, then throw it in the microwave for 30 seconds.
- Wrap the hot towel around the frozen pipe to begin the thawing process. Keep in mind that the damp towel won’t stay warm for long in cold temperatures, so plan on having a few on deck to sub in until you successfully thaw the pipe.
How to Thaw Frozen Pipes in a Wall
If the frozen pipe is inside a wall and you’ve identified its location, you can use an infrared lamp to thaw it.
- Position the lamp so it directs heat on the section of the wall that is covering the frozen pipe. Make sure there is a buffer of 2 feet between the wall and lamp to eliminate any fire hazards.
- Wait for the pipe to thaw. Keep in mind that you may need to cut into the wall to make repairs if the pipe has burst.
If you encounter frozen pipes in an apartment or multi-family building, says Khachani, “cooperation with building management and understanding shared plumbing systems is crucial.”
Since you may not have immediate access to the frozen pipes, notify your building manager or landlord about the issues so they can take the necessary precautions for other units or address any potential building-wide problems.
How to Keep Pipes From Freezing
To prevent a similar situation in the future, take steps to protect your at-risk pipes. There are several pipe winterizing techniques available to the average homeowner that don’t involve rerouting the plumbing or modifying the heating system.
- Insulate your pipes. Cover pipes in the coldest sections of the home, such as the basement, crawl space, attic, or garage, in pipe insulation.
- Install heat cable. If you want to go a step further, install heat tape, which is an electrical cord you attach to pipes that heats them, preventing them from freezing in temperatures as low as 40 degrees below zero.
- Open all your faucets and spouts to a trickle. Flowing water resists freezing better than static water. By opening your hot and cold taps just a smidge, the trickle of water will prevent your pipes from freezing.
- Seal any gaps or cracks in walls. Use caulking or weatherstripping to seal around windows, doors, and any other openings.
- Consider installing a smart thermostat. According to Khachani, installing a smart thermostat in your home can help monitor and regulate indoor temperatures and prevent your pipes from freezing.
Final Thoughts
If you suspect you have a frozen pipe in your home, you need to act fast. If the pipe bursts, once it thaws it could cause major flood damage to your home, turning a relatively minor repair into a major expense. Use the steps above to locate and thaw out the pipe so you can assess the damage and determine if the pipe requires further repairs. If the pipe is indeed damaged, you’ll need to call a plumber to fix it.