We may earn revenue from the products available on this page and participate in affiliate programs. Learn More ›
If your toilet’s clogged or your sink is stopped up, it’s time to take the plunge! Nine times out of 10, a clog can be cleared with just a couple of thrusts of a plunger. To make the messy job easy, though, it’s important to have the right kind of plunger and the proper technique. As it turns out, not all plungers are created equal; some are best suited for sinks and showers, while others are appropriate for use on toilets. Once you’ve determined the best tool for the job, success is all about form. Contrary to popular practice, repeatedly flushing while frantically pumping won’t release the blockage any faster—instead, it will break the plunger’s seal and ruin the suction. To keep the water flowing freely down your pipes, avoid those amateur mistakes and learn how to use a plunger like a pro with these valuable tips.
Types of Plungers
Start at the very beginning: While there’s probably a shelf full of plungers from which to choose at your local big-box or home improvement store, the two most common styles are the cup plunger and the flange. It’s a good idea to keep one of each on hand at your home, and understand what each type is good for before your next plumbing emergency strikes.
- Cup plunger: When most of us think of plungers (not that we do with much frequency), the image that probably comes to mind is that of a simple wooden handle attached to a rubber cup. It’s this cup that gives this tool its name. This design is most effective on flat-surface drains, like those in the sink and bathtub. While it works well for a sink, shower, or bathtub clog, the cup plunger can’t create a sufficiently airtight seal in the curve of a toilet drain to produce adequate suction.
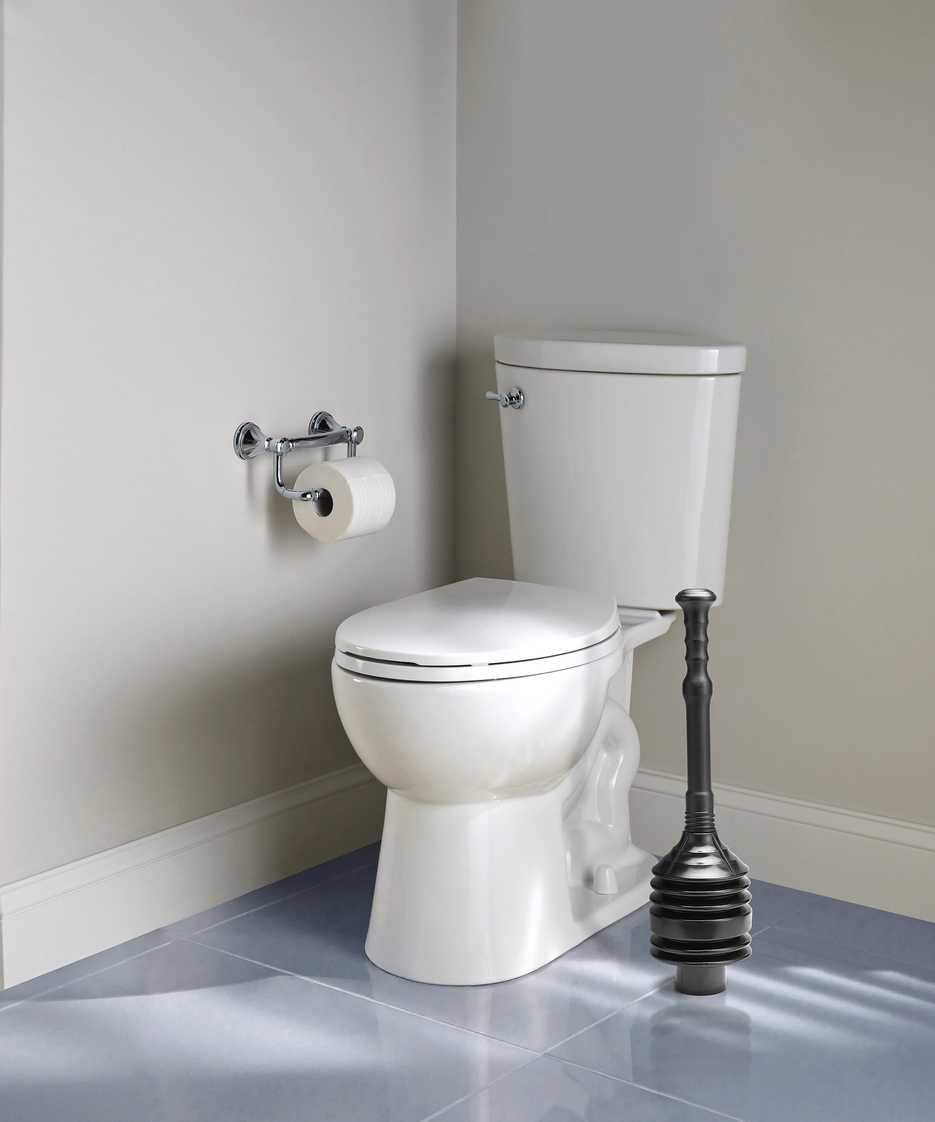
- Flange plunger: A toilet clog calls for a different type of plunger entirely: the flange plunger, which has an extra ring of rubber (the flange) around the cup. The flange is inserted into the toilet drain, sealing in the air and increasing the suction power. In a pinch, you can fold the rubber ring back into the bell of the plunger and use it to unclog a tub or sink drain, but a true cup plunger will be more effective.
RELATED: Buyer’s Guide: The Best Plungers
How to Plunge a Sink, Shower, or Tub

Seal off any nearby drains in sinks or tubs to ensure better results. To further improve the plunger’s suction power, create a tighter seal by lining the rim of the cup with a small amount of petroleum jelly.
STEP 1: Cover the overflow drain, if there is one, with a wet towel. Doing so prevents air from escaping and decreasing the suction power.
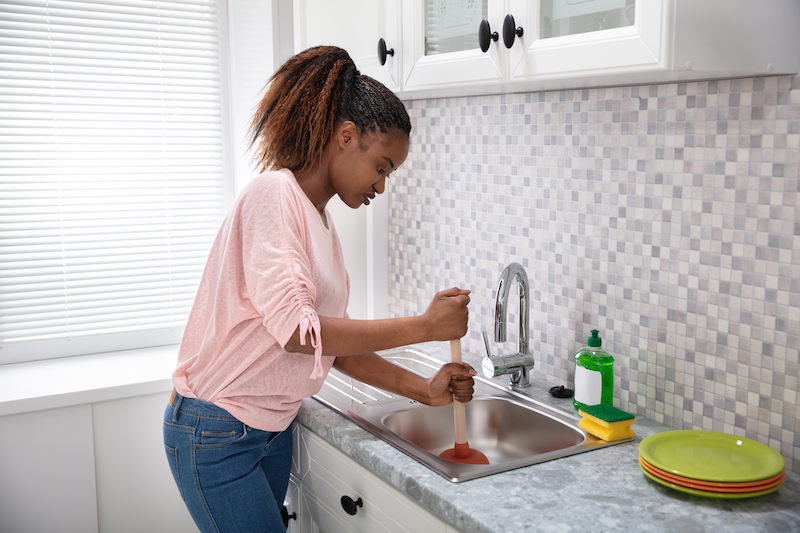
STEP 2: Place the rubber bell securely over the sink or shower drain and completely submerge the bell in the standing water. Plunging can get messy, so if there is too much water, scoop out the excess into a nearby bucket in order to minimize cleanup.
STEP 3: Push down on the handle—gently at first—forcing the air out. Then continue plunging with quick and deliberate thrusts, directing the pressure down the drain without lifting the plunger enough to break the seal. Continue this action for approximately 20 seconds. When you pull the plunger away, the clog should be cleared.
If you choose to use drain-clearing chemicals, don’t use a plunger at the same time. If you do, you risk splashing around harsh, toxic substances that can cause burns or, if they come in contact with your eyes, blindness.
Plunging a Toilet
If your toilet looks like it’s about to overflow due to a clog, don’t keep depressing the handle in the hope that the bowl will drain. Here’s what to do instead:
STEP 1: Allow 10 minutes for the water level to drop. Then, locate the water supply hose on the wall behind the toilet and turn the handle clockwise to close the valve.
STEP 2: Examine the water level in the toilet bowl. Ideally, the water would be about halfway up the bowl. If the bowl is too full, transfer some of the excess water to a bucket. If the bowl is almost empty, however, add enough water to fill the bowl halfway. Having an adequate amount of water in the bowl will improve the suction and ultimately lead to a more successful plunge.
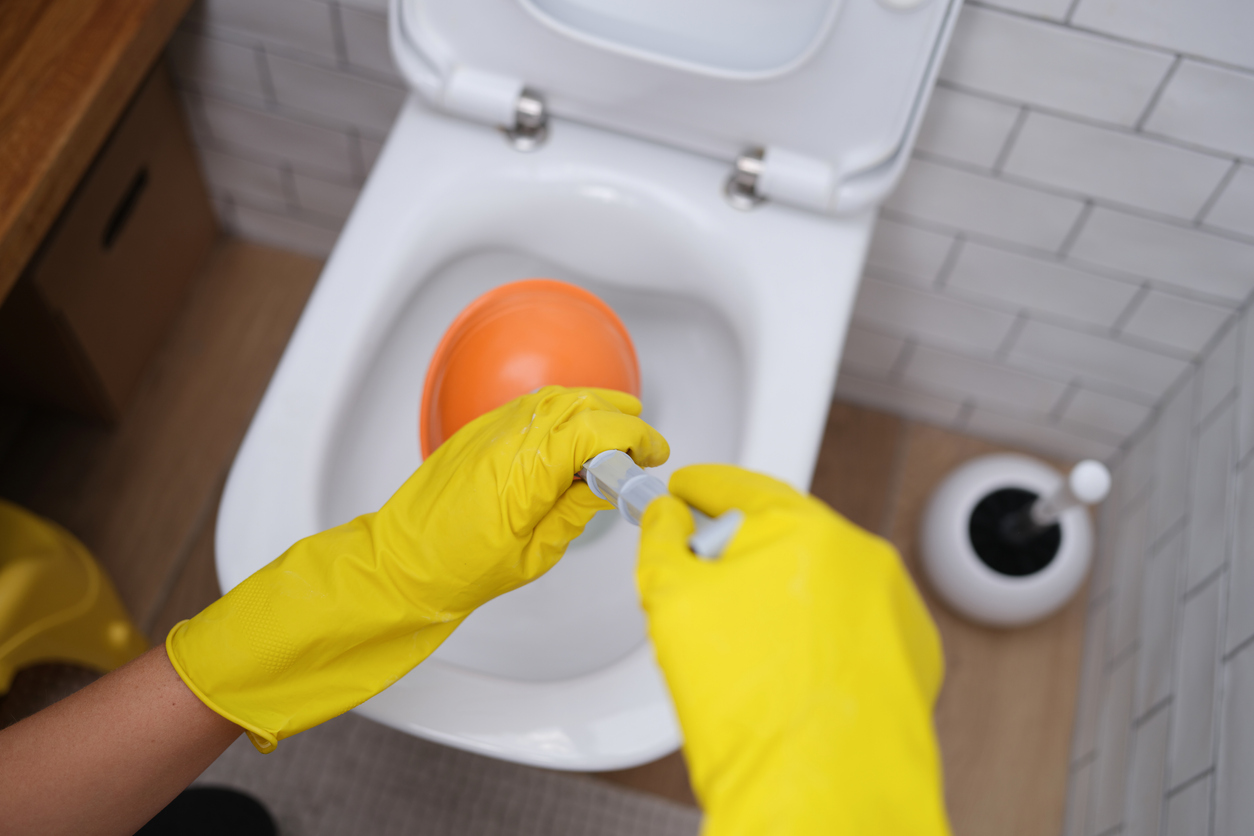
STEP 3: Use a flange-style plunger for optimal suction, and make sure that the flange is extended. Submerge the plunger (the top of the bell should be covered with water) and make sure the rubber ring is inserted directly into the drain opening. Push and pull on the handle with quick, concentrated thrusts for 20 seconds without lifting the plunger out of the drain and breaking the seal. Usually, this is all it takes to clear the clog.
STEP 4: If the toilet remains stopped up, it may be time to put away the plunger and pull out the drain snake, or call in a plumber to diagnose a bigger problem.
RELATED: Buyer’s Guide: The Best Toilet Plungers
What to do When a Plunger Doesn’t Work
If the toilet won’t flush or shower still won’t drain after using a plunger according to the above steps, don’t panic—there are other effective clog-clearing methods to try.
- Hot water and dish soap: Warm a gallon of water on the stove, removing it from heat just before it boils (around 200 degrees Fahrenheit will do). Add some dish soap to the toilet bowl while the water heats. Carefully pour the hot water into the toilet bowl, and allow the soap and water mixture to sit for around 15 minutes to break up the clog. Repeat as needed.
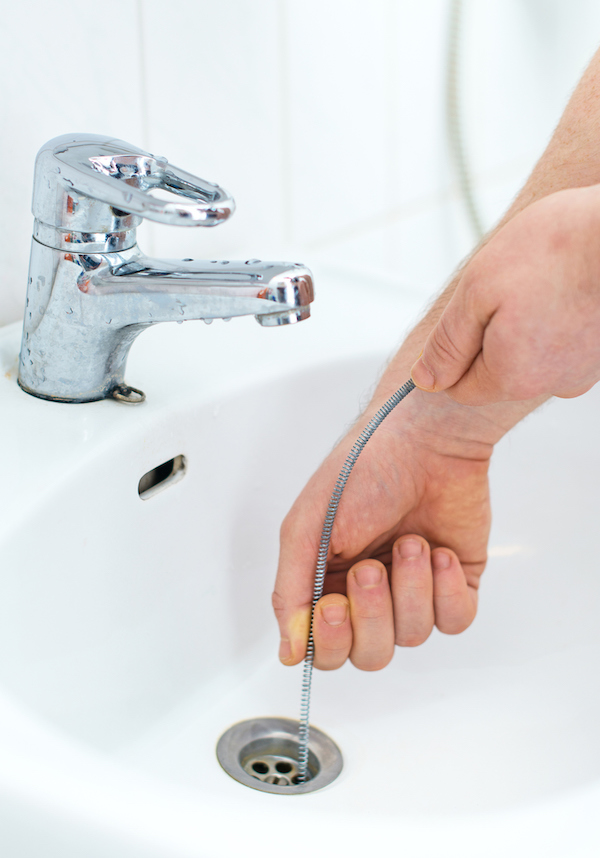
- Drain snake: In sinks and shower drains, soap scum and hair clogs can be removed with a drain snake. Put on gloves and work the snake into the drain as far as you can, shifting and rotating as you go. Pull up the snake (and any collected material), clean it off, and repeat until the clog clears. For a slow-draining toilet, use a toilet auger instead. Place an empty bucket next to the toilet, put on gloves, and point the auger cable tip down the toilet drain. Rotate the auger’s crank to extend the cable until it reaches the obstruction. Work the crank in the opposite direction to pull out the blockage, remove the clog material in the bucket, and repeat this process until the blocked toilet flushes again.
- Baking soda and vinegar: Pour a mixture of 1 cup of baking soda and 2 cups of vinegar into the toilet bowl and allow it to react in the water for 20 to 30 minutes. Flush the toilet to see if the clog has dissolved, but take care to avoid overflow.
- Call a plumber: If you’ve followed this guide for how to use a plunger correctly and all of the above techniques fail, it’s time to call a pro. The clog may simply be too far down or severe for you to handle alone, and it’s better to hire a plumber than to accidentally damage your pipes or fixtures.
FAQs
If your sink or toilet clogged and you need info on more specific situations, the below answers to commonly asked plunger questions have you covered.
Q. Do you flush while plunging?
No, flushing the toilet while plunging a toilet interrupts the plunger’s suction and can cause the toilet to overflow.
Q. Can plunging damage pipes?
Plunging doesn’t normally damage plumbing, but applying too much force when using a plunger can damage drain lines.
Q. Do plungers need water to work?
Some water is required for a plunger to work its best, yes. The presence of water helps plungers make a proper seal for optimal suction.