
We may earn revenue from the products available on this page and participate in affiliate programs. Learn More ›
Red walls are daring, bold, and energizing—all at the same time—and when combined with contrasting trim and décor elements, they are often nothing less than a work of art. Fiery-hued walls can create a historical look, reminiscent of the renowned Red Room in the White House, they can add a dash of passion to a bedroom, or they can provide an Asian-inspired backdrop in an entryway or dining room. Whether the shade is scarlet, brick, or tomato red, before running out and having paint mixed, read on to learn the potential pitfalls behind using red paint, and find out the best way to achieve a professional-looking finish.
The Problem with Red Paint
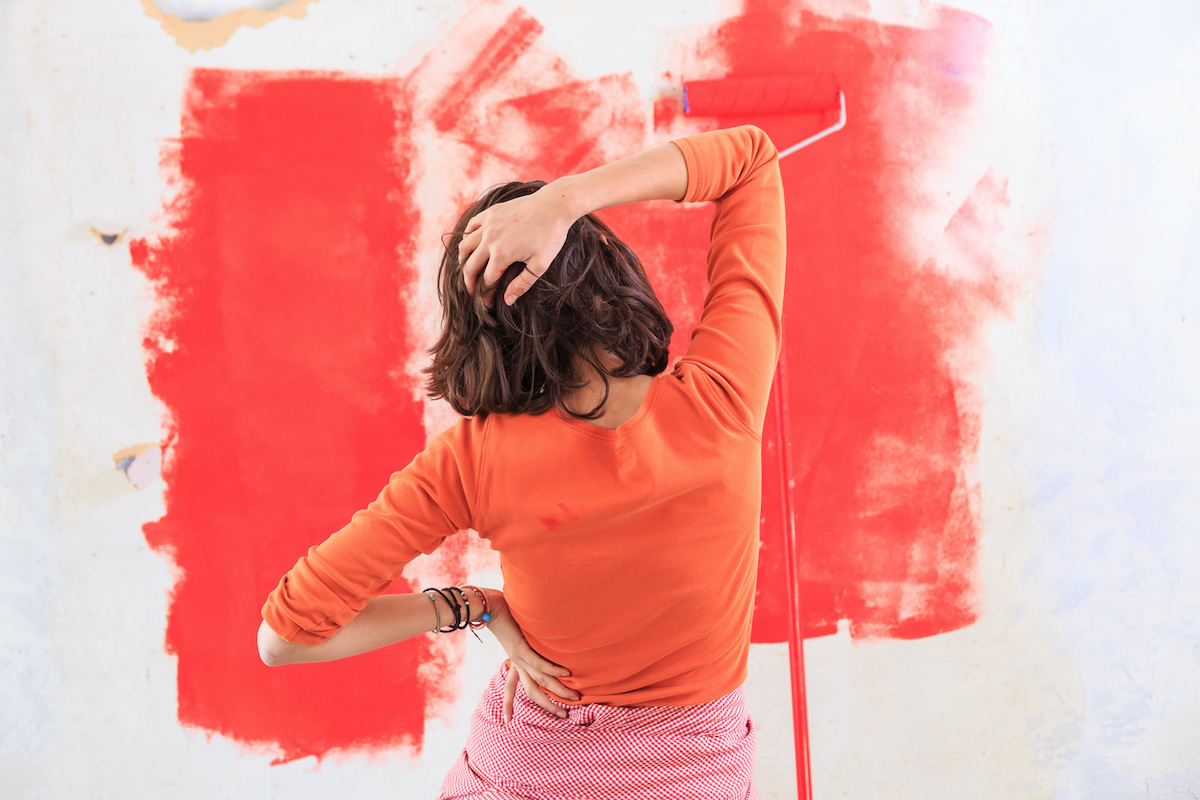
A primary color, red is vibrant, but it’s also naturally translucent, meaning it takes more coats to create a solid, opaque look. When painted over white or other light-toned walls, that vivid shade of ruby red that looked so perfect on the color swatch can morph into a distasteful pink, requiring multiple coats to cover. It’s also challenging to create a streak-free look when painting with red because brush and roller marks don’t fade when the paint dries, making the paint job look blotchy and amateurish. Getting a quality finish when painting with red is always challenging—but not impossible—the following tips and techniques can help.
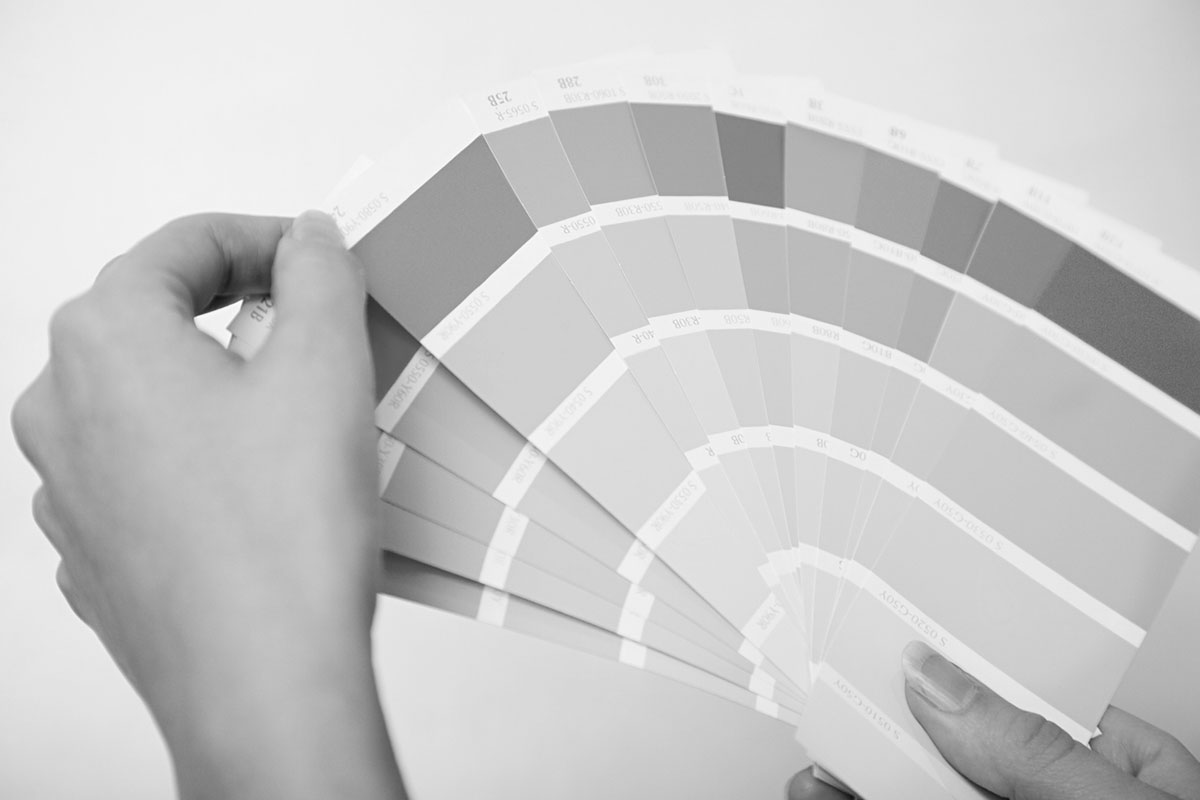
A Dozen Shades of Gray
DIYers often choose their desired shade of red from the swatches available in the paint department of a home-improvement store, select a paint brand, and have the paint attendant mix it up. What often is overlooked is the need to prime the wall before rolling on the red paint. Primer does two things; first, it covers the existing wall color, so it doesn’t bleed through, and second, it creates an optimal surface for the fresh paint to correctly adhere. However, when it comes to painting walls red, the primer has a third job—it must provide a deep base that won’t alter the paint’s red hue. To do this, the primer should be tinted gray. The exact shade of gray will depend on the chosen red color.
RELATED: 8 Times to Never, Ever Skip Paint Primer
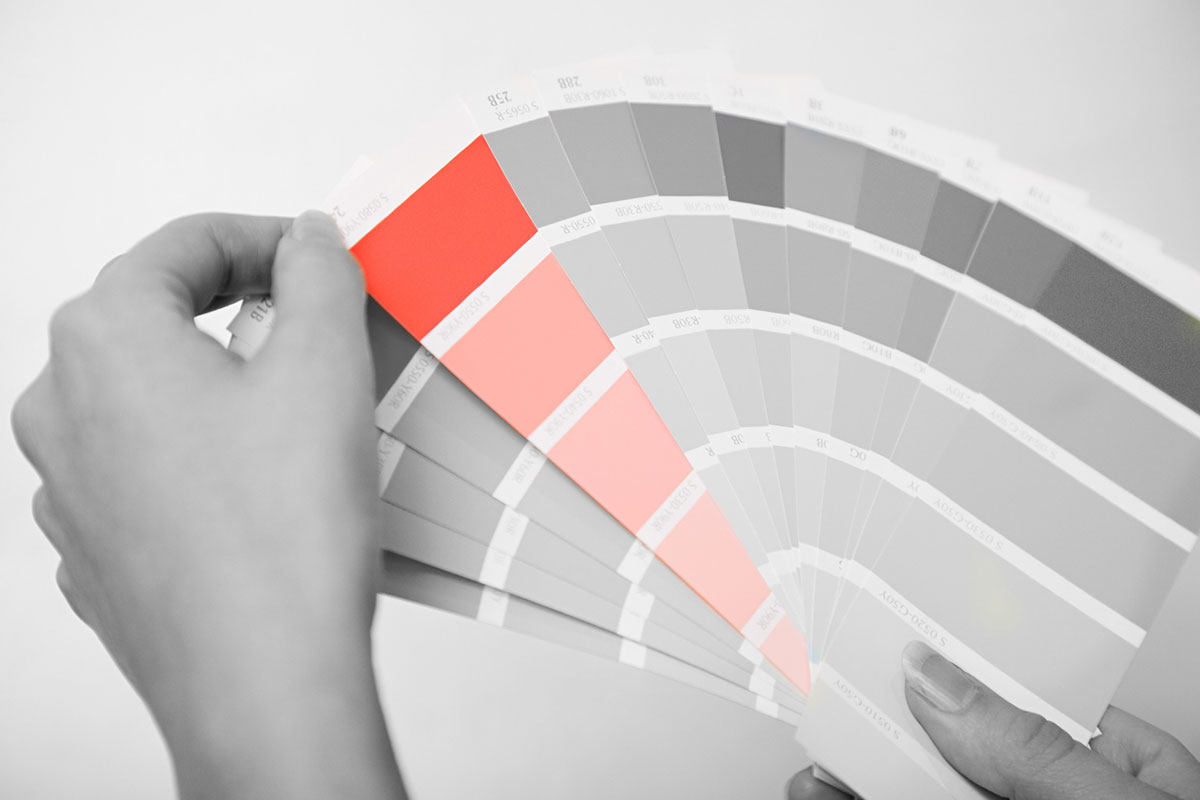
Check the Chip
Check the back of the paint chip or swatch—it likely comes with a code that tells the paint attendant how to mix the perfect shade of gray primer necessary to create a flawless look. Not only will the chip indicate the correct shade of gray for the primer, it will also recommend a specific brand of primer that will work best with the red paint.
Peruse a Paint Store
When having a custom red color mixed, it’s a little more problematic. Today’s technology allows customers to bring an item of any color to the paint department (a vase, painted bit of wood, etc.). The computer scans the color and comes up with the exact pigment ratio to recreate it in a gallon of paint. This opens up a whole new world in paint selection, but no primer instructions are included because the customer didn’t select the color from a paint swatch. When having a custom shade of red mixed, consider buying it from a designated paint store, such as Sherwin-Williams or Benjamin Moore. These brand-specific paint stores will calculate the right shade of gray primer for the specific red color.
RELATED: 10 Paint Colors You’ll See Everywhere Next Year
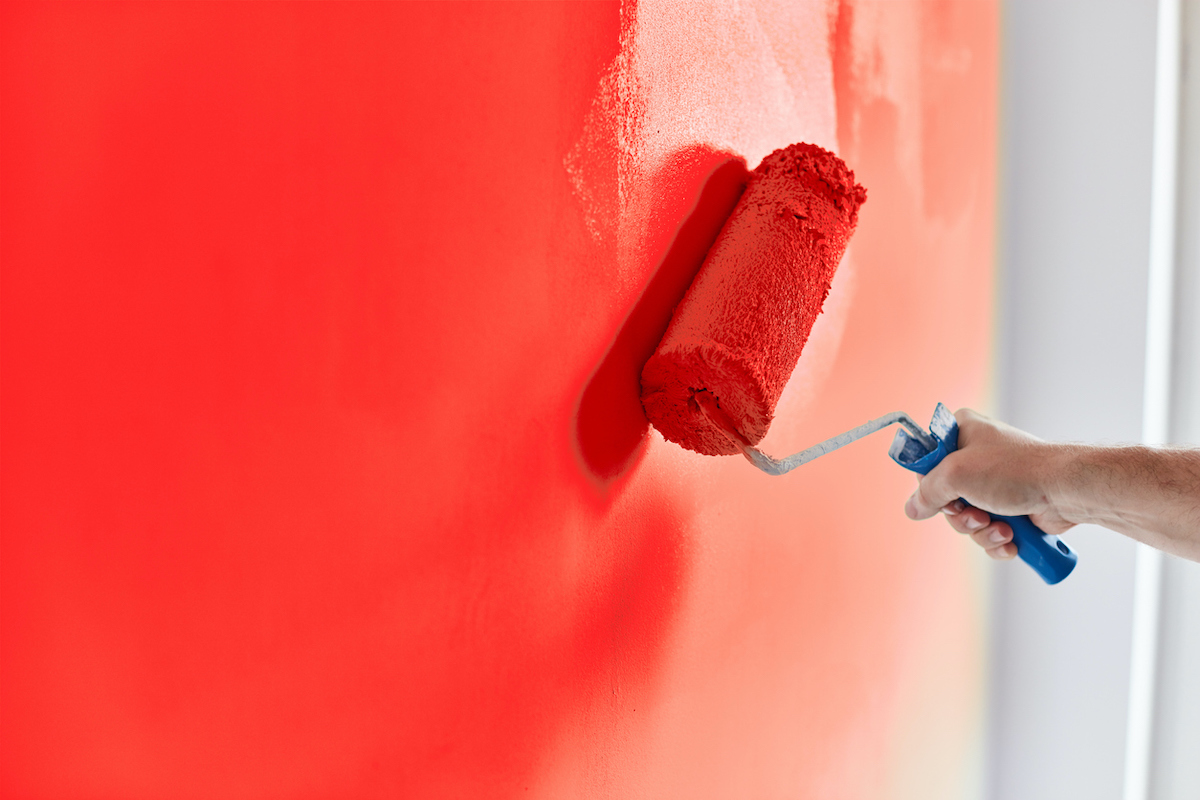
The Wet-Edge Advantage
Most DIY painters have heard about the importance of maintaining a “wet edge” when rolling paint on a wall, and following this technique is even more critical when rolling on red paint. A wet edge simply means not allowing a strip of paint to dry before rolling the strip next to it. When painting a wall, start rolling along one side and roll the complete wall without taking a break to prevent lap marks. Do this for every coat of paint applied. Also, use a quality roller with a medium nap. A smooth nap is more likely to leave streaks and lap marks.