
We may earn revenue from the products available on this page and participate in affiliate programs. Learn More ›
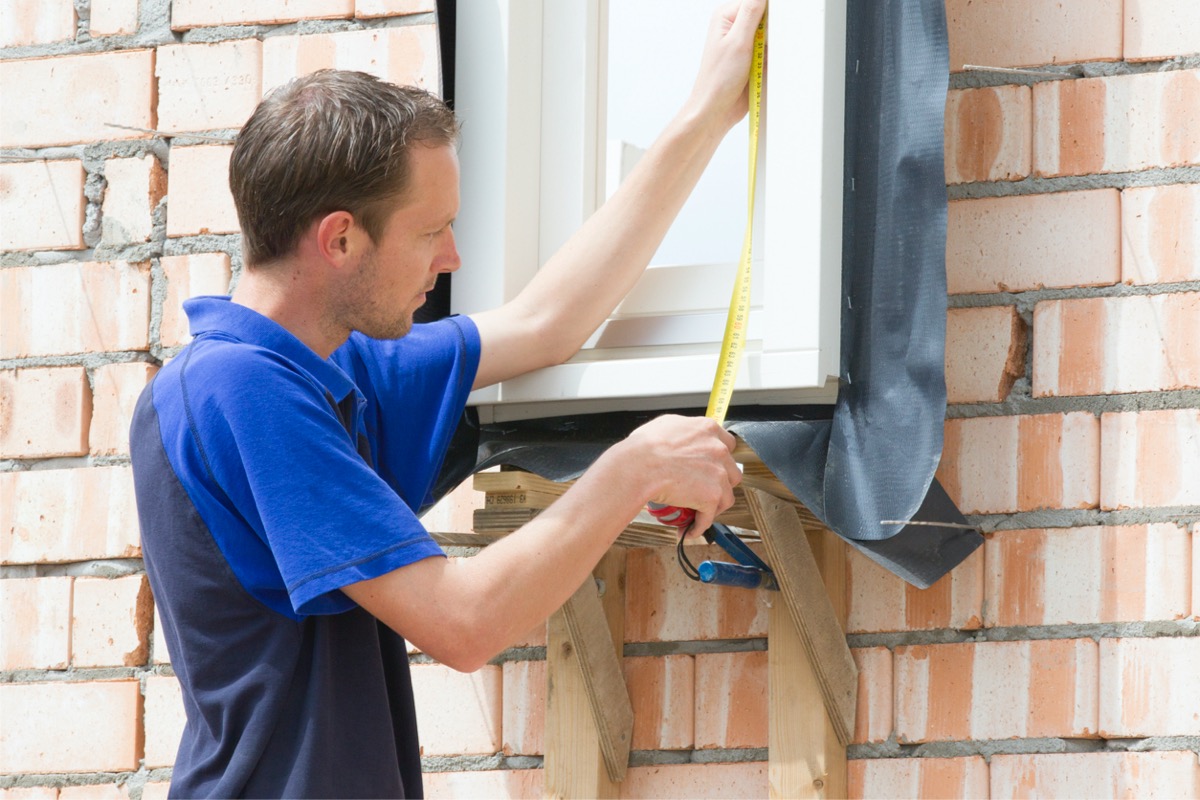
During construction, a builder will take many precautions to protect a house from water damage. One of the most important is installing window flashing, a thin material that’s added to the framing around windows that prevents water from seeping in.
Over time, even a tiny gap around a window that allows water to enter can result in mold growth, wood rot, and structural damage that can require costly repairs. If you’re concerned about your home’s windows or simply curious about window flashing, read on to learn the basics about this key component to keeping your home watertight.
1. Window flashing protects the window—and the house—from water damage.
While a home’s siding serves as its main source of protection against the elements, windows and other penetrations through the siding require additional waterproofing. Flashing—whether it’s on a window, roof, or chimney—is designed to be installed in a layered sequence, similar to the way shingles are layered on a roof. Each successive layer overlaps the layer below to direct the flow of water down and away.
2. Several types of flashing can be installed in a single window.
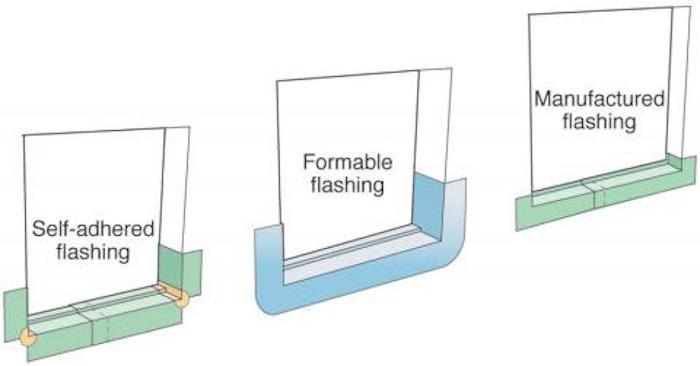
The three main types of window flashing are drip cap, flashing tape, and molded vinyl, and each type is meant for different parts of a window. Vapor barriers are also frequently used for flashing windows at the time of their installation.
- Drip cap: Available in Z-shaped sheet metal strips, drip cap is designed to fit over the top of a window, much like a small canopy, to shed water outward and keep it from seeping behind the window.
- Flashing tape: This self-stick membrane comes in 4-inch and 6-inch rolls and is cut to fit along the inside edge of the rough opening (the frame constructed in the wall to hold the window). When firmly in place, flashing tape effectively prevents water from reaching the wood of the rough opening.
- Molded vinyl: Often called a “sill pan” or “window pan,” this type of window flashing is rigid and preformed to fit the inside of the rough opening along the bottom edge. It features a slope that encourages water to drain down and out. Sill pans are commonly used in the installation of vinyl-clad windows but not as often on wood windows.
- Vapor barrier: While not technically a type of flashing, a vapor barrier—the house wrap that installs over the entire outside of the wood sheathing before the siding is installed—is sometimes used as flashing during window installation by wrapping it around the inside edges of the rough opening.
3. Aluminum window flashing is not the best option for all homes.
Although aluminum is an affordable and flexible metal for window flashing, it is not the best choice for all homes and locations. In coastal areas, salty air can cause aluminum to pit and oxidize, which is why it’s not the best choice for flashing material in these locales. Likewise, polluted urban air is tough on aluminum. Though the metal takes paint well, unpainted aluminum flashing can corrode when it comes in contact with some building materials, such as concrete, mortar, and pressure-treated wood.
Installation pros should know about these potential problems with aluminum window flashing and help you decide whether it’s an appropriate solution in your situation. If it is, be sure to ask your installer about the thickness of the coil stock (no thinner than .022 to .024 inches is preferred) and whether the flashing being installed is prefinished. (If it isn’t prefinished, is it designed to withstand urban pollution or contact with potentially corrosive materials?)
If your window pro advises against aluminum flashing, consider copper flashing. Copper’s upsides are that it solders easily (aluminum cannot be soldered) and resists corrosion when it’s used in conjunction with most building materials. The downside, of course, is that copper is much more expensive.
4. When installing a window in an existing wall, a window must be flashed in a very specific sequence.
Window manufacturers will recommend the method of flashing best suited to their specific windows and in order to maintain the warranty, that process should be carefully followed. Some windows now have built-in channels along the top that eliminate the need to install a drip cap over the top. While the manufacturer’s specs should always take precedence, here’s the standard sequence to follow when installing a window in an existing wall. (Note that even if you’re installing window flashing on existing windows, manufacturer’s recommendations must be followed.)
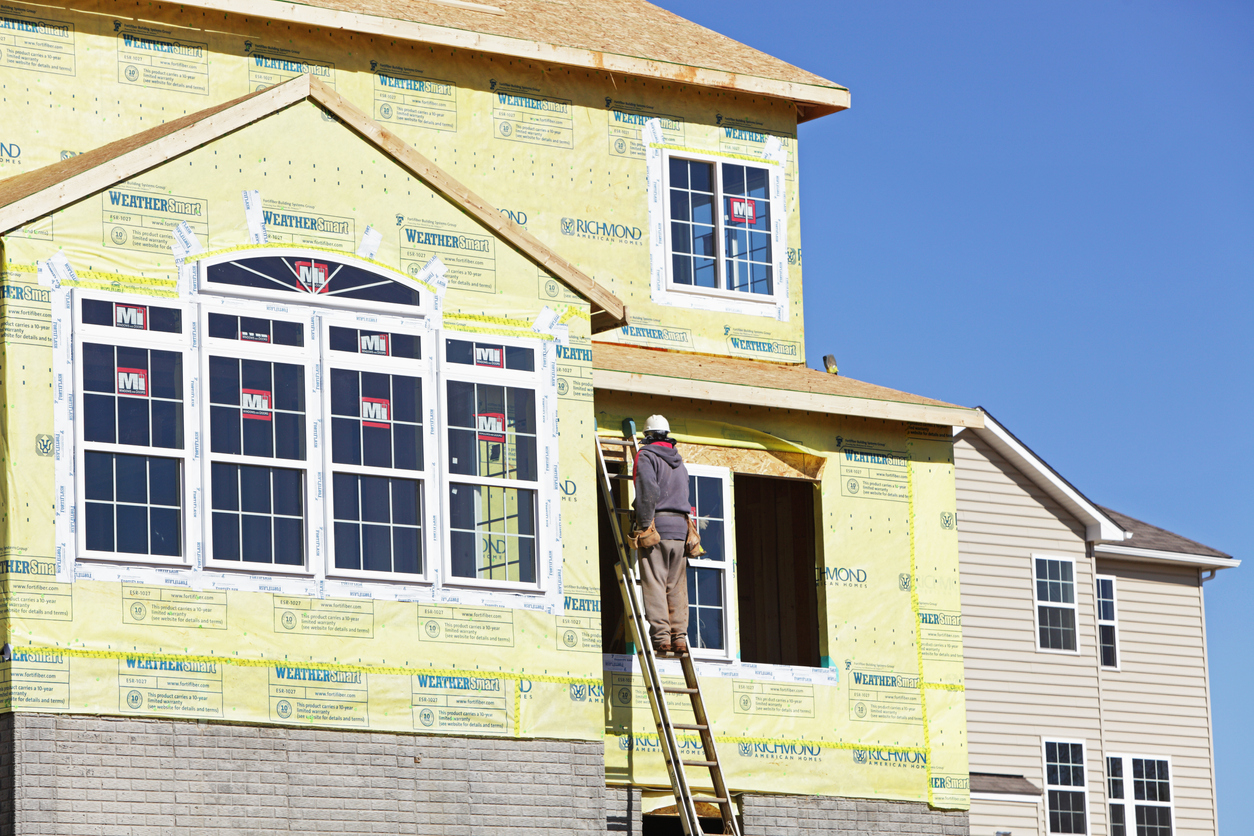
- First, the vapor barrier (house wrap) is cut and wrapped around the inside of the window. Before windows are installed, a breathable vapor barrier is wrapped around the entire exterior of the house sheathing (un-sided plywood walls), including over the rough openings for the windows.
The window installer will cut the vapor barrier over the window (often in an “X” pattern), and then pull the flaps through the window to the inside and staple them in place. Note: Not all window manufacturers intend for the vapor barrier to be wrapped; some want it cut evenly with the edges of the rough opening because the type of flashing tape they recommend adheres better to bare wood than to the vapor barrier.
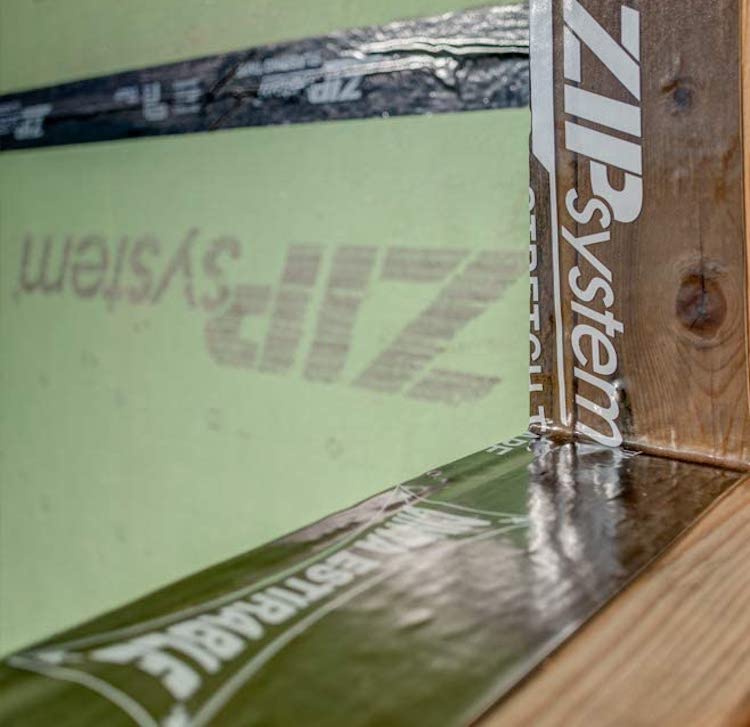
- Next, self-stick flashing tape is installed along the inside of the rough opening over the wrapped vapor barrier (unless the manufacturer specifies otherwise) to form a watertight seal all along the inside edge of the rough opening. The tape goes on along the bottom or sill, then along the sides (jambs), and finally along the top of the rough opening (head). By installing in this sequence, the edges of each successive membrane strip overlap the strip below, directing water downward.
- Then, the installer usually places a sill pan over the membrane along the bottom edge of the rough opening. The window is then set in the rough opening, leveled, and nailed in place. New windows come with nailing flanges that extend flat along the outside surface of the house sheathing.
- More flashing tape next goes over the side and top nailing flanges to seal the nail holes and to cover the seam between the sheathing and the flange. The key here is that no flashing tape should be installed over the bottom nailing flange. If any water inadvertently enters the window in the future, it needs a way to escape.
- Finally, if the window requires a drip cap, it should be installed at this point. The drip cap attaches to the sheathing above the window, and then a strip of flashing tape is applied over the nails used to attach the drip cap. This completes the flashing process, and siding can now be installed.

5. Check local building codes before purchasing replacement window flashing, or hiring a window flashing repair professional.
Water woes are among homeowners’ top reasons for installing new windows. If you want your new window to last a good long time, you need to make sure the flashing does its job.
When repairing or replacing window flashing, be sure to check local building codes. Many will require that you follow the window or flashing manufacturer’s instructions to properly install flashing. Before installing new or refurbished windows, the rough openings should be retrofitted with new flashing. Most codes will require that flashing extend to an exterior wall finish surface or to a water-resistive barrier, and articulate specific requirements for overlap (such as extending top flashing over the side flashing).
Most U.S. municipalities adopt or follow guidance from the International Residential Code (IRC) requirements for residential construction. The IRC establishes minimum requirements for flashing products to ensure that they prevent water from seeping into walls and buildings. The IRC for exterior window installation was updated in 2018 to set compliance for self-adhered membranes and other flashing products.
Flashing even figures into the Energy Star program’s requirements for windows. In order for a manufacturer’s windows to meet Energy Star criteria, their installation instructions must include detailed guidance about how flashing should be installed on the product.
Replacing windows can be an expensive home improvement line item, so it makes sense to ensure the job is done right and the flashing is properly installed. And you can take comfort from the fact that your new energy-efficient windows may pay you back in lower utility bills.
6. It’s best to leave window flashing installation to the pros.
Are you eager to learn how to install window flashing? Take it easy. Setting and flashing windows can be tricky, which is why the entire process is best left to the pros. Depending on your local ordinances, a local building inspector may also check to ensure that the flashing (along with all aspects of window installation) meets local building codes. A DIYer with a solid working knowledge of carpentry may opt to install windows and flashing themselves. Whether you’re DIYing the job or hiring a pro, be aware that you may need to pull a permit when installing windows. Be sure to ask your local building authority what kind of paperwork is necessary before getting started.
7. Errors made when installing flashing are common causes of window leaks.
While flashing a window isn’t a difficult process, leaks can occur if the installer fails to place the flashing tape in the correct order, or in accordance with the manufacturer’s specifications. Dormer windows are particularly prone to leaks, and the flashing must be installed correctly to prevent this. The most common flashing mistakes include:
- Failing to layer flashing materials in a “shingle” fashion.
- Sealing the bottom of the window and trapping water inside.
- Stretching the flashing tape during installation, which can cause it to contract and pull away, leaving a gap where water can enter.
- Failing to securely adhere the flashing tape. Pressing the tape in place by hand usually isn’t sufficient. A flashing membrane roller (which is sold in the same aisle as the flashing tape) should be used to achieve a tight seal.
- Not following the manufacturer’s specs. Manufacturers may call for a specific brand of flashing tape, and some may require additional sealant or caulk during the flashing process. Not following the specs for installing and sealing windows and window flashing can result in a window that leaks.
8. It isn’t always easy to tell if existing flashing is defective.
Once the window is installed, the only flashing that’s visible is the front edge of the drip cap (if the window requires one). If you spot a thin strip of sheet metal coming loose from above the window, it’s likely that the drip cap was either poorly installed or that the wood sheathing holding the nails in place has rotted, allowing the drip cap to fall out.
A leak could also point to a flashing problem. If water leaks into the house from the window, it may mean that the flashing was incorrectly installed—or that a different part of the window is leaking. Either way, it’s a good idea to ask a qualified window installer to inspect the window. A damaged drip cap or any sort of leak should be inspected and repaired promptly to prevent water damage.