We may earn revenue from the products available on this page and participate in affiliate programs. Learn More ›
Bottoms Up!
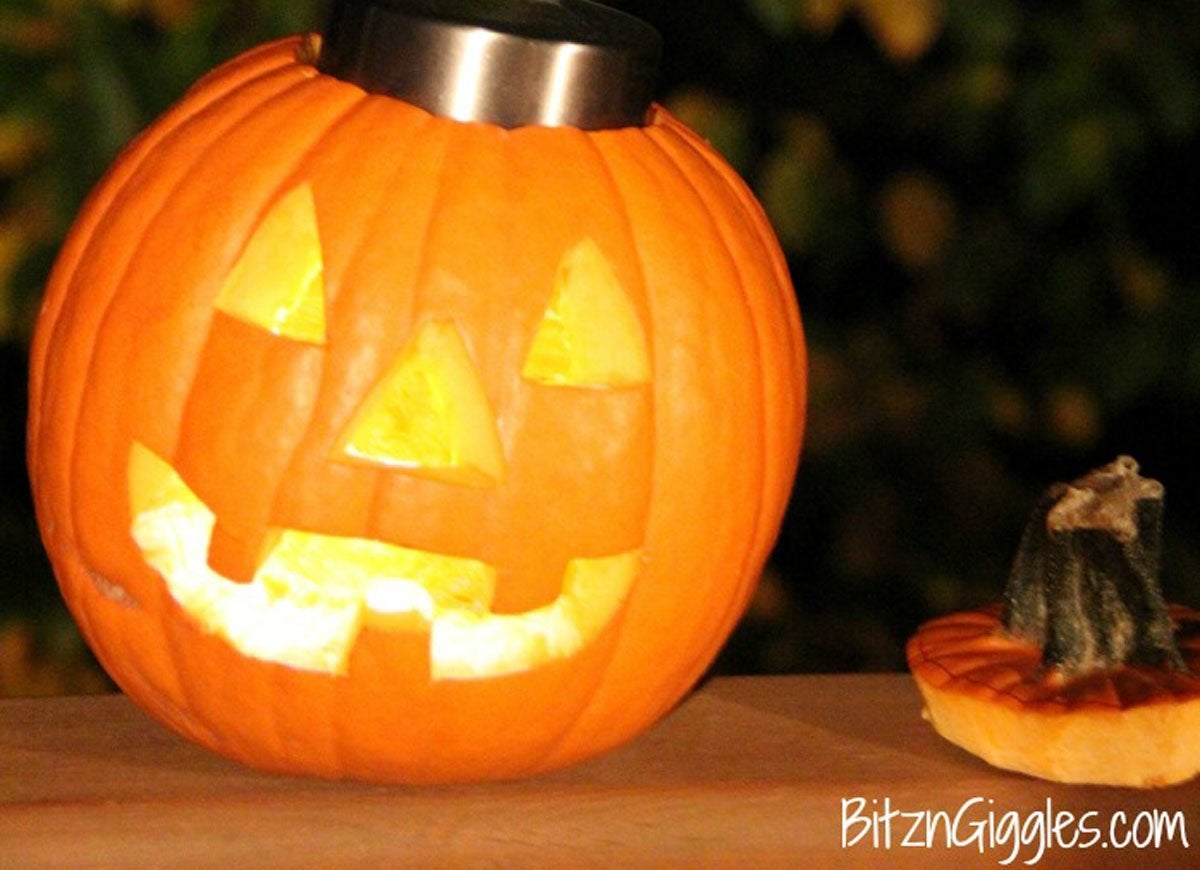
After meticulously carving a pumpkin, you’re always eager to bring your masterpiece to radiant life by placing a candle inside. But sticking a lit flame through the top of a jack-o’-lantern is no easy feat, and one wrong move can result in burnt fingers—ouch! The solution is surprisingly simple: Cut out the bottom of your pumpkin instead of the top. Set a lit candle
atop the carved-out base, place the hollow gourd over the flame, and you’ll never again have to struggle with a match or lighter on Halloween night.
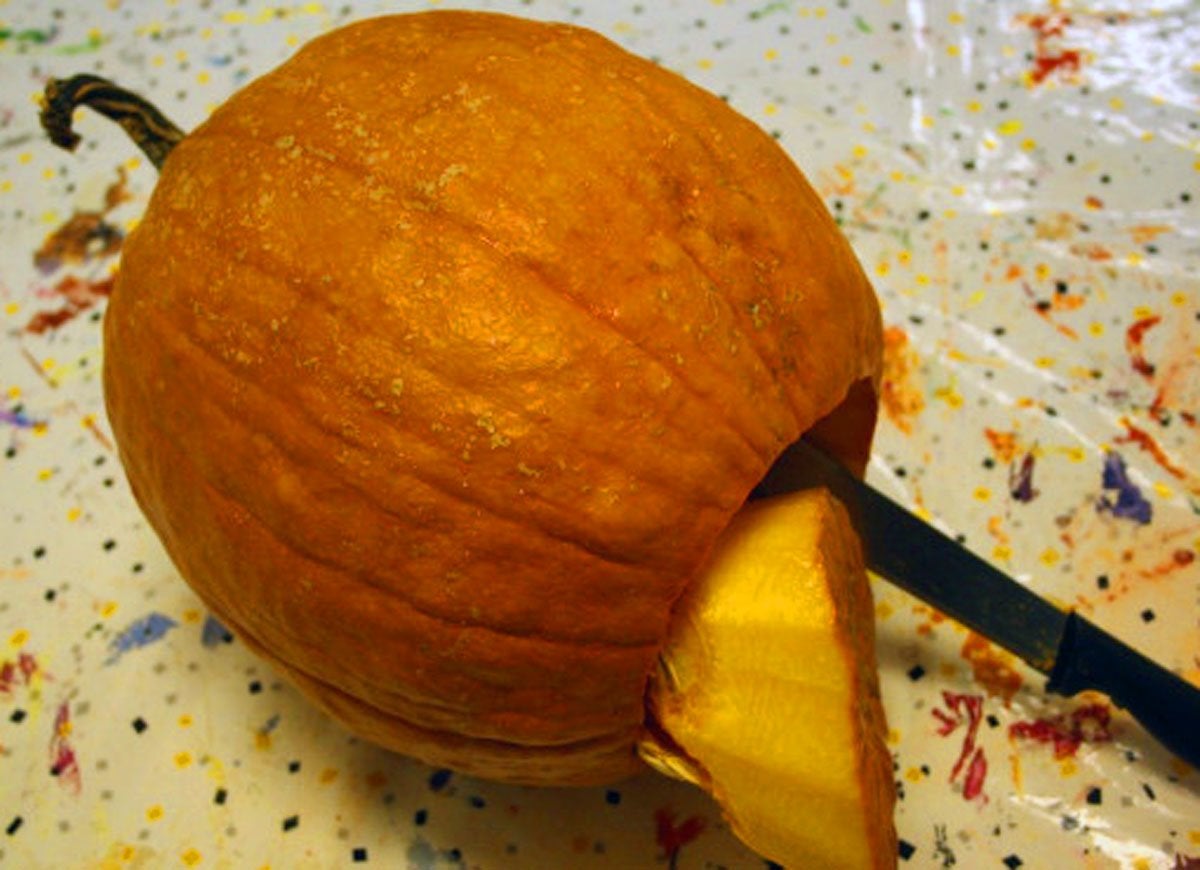
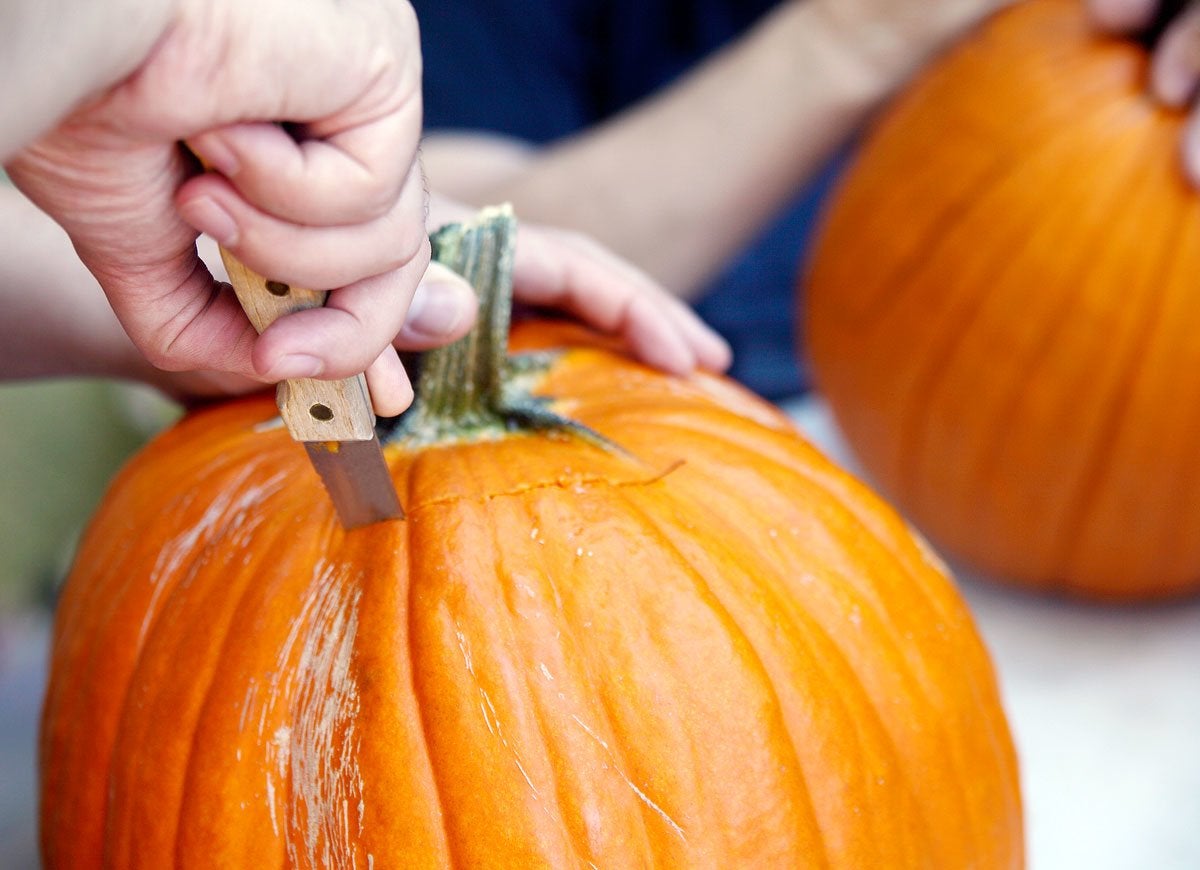
Making the Cut
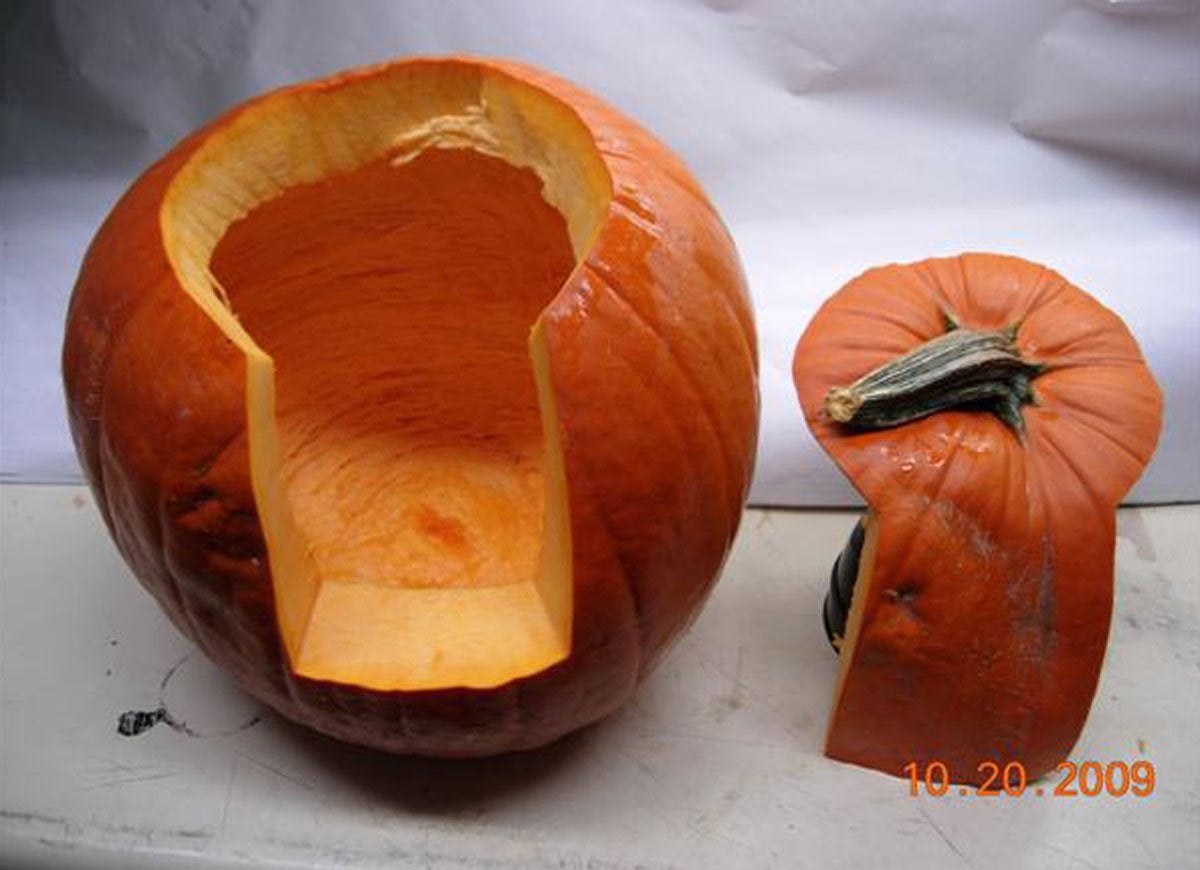
Gutting a pumpkin can take time, especially if you’re trying to scrape the pulp out through a tiny opening. Speed up the process by cutting and removing the pumpkin’s top in this unusual way. The deep side cut allows for greater mobility when using a spoon or scraper, making it a cinch to remove every last bit of pulp. Plus, no more of that awkward turning to get the lid on right—now you’ll know exactly how to replace it properly.
Related: 52 Unexpected and Amazing Ways to Decorate Pumpkins
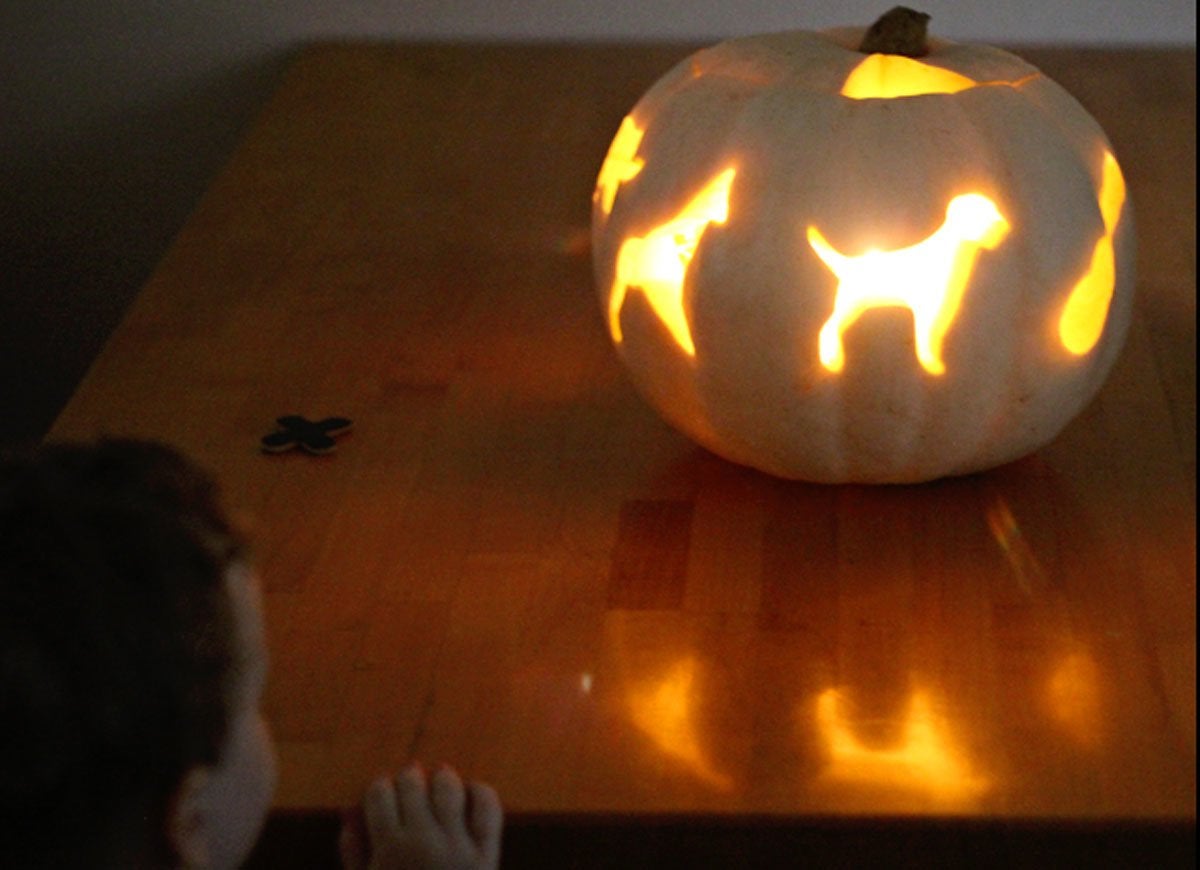
Know the Drill
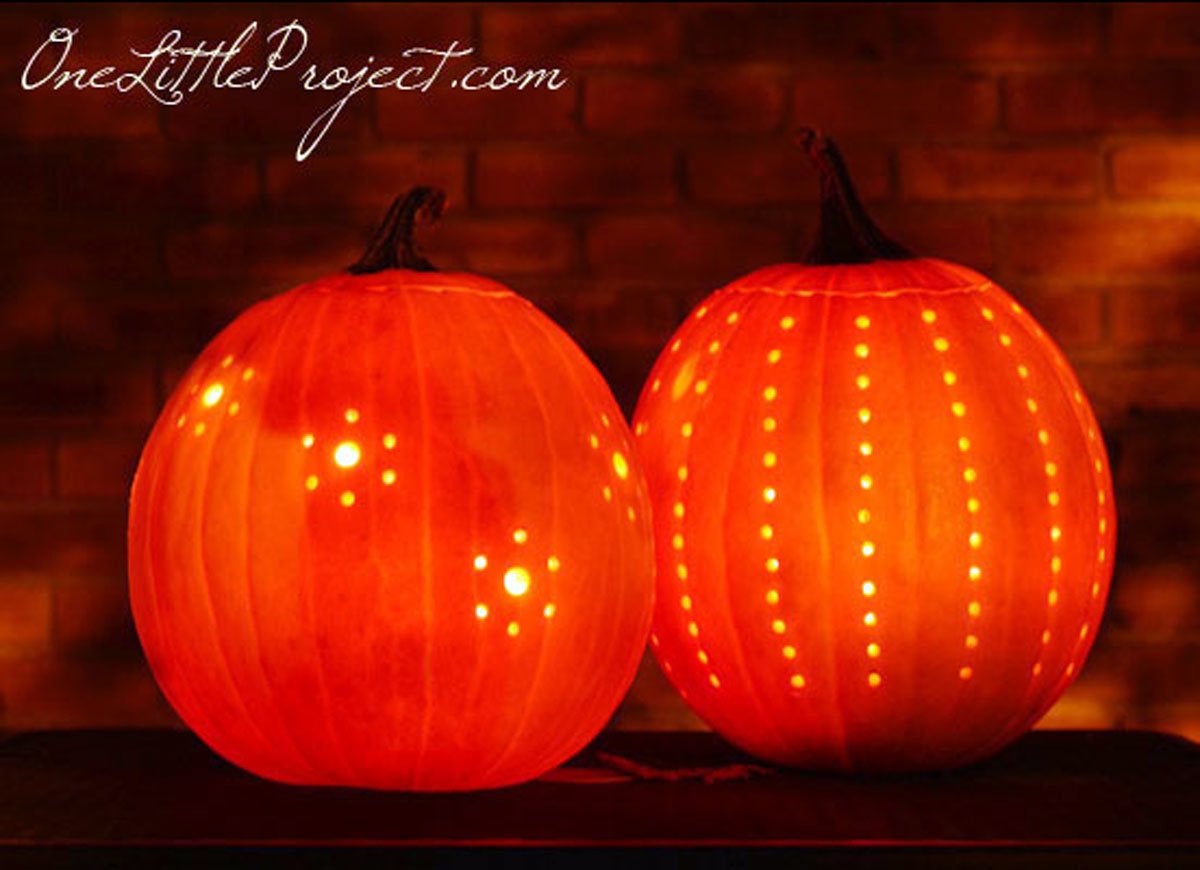
Everyone loves a triangle-eyed, toothy-grinned jack-o’-lantern, but a little creativity in carving is always refreshing. Take a cue from the crafty blogger at One Little Project, who used a drill
to create dotted patterns. Re-create this design by scooping out the pumpkin guts like normal. But then change things up by grabbing an electric drill and some bits (you can use one bit or several different-size bits) and put your power tool to work!
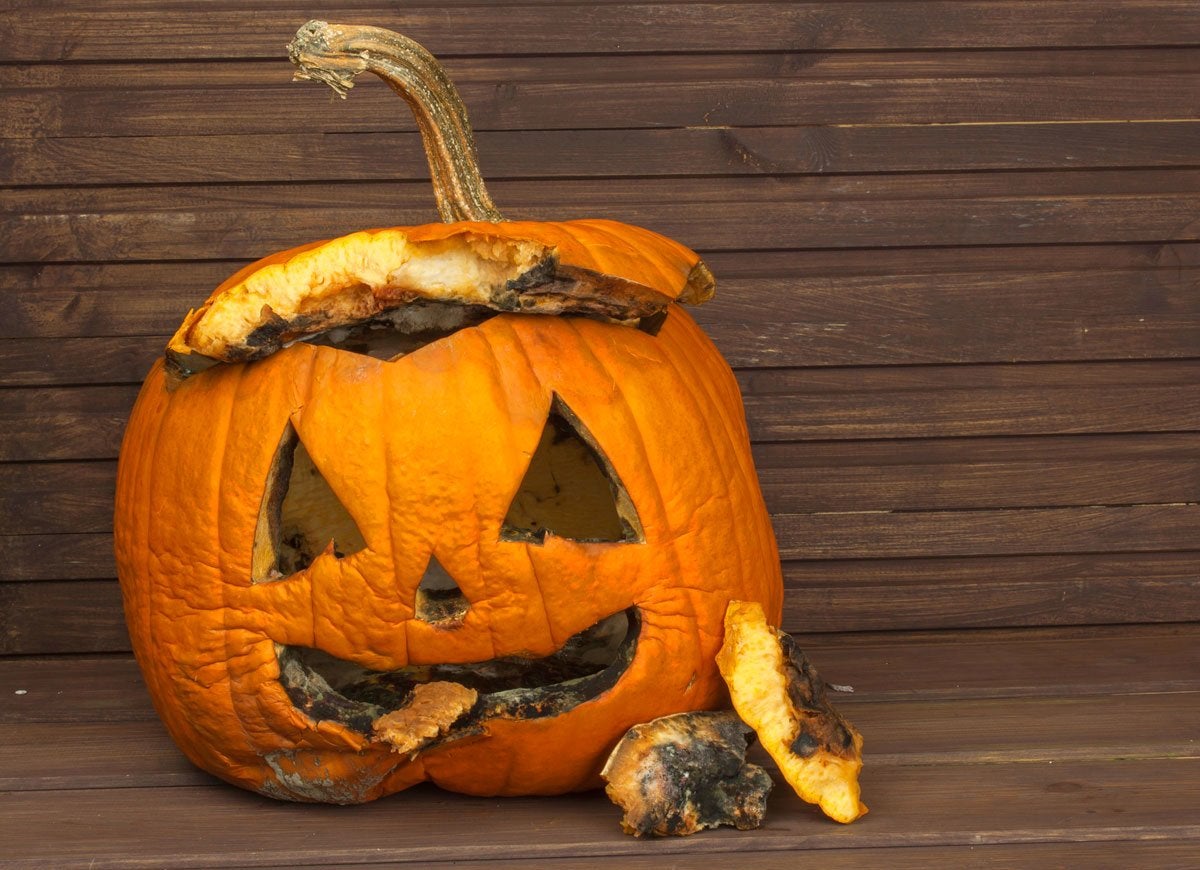
Stay Hydrated
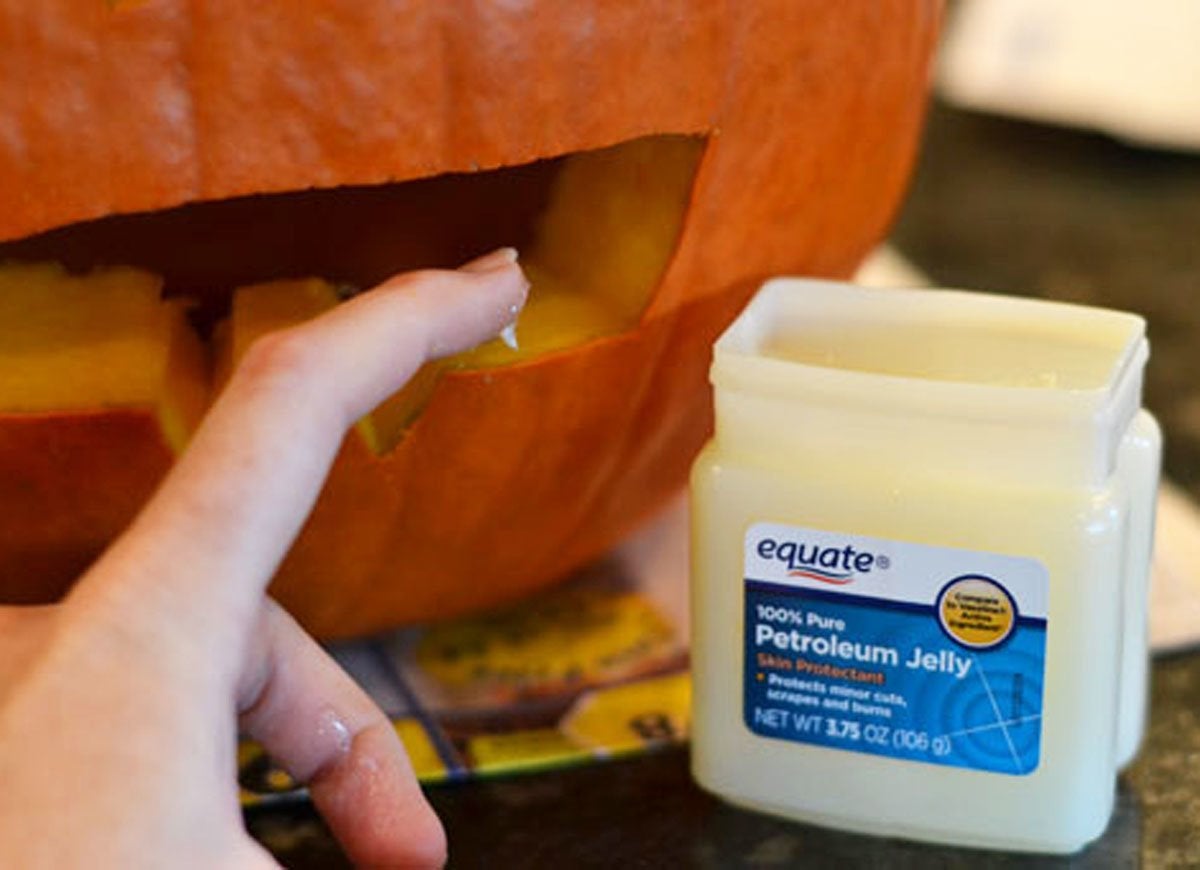
As moisture evaporates from your carved jack-o’-lantern, it will slowly turn brown and shriveled. Keep your pumpkin hydrated by applying petroleum jelly to the cut surfaces, which seals in moisture to slow down dehydration. You can also rub the jelly along the inside of the gourd for extra protection against rot.
Related: 9 Home Repair Remedies to Borrow from Your Medicine Cabinet
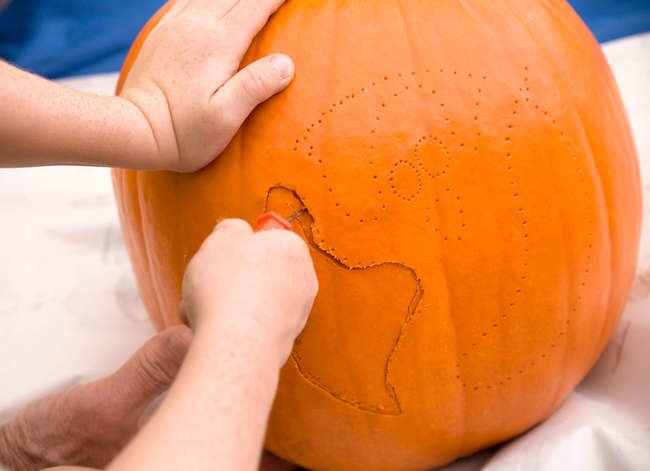
Inside the Lines

The uneven surface of a pumpkin poses a challenge to any carver trying to follow a stenciled design. Smooth out the process with three simple materials: tape, thumbtacks, and baby powder. Use tape to attach your stencil to the pumpkin, and then poke tiny holes along the outlines with pins or thumbtacks. Remove the stencil and sprinkle baby powder over the pumpkin’s surface. The white powder will fill in the tiny holes, making them easier to see while carving.
Lighten Up
Candles are the traditional light source for jack-o’-lanterns, but chilly fall winds can easily extinguish their finicky flames. To keep your pumpkin glowing all night long, opt for a solar light or a reusable battery light instead. Some light bulbs on the market even imitate the flickering of a candle. As a bonus, you can reuse your pumpkin light every year.
Packet Protection
Silica gel packets, the tiny rectangular pouches that come with products like shoes and bags, can delay the growth of mold
in your pumpkins. Collect the packets throughout the year, and drop a few into your jack-o’-lantern for a longer-lasting creation. Just be sure not to place the packets on a lit candle!
Wipe Out
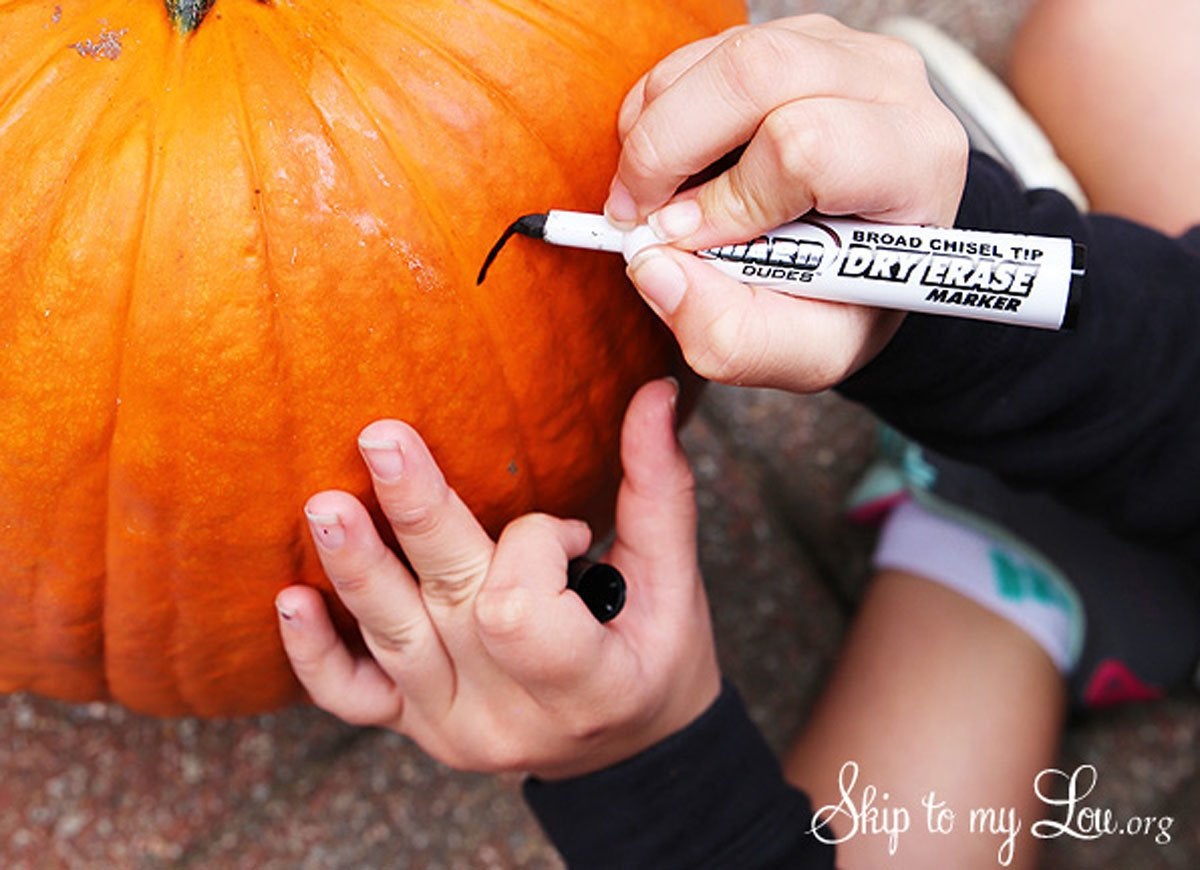
Skipping store-bought stencils in favor of freehanding your jack-o’-lantern design guarantees a one-of-a-kind creation. Before taking a knife to your squash, sketch your desired pattern with a dry-erase marker. Unlike permanent marker, it can be easily wiped away with a wet paper towel, giving you plenty of room for error.
Related: Celebrate Fall with 11 Thrifty DIY Projects for the Home
What's the Scoop?
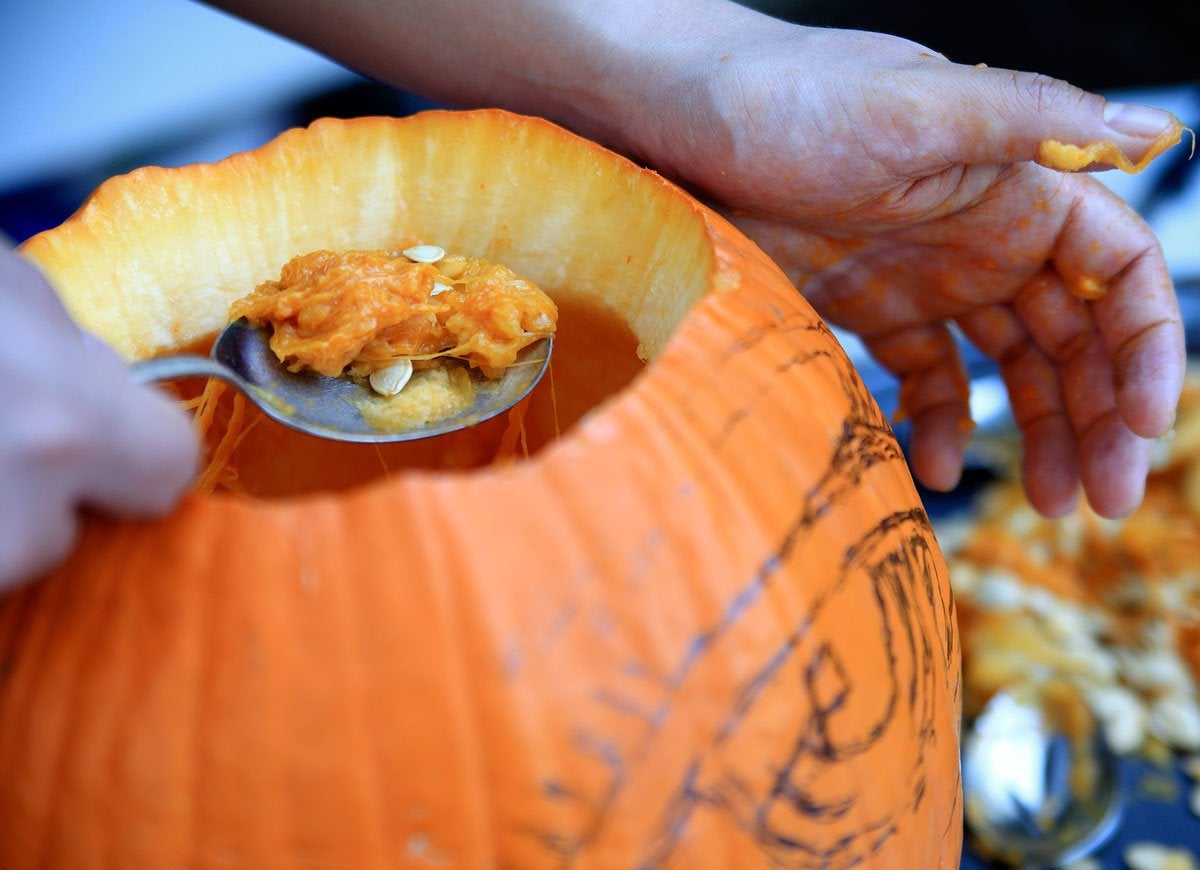
Instead of using a flimsy spoon to gut your pumpkin, opt for a ice cream scoop or other small, durable spoon. The compact kitchen tool fits perfectly inside the pumpkin, and its sturdy handle won’t bend while scraping the sides. With this trick, you’ll be able to thin the walls of your gourd in record time.
Related: Your Post-Halloween Cleanup Guide
A Cut Above
With a mallet and a few cookie cutters, you can customize a whimsical pumpkin this year. Begin by slicing off the top of your gourd and removing the pulp, then rummage through your kitchen drawers to find a few interesting cookie cutters. Don’t limit yourself to traditional Halloween designs—you can also stamp letters, animals, and other fun shapes into your pumpkin! Place the cookie cutters onto the pumpkin’s exterior, and use a mallet to press each one into the skin. Carve along the outlines of the shapes with a knife or carving tool, pop in a candle, and enjoy your festively fun decoration!
Odds and Ends
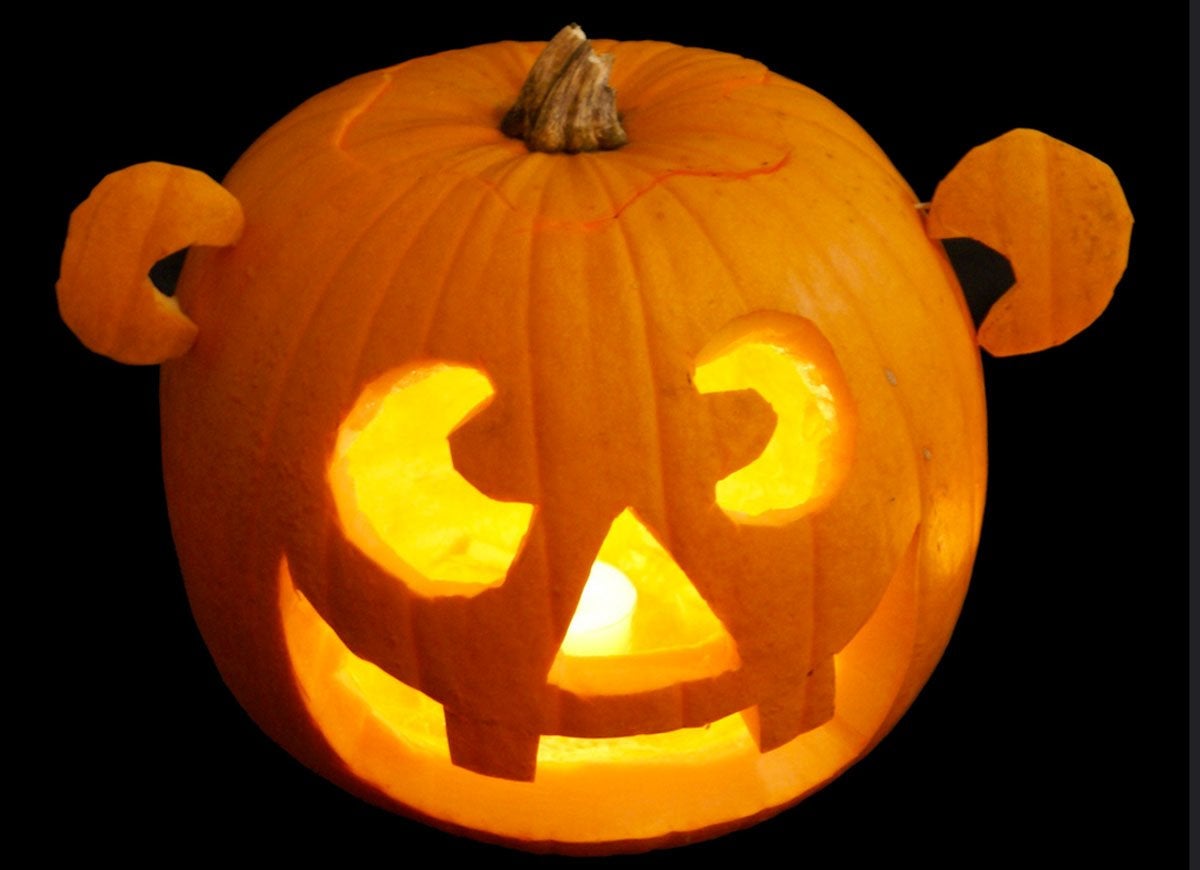
Don’t let your pumpkin carving scraps go to waste. Instead, incorporate the excess bits into your design. Triangular pieces make adorable cat ears, but cutouts can also work as noses, hands, or feet. Let your imagination run wild! Attach the scraps to your pumpkin with toothpicks.
Household Helpers
Although pumpkin carving kits have all the necessary tools for slicing and chopping, the dull saws and flimsy scrapers aren’t always effective. Many household tools work just as well, if not better, for pain-free carving. Effortlessly slice the top of the pumpkin with a kitchen knife, remove the insides with a sturdy spoon or ice cream scoop, and carve your design with an X-Acto knife. You can even bring power tools, saws, and art supplies into the mix. Whichever carving tools you decide to use, work slowly and carefully, and supervise children whenever sharp cutting tools are close at hand.