
We may earn revenue from the products available on this page and participate in affiliate programs. Learn More ›
Follow these pro tips for a good-looking finish.

Concrete is one of the most durable building materials around, making it a perennial favorite of contractors and DIYers alike for constructing patios, sidewalks, driveways, and more. When installed correctly, concrete can maintain its good looks and strength for years, but avoiding a few common mistakes—both during and after the concrete pour—will reduce the risk of cracks in the near future. More than unsightly, cracks are susceptible to water intrusion that can freeze and thaw—expand and contract—repeatedly, making the crack worse. The crack can also allow water destabilize the soil beneath concrete, exacerbating the problem.
Fear not: The issues described are easy to avoid. First, check out this video tutorial on pouring the perfect slab from the concrete experts at Quikrete. Then, brush up on how to do things right before you tackle your next concrete project—whether that’s a small planter or sprawling patio—and you’ll end up with enviable results.
Properly cure.

While concrete takes 28 days to completely cure, the steps you take in the first few days after the pour are the most important for ensuring a strong, crack-free surface. Cement (the binding ingredient in concrete) cures gradually and needs to retain moisture to reach its full strength. Concrete is less likely to crack if the moisture evaporates slowly, so your project will be much stronger if you spray it with water a few times each day for the first week after you’ve poured the project. The hotter and drier the weather, the more often you should spray the new concrete.
To make life easier, you can eliminate the need to water the concrete, add Quikrete Acrylic Cure & Seal into the mixing water before combining with the concrete. It not only makes the curing process easier, it protects the concrete from dirt, grease and other stains.
During the same seven-day period, keep an eye on the forecast for potential cold fronts. If it’s expected to dip below 50 degrees Fahrenheit, cover the new concrete with a concrete insulating blanket, or polyethylene sheeting that’s at least four millimeters thick, to keep the new concrete from getting too cold, which can weaken its internal structure and contribute to future cracking. If you do have to cover the concrete to protect it from the cold, don’t uncover it just to spray it down. Wait until the temps are above 50 again before uncovering and spraying.
Once the concrete is a week old, spraying and covering it are no longer necessary; at that point, it has cured enough not to be affected by extreme temperatures.
Add control joints.
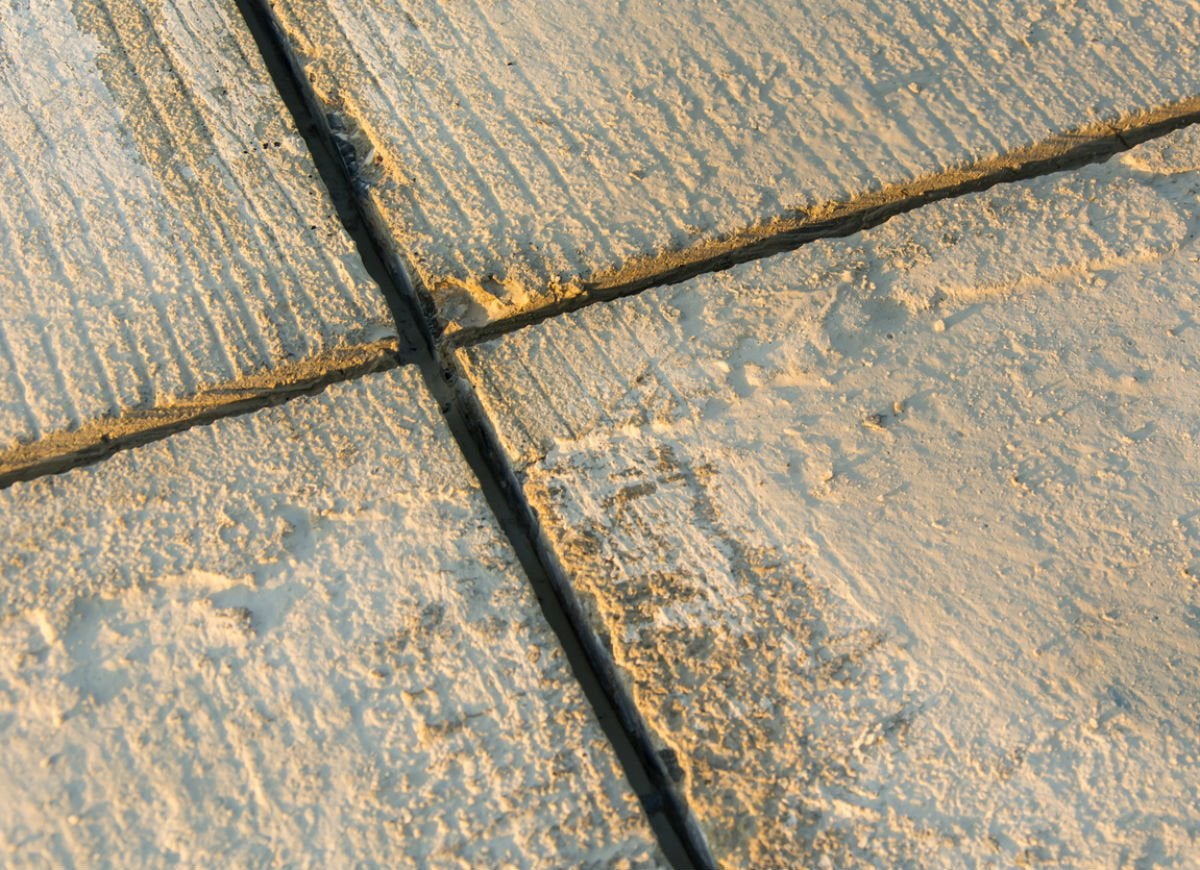
Even if you cure your concrete slowly as described above, a large slab, such as a patio or sidewalk, may still crack as a result of concrete shrinkage that occurs as temperatures change and water is used up in the hydration process. Because of the natural movement of the soil beneath, concrete slabs will eventually crack. That’s why control joints are crucial. These intentional weak spots are cut into the slab down to about a quarter of its depth in order to anticipate and direct any future cracks. Odds are that any cracks will happen in these weakest parts.
Control joints can be made in one of three ways.
1. You can form them in still-pliable wet concrete using a concrete grooving tool.
2. You can insert Quikrete Expansion Joint Strips, which are made of flexible wood fibers, during the pouring process.
3. You can cut them into the concrete slab the day after you pour using a circular saw fitted with a concrete blade.
For the best results, determine the maximum spacing between joints (in feet) by multiplying the planned concrete thickness (in inches) by 2.5. For example, if you’re creating a patio that is 4 inches deep, you’d multiply 4 by 2.5 to get a distance of 10 feet between joints. Feel free to place them closer together for added crack protection, and consider breaking large concrete slabs with joints that are perpendicular as well.
In the following months and year, keep an eye on the control joints to see if any cracks have appeared. If they have, seal them with a good concrete sealant such as Quikrete’s Self-Leveling Sealant.
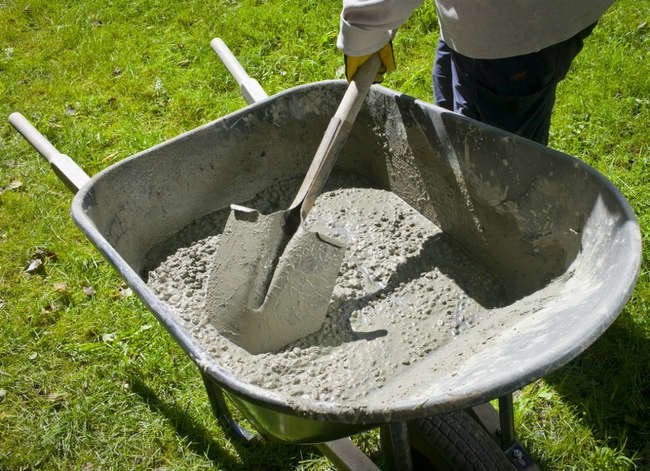
Mix the proper amount of water.

One of the most common mistakes DIYers new to concrete make is to add too much water to the dry concrete mix for easier mixing, which leads to weak concrete and a high risk of cracking. Even just one additional quart of water can reduce concrete’s strength by up to 40 percent! When mixed correctly, wet concrete should be thoroughly saturated (no dry bits) but not watery. Concrete that sloshes around in the mixer or wheelbarrow is too wet, and concrete that’s crumbly and falls apart is too dry.
A standard 80-pound bag of Quikrete Concrete Mix requires about three quarts of water to reach the right consistency, like oatmeal. If the mix is slightly crumbly, you can add more water, sparingly, just until all dry bits are incorporated. If the mix is too wet, add a little more dry concrete.
Compact the base.
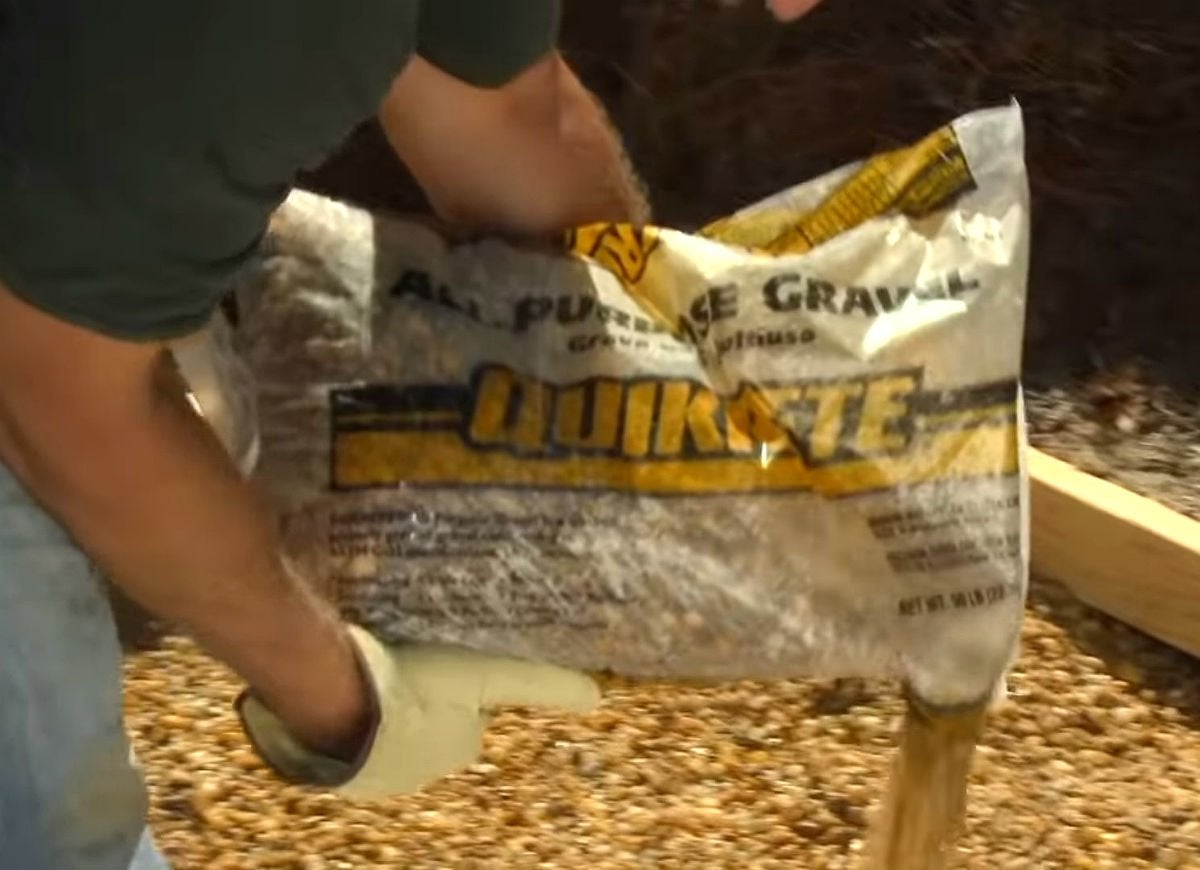
Before you mix up some concrete to build a slab, such as a sidewalk or patio, you’ll need a compacted base to securely support the new slab. If the base beneath the slab isn’t compacted, it can settle later and create a void beneath the slab, which can eventually lead to cracking. The best type of fill is gravel like Quikrete All-Purpose Gravel, because it’s easy to compact by tamping down three to four inches until you have a flat, firm base.
The way you excavate the ground also impacts the likelihood that cracks will develop over time. A good rule of thumb is to dig out no more soil than necessary to accommodate the desired depth of the concrete and a few inches of gravel. For example, if you want a four-inch-thick slab, dig down seven inches and then fill the forms with three inches of sand before pouring. Don’t dig down too far and then refill with a few inches of soil; the soil you put back will eventually settle and cause the slab to crack.
Send in the reinforcements.
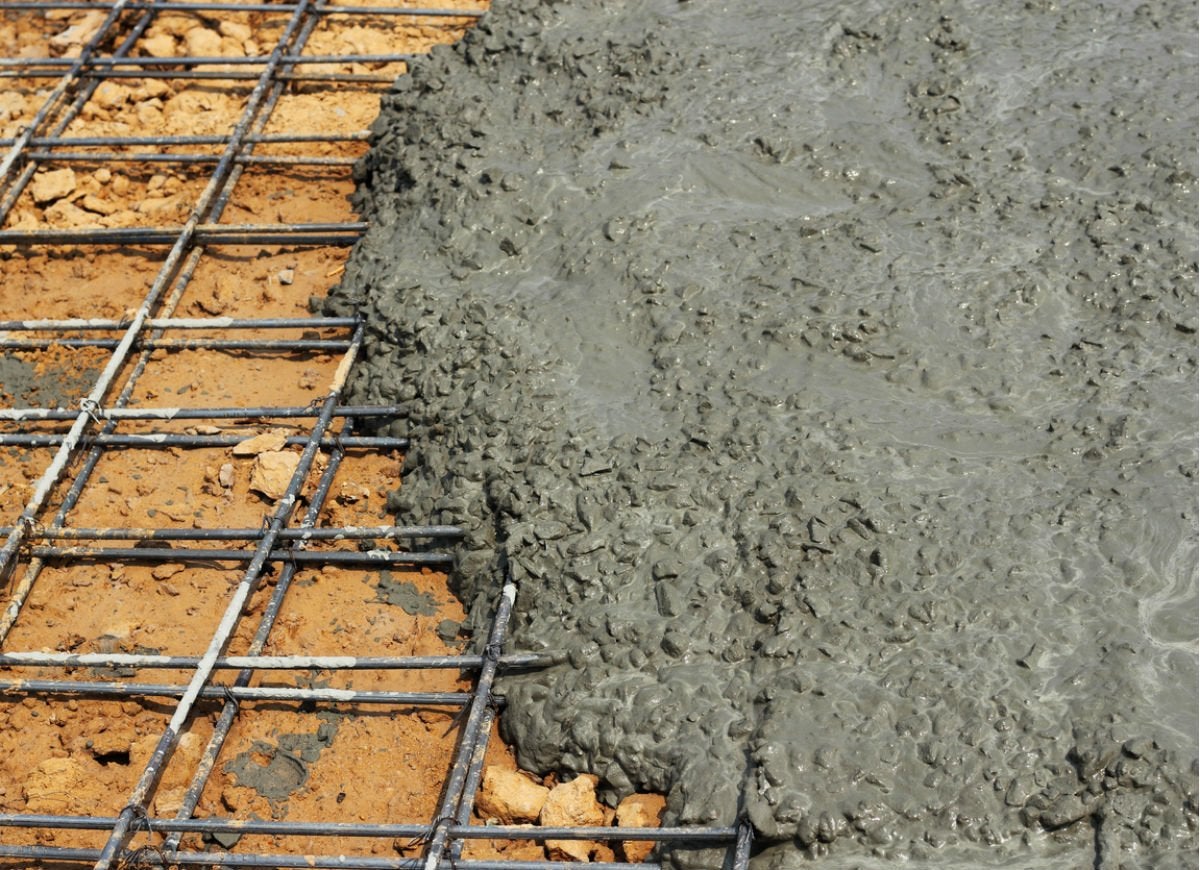
While concrete is strong on its own, you can make it even stronger with a little steel reinforcement. For patios and walkways, this might mean adding rebar in a grid pattern with the bars set about two feet apart and sitting halfway through the slab. For smaller projects, such as concrete vases and other decorative items, you can add wire mesh during the pour to improve strength and reduce cracking.
Adding reinforcement doesn’t have to be difficult. If you don’t have rebar or wire mesh, get creative. For instance, anchor bolts can offer a little more support for the legs of a concrete chair, as shown in this video from the Quikrete team. Just make sure the reinforcing material is located in the center of the concrete so it won’t be visible when the project is complete.
There's always hope for cracked concrete.
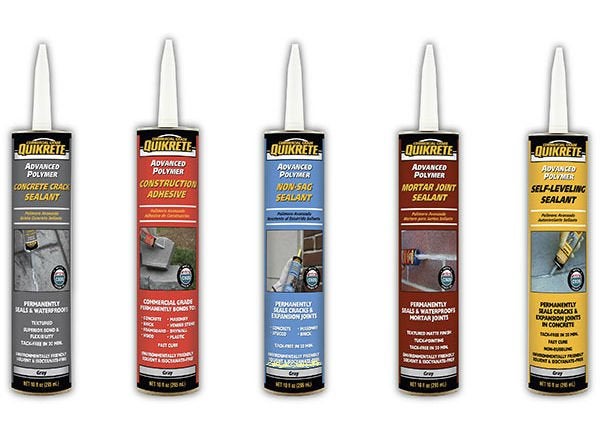
Even if a crack does crop up down the road, all is not lost. You can quickly, easily, and confidently repair cracks in concrete surfaces. Quikrete, a company with nearly 80 years of experience, offers a range of solutions for all kinds of cracks including its new line of Advanced Polymer Sealants, which includes Self-Leveling Sealant for use on cracks in horizontal concrete surfaces and Non-Sag Sealant for fixing cracks in vertical concrete surfaces without sagging or drooping.