We may earn revenue from the products available on this page and participate in affiliate programs. Learn More ›
Let’s face it, the easiest way to transform an old piece of furniture is to paint it. But if the piece is well constructed and made of solid wood, you might want to consider restoring it to its original condition. While stripping furniture is messy and requires a bit of muscle and stamina, the results can be stunning.
Learning how to refinish wood furniture—specifically, a wood table—is not difficult and is a task that most any DIYer can take on. Whether your project is restoring family heirlooms to full glory or refinishing end tables from the thrift store, following these steps can transform your wooden furniture so it looks its best.
Tools & Materials
Bobvila.com may earn a commission from purchases made through these links.
- Mild soap
- Wood filler
- Flat-head screwdriver
- Paint stripper
- Paint brushes
- Plastic scraper (or putty knife)
- Steel wool
- Mineral spirits
- Sandpaper
- Wood stain
- Cheesecloth
- Wood polish (or polyurethane)
- Drop cloth
- Painter’s tape
- Rubber gloves
Before using a furniture stripper, it’s important to read the manufacturer’s directions. These details will include safety precautions, application instructions, wait time, and clean-up instructions, which are all important things to understand when working with a chemical solvent.
Finally, be sure to remove hardware or cover exposed metal with painter’s tape before undertaking these steps for how to refinish a wood table. Covering or removing metal pieces will prevent them from being damaged by the paint stripper.
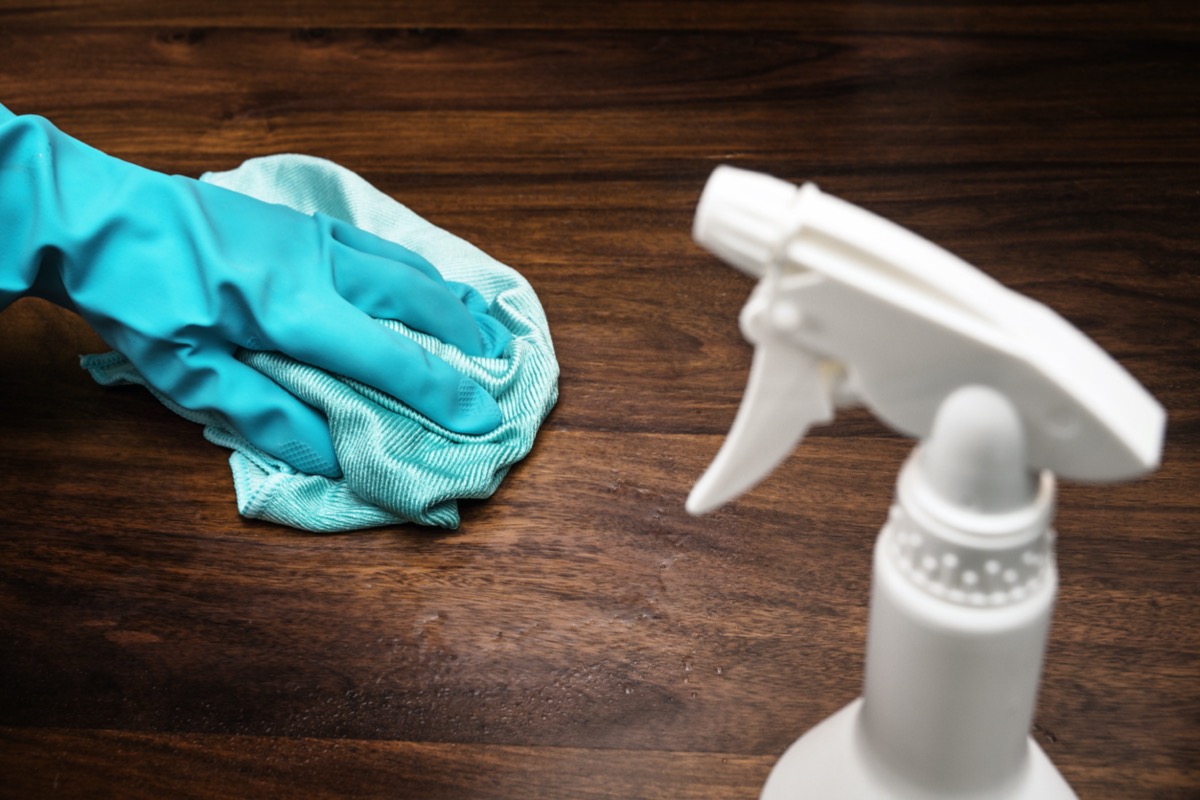
STEP 1: Clean the furniture.
The first step in how to refinish a table begins with cleaning. Clean the table with a mild soap-and-water solution to remove oil and dirt that can inhibit the stripper from doing its job.
STEP 2: Fill holes with wood filler.
Identify any damage on the table and use wood filler to fill holes. Use wood filler that is stainable so the fixed area blends in with the table surface after you refinish it.
Squeeze the liquid filler into the hole then use the tip of a flat head screwdriver to push it inside. Allow the wood filler to mound outside of the hole to allow for shrinkage as it dries.
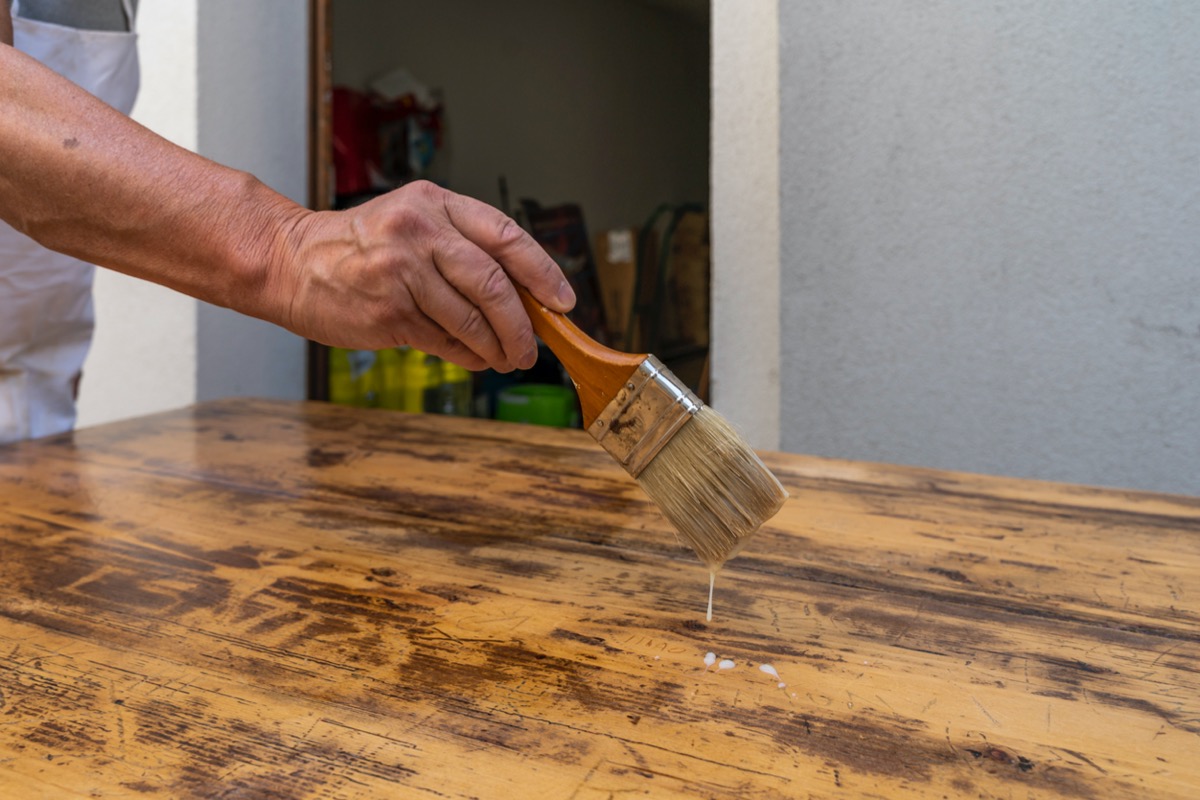
STEP 3: Apply the paint stripper.
Use a paint brush to apply an even coat of paint stripper to the wood surface. Let the stripper do its work—generally it will take about 15 to 20 minutes for the solvent to loosen the finish. Don’t rush the project, and don’t ignore the clock. If the stripper becomes too dry, it will be harder to remove.
STEP 4: Use a plastic scraper to remove the finish.
After the specified amount of time, use a plastic scraper or putty knife to begin removing the finish. A plastic tool is recommended, because a metal one could potentially scratch the wood surface.
Try to remove as much of the finish as you can, but don’t fight it. If some of the finish is more resistant, or you are removing multiple coats of paint or varnish, simply repeat the process of applying stripper, waiting, and scraping until the entire finish is removed.
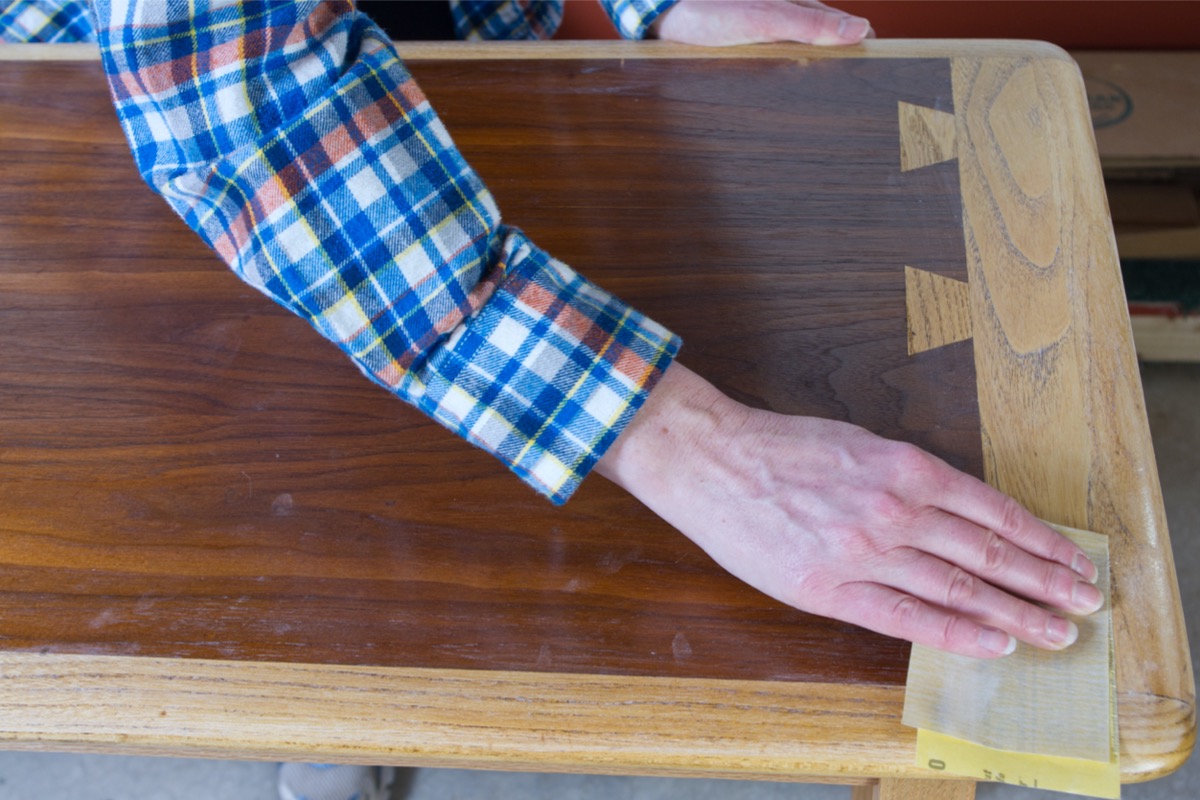
STEP 5: Sand the grain.
After the finish is removed, dab a pad of Grade #000 fine steel wool in the paint stripper and rub the wood in the direction of the grain. This will remove any residual finish.
Next, using fine-grade sandpaper, lightly sand the surface in the direction of the grain. This will help even out any surface discolorations or irregularities.
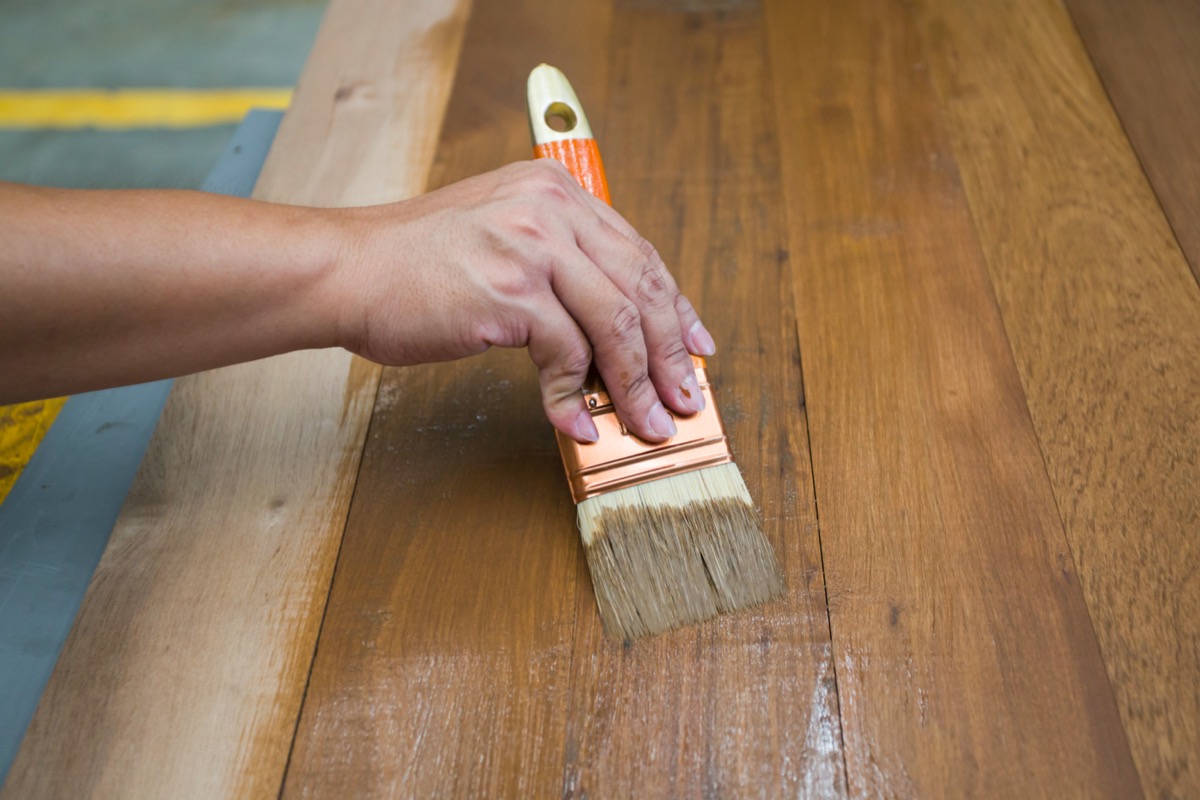
STEP 6: Apply the stain.
The goal in applying stain is to produce an even coat and, depending on how dark you want the table, removing any excess stain in a timely fashion. The wood has been stripped and sanded and will absorb stain easily. After brushing on the stain, use a piece of cheesecloth to remove the excess—and do so quickly or you’ll have dark, blotchy spots on your table.
If you prefer that your table have a darker finish, repeat the process again until the desired shade is achieved.
STEP 7: Apply a protective clear-coat finish.
Once the table has been completely stained, it’s time to protect the wood with either a polyurethane, wax, or tung oil.
Although polyurethane is a popular modern-day finish for almost everything and protects wood very well, there is something wonderful and traditional about a paste wax finish. Wax will add a warmth to the finish and protect the wood from most water damage, especially if it is reapplied on a regular basis.
Final Thoughts
While refinishing a table is not a complicated DIY project, completing each ‘how to refinish a wood table’ step is crucial to attaining a high-quality and long-lasting finish. Giving the stripper enough time to work before removing an old coating, properly preparing the table with a thorough sanding, and applying the stain using the appropriate applicator are all crucial to achieving the best results with a wood refinishing project.
FAQs About How to Refinish a Wood Table
The steps to refinishing wood furniture is straightforward, but every project can have some nuisance that brings up new questions. Below are answers to some of the most popular questions about how to refinish a wood table.
Q: I don’t want to use paint stripper for my project. How do you go about restoring wood furniture without stripping it first?
If you want to know how to refinish a table without sanding or stripping, it’s possible to skip the stripping and sanding if you use a gel stain. After cleaning and repairing the furniture, apply gel stain directly to the old finish using a soft cloth. While gel stain won’t hide water stains or major defects, it will help hide scratches and refresh areas where the old stain has worn away.
Q: Can you restain a table without sanding it first?
The key to how to restain wood without sanding involves using gel stain. Gel stain does an excellent job of adhering to the old unsanded finish while refreshing its appearance.
Q: Can you stain already-stained wood?
You can stain over existing stains as long as you follow a few guidelines. First and foremost, the stained wood must be raw. This means the wood cannot have a clear coat finish on it such as polyurethane, wax or varnish. Also, you can only apply a darker stain over a lighter stain.