
We may earn revenue from the products available on this page and participate in affiliate programs. Learn More ›
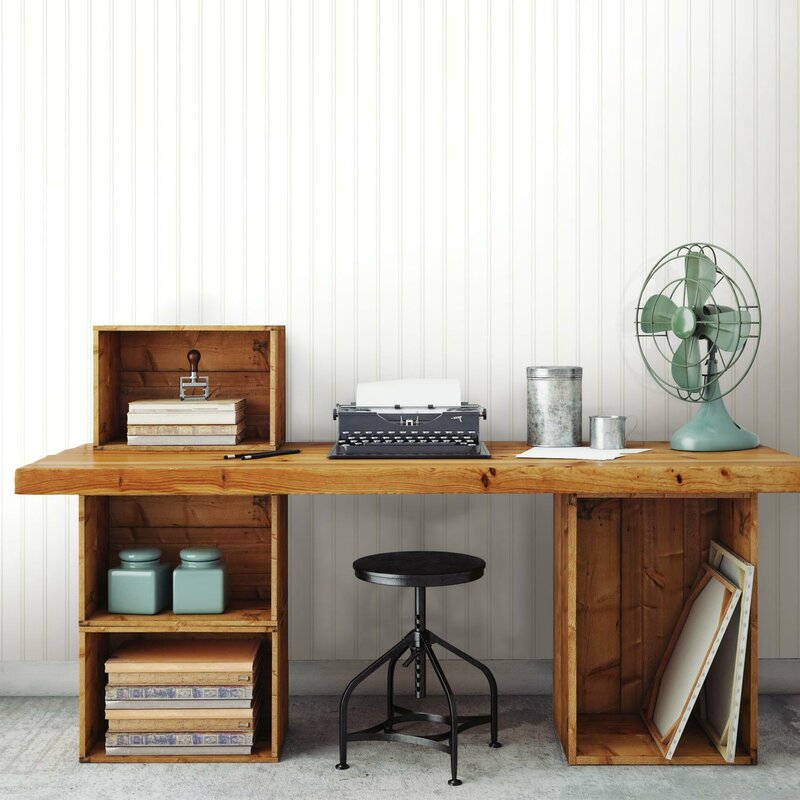
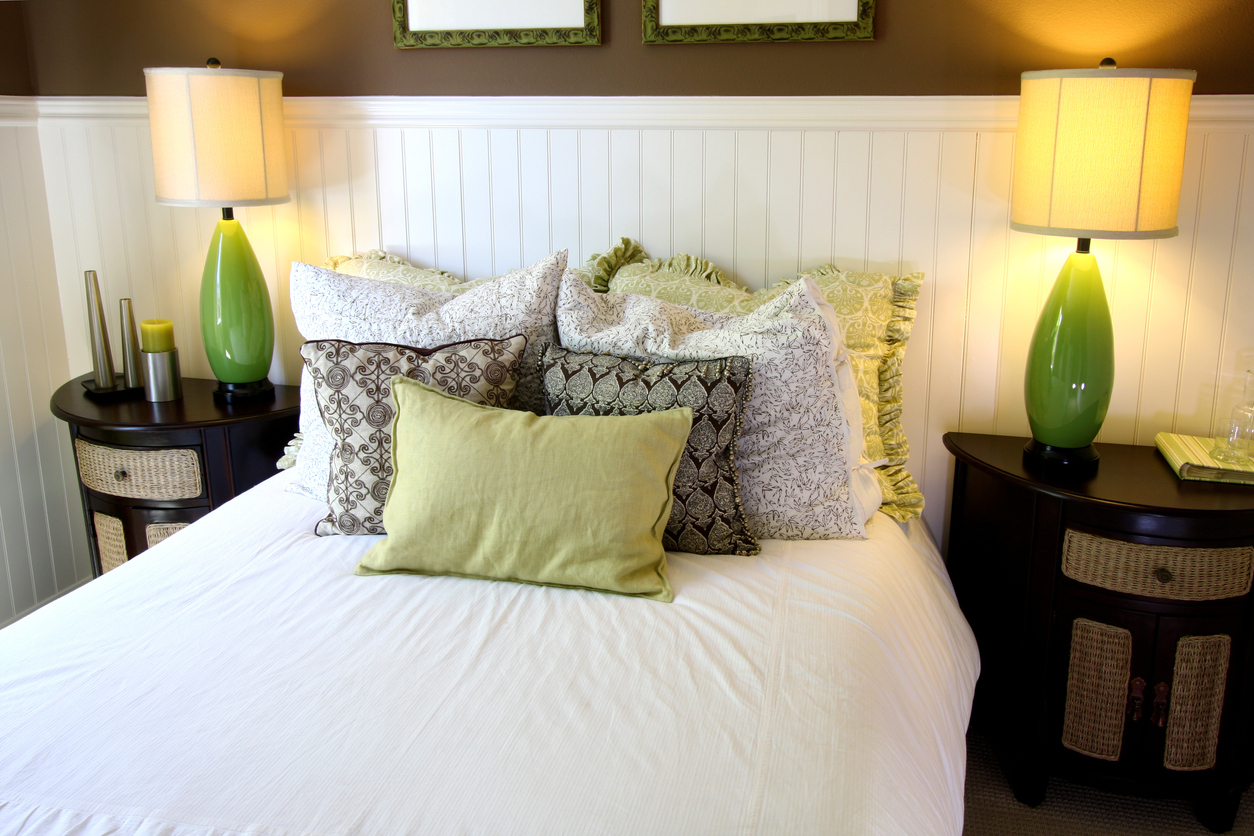
Beadboard is a type of wood paneling that has raised half-round vertical beads milled between flat lengths of board. Beadboard adds visual interest and a cozy feeling to a space, and it’s particularly well suited to a traditional or modern farmhouse-style home.
A common decorative finish in the 1890s, beadboard continued to be popular as wainscoting and for porch ceilings until it fell out of fashion in the 1950s. Today, beadboard is enjoying renewed interest as homeowners seek to incorporate more interesting surfaces and traditional elements into their homes.
It’s fairly easy to learn how to install beadboard paneling, but planning is important and details matter, particularly in spots where the beadboard meets the baseboard and other trim in the room. This guide to installing beadboard will help handy homeowners pull off a professional-quality DIY project.
Beadboard vs. Wainscoting: What’s the Difference?
Although the terms are often used interchangeably, beadboard and wainscoting aren’t the same. Wainscoting describes any decorative surface treatment applied to the lower portion of an interior wall, while beadboard is a particular kind of wainscoting.
Beadboard was so popular as a wall treatment during the late 1800s to mid-1900s that it became a general term to describe any wainscoting. Today, beadboard is used for ceilings, walls, and cabinetry inlays too.
Beadboard is only one style of paneling that’s commonly used as wainscoting. Other wainscoting options include raised or flat panel, board and batten, shiplap, and overlay (a combination of flat and raised panels).
Tools & Materials
Bobvila.com may earn a commission from purchases made through these links.
Project Overview
Working Time: 8 hours
Total Time: 2 to 3 days (includes finishing steps like filling nail holes and painting)
Skill Level: Intermediate
Estimated Cost: $225 to install and paint beadboard wainscoting in an average bathroom (not including cost of tools)
Before You Begin
Installing beadboard is a fast, bold way to make over a room or create a feature wall or ceiling. It doesn’t require a zillion tools, and the payoff is nearly instant.
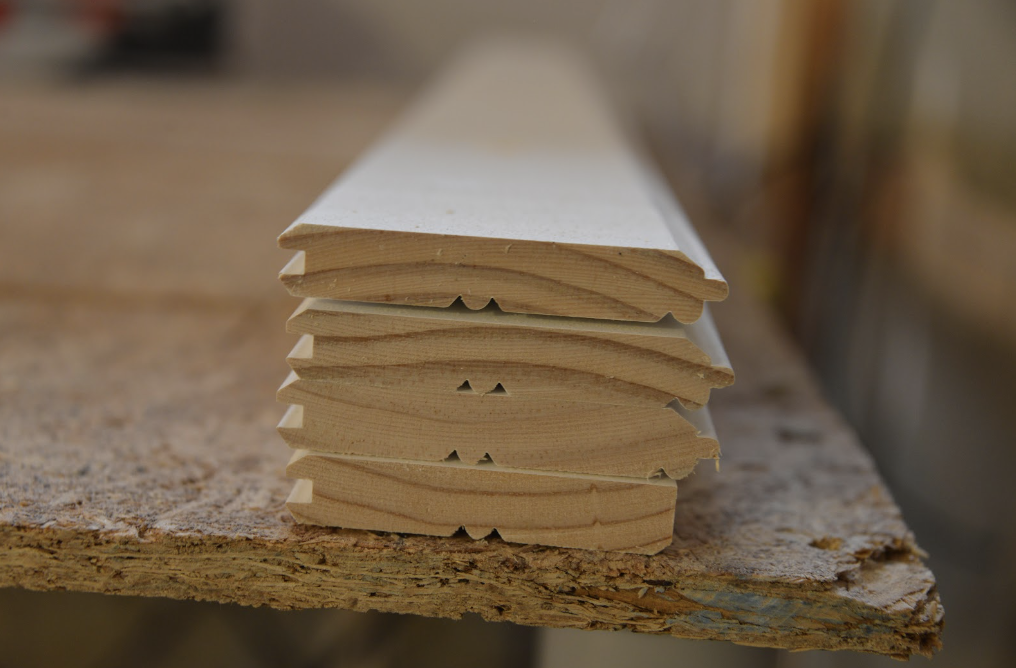
Traditional beadboard is typically sold as 1×4 tongue-and-groove boards, which means that each board is about 3 1⁄2 inches wide. Beadboard is often milled from woods like Douglas fir or knotty eastern white pine. Primed finger-joint pine is also common.
In the past, wooden beadboard was the rule, but these days beadboard is also made of composites like MDF, HDF, Acre by Modern Mill, and various other materials from a range of manufacturers. Beadboard is also sold in sheets of plywood, PVC, and other materials, with beaded profiles milled across their 4-foot length.
If you’re planning to paint your beadboard, we recommend purchasing primed beadboard panels to save painting time later.
Beadboard Installation in 8 Steps
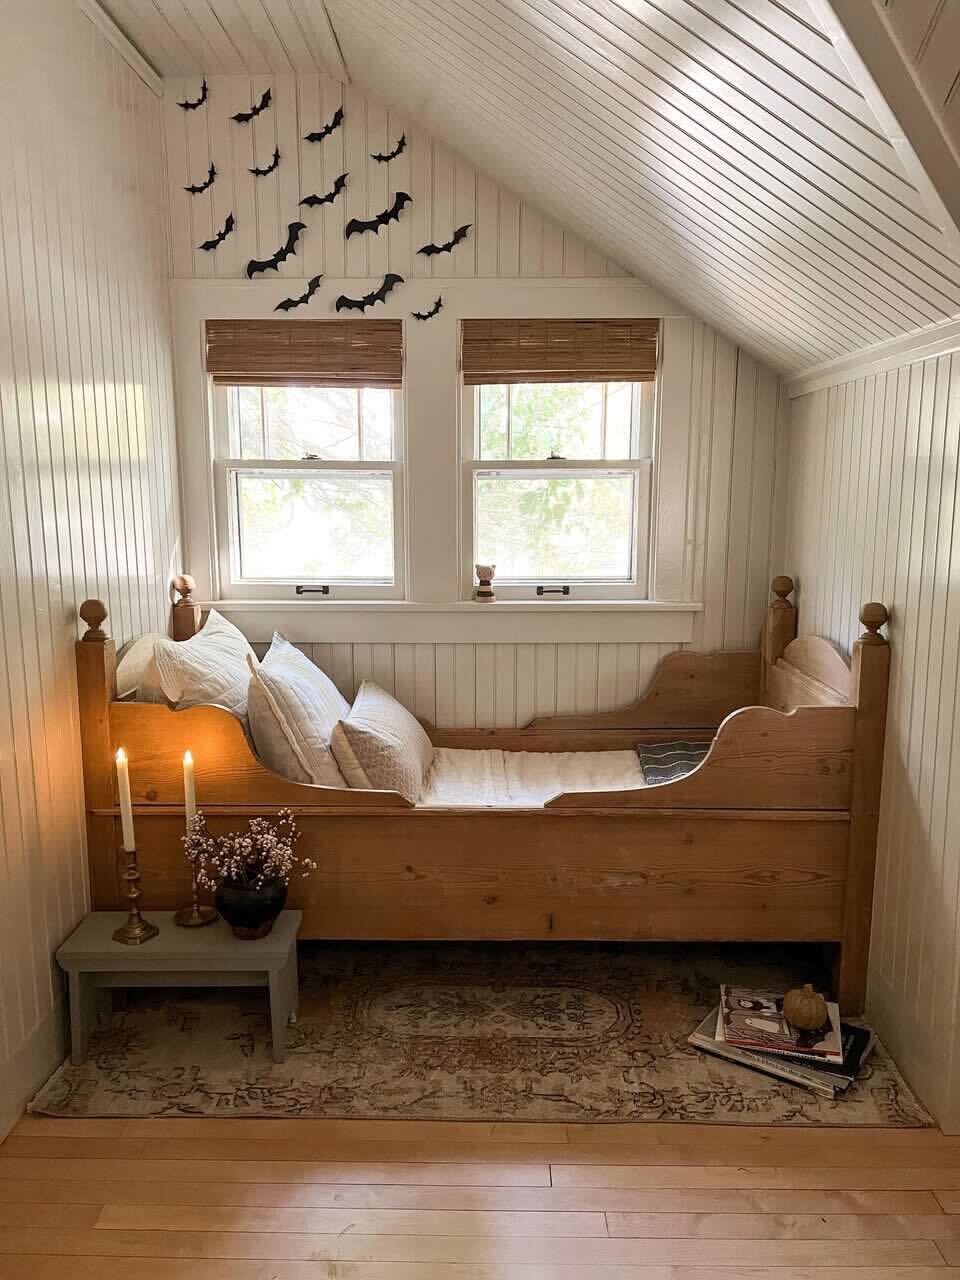
While beadboard is traditionally installed as along the bottom of a wall, using beadboard as a ceiling treatment, or for floor-to-ceiling paneling, can help you achieve a modern beadboard look. Use a tape measure to figure out the ideal wainscoting height for your room.
Typically, beadboard is sold as tongue-and-groove panels or individual boards. Most beadboard has one side that has a thin bead down the middle and along the tongue to conceal the joint when the board is installed; the other side is flat, with a V-groove along the tongue. Installation is the same for both sides or “profiles.”
If you are installing beadboard wainscoting over drywall, choose a panel with 3/8-inch or 1/4-inch thickness. That will ensure a reveal, albeit a narrow one, where the beadboard meets the door molding.
These beadboard installation instructions generally apply to shiplap feature walls as well.
Step 1: Prepare the wall surface.
After gathering all of the tools and materials needed for the project, the first step is preparing the wall surface. To achieve a secure installation, beadboard should be connected to wall framing.
Open wall framing: In new construction (or in a gut renovation), where the wall framing is open, add horizontal blocking between the studs every 2 feet and wherever the beadboard terminates to provide sufficient nail surface.
Finished room: In a finished room, you can choose to remove the drywall, add a layer of plywood as a nailing surface, or install the beadboard over the drywall using both construction adhesive and pneumatic finish nails.
RELATED: Buyer’s Guide: The Best Brad Nailers We Tested This Year
Step 2: Mark your stud locations.
If you are applying beadboard over a finished wall surface, mark the stud locations with a pencil. Make the marks above the area where you’re installing the panels so you don’t cover your marks with the beadboard.
At every stud location, you will face-nail the beadboard into the stud. Ultimately, chair rail or other trim will help hold it in place. Where there is no stud, apply construction adhesive to the wall and nail directly to the drywall. The nail will hold the beadboard while the glue cures.
Step 3: Lay out the first beadboard panel.
Remove any existing baseboard molding or other trim. If you are doing only one wall, remove a small section of baseboard molding on adjacent walls so the new board can tuck behind it. An oscillating tool is good for this task.
Determine how much of the wall the beadboard will cover. A typical height for wainscoting is 32 or 36 inches—roughly ⅓ of the wall height—which is the same as the recommended height for chair rail molding. That said, different heights can work well in different rooms. Another popular option is to cover about ¾ of the wall’s height with beadboard.
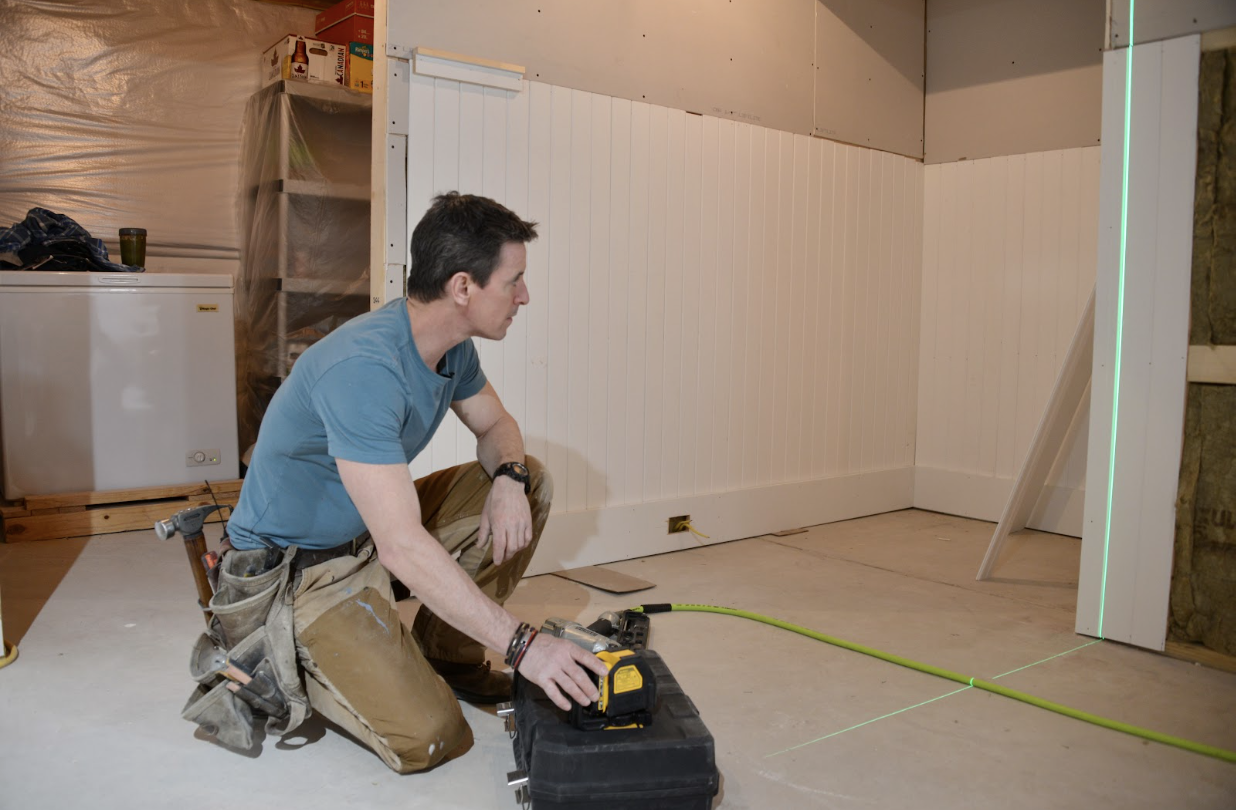
Once the desired height is determined, establish a level line. A spirit level works for this, but a laser level works better.
Position the first board in one corner of the room, tongue out. Get the first board as plumb—straight up and down—as possible. It doesn’t matter if the adjoining wall is plumb; just make sure the beadboard is plumb. Again, a spirit level works, but a laser level is better. Once it’s plumb, face-nail the board to the wall.
RELATED: Solved! This is the Right Height for Wainscoting
Step 4: Install the rest of the beadboard panels.
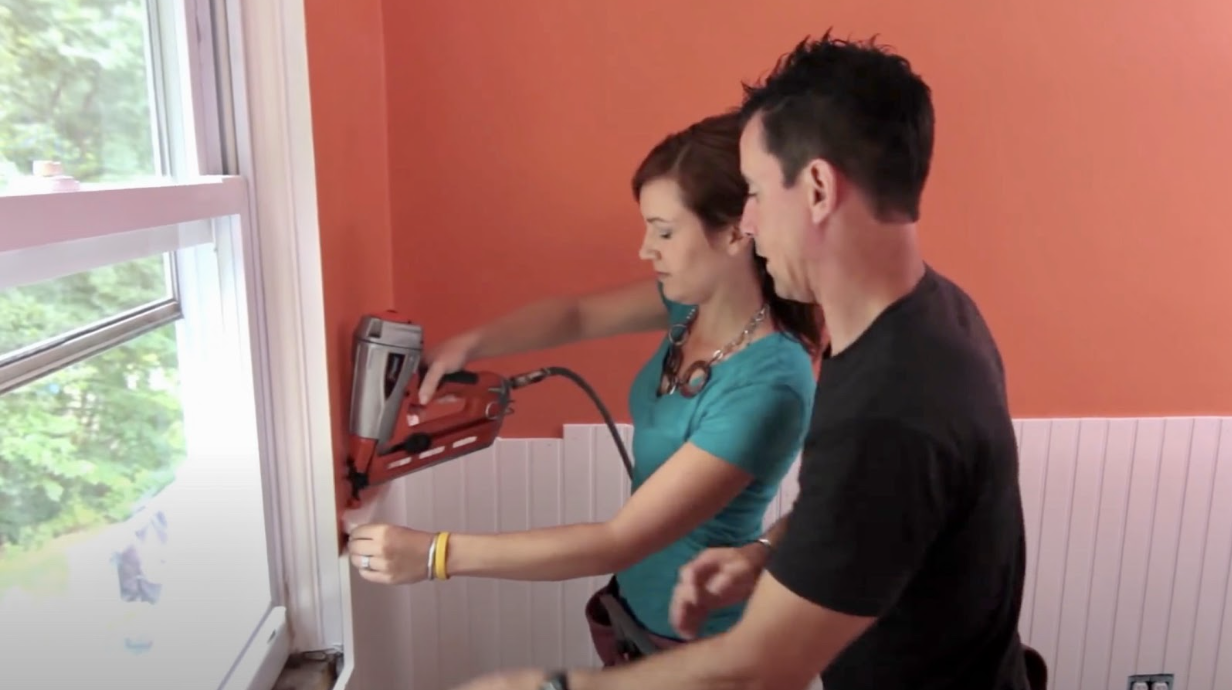
Now that the first panel is installed, it’s time to install the “field.” The field consists of all the boards that are not corners or transitions. Install one board’s groove over the tongue of the first board, but do not face-nail this board. Instead, toe-nail through the tongue at an approximately 45-degree angle into the drywall or other backing material. A pneumatic finish nailer is good for this.
If you are planning to install (or reinstall) baseboard molding, the field boards do not have to run tight to the floor, although they do need to reach within ½ inch or so of the floor. You must, however, make sure the tops of the panels run along the level line you previously marked.
Check for plumb as you proceed; checking every three or four boards should be fine. If you’re starting to run out of plumb, spread the next board or two (or three) about ⅛ inch until plumb has been achieved. There will be a little gap between the chamfered edges, but it is very difficult to see. Out of plumb will be easier to notice.
Pro tips: As you get closer to an adjoining wall, the space will be too tight for you to be able to use the nailer to angle nails into the tongue, so you’ll probably need to face-nail those panels to the drywall.
As you approach the adjoining wall, you may not be able to slide the last board’s groove over the tongue of the previous board. If this is the case, rip the back of the groove off the last piece so it will fit in place.
Step 5: Detail transitions and adjoining walls or casing.
As you’re finishing up a wall, unless your panels conveniently terminate at the adjoining wall, it is likely that the last board will need to be ripped (cut lengthwise) on a table saw to fit.
If you are installing beadboard along several (or all) of the walls in the room, you’ll need to navigate the corners and the door and window openings. Here’s how to cut beadboard for transitions.
For transitions to window and door casing, start with a full board along the casing with the tongue side away from the trim. When terminating the beadboard into casing with the tongue side, rip the tongue on a table saw to achieve a finished look.
For an inside corner, you can certainly start with a full board. When it’s an inside corner, however, we prefer to use what we ripped off the last board—unless it is just a sliver—as the first board on the adjoining wall. This way it looks like the board is simply folded into the corner. Another option is to use a 1×1 as a wainscoting corner trim piece to fill in the corner.
For outside corners, miter the pieces on the table saw. Again, it looks a little cleaner if you use the same board to wrap the corner. Definitely check for plumb again and proceed with the next round of field boards.
RELATED: Buyer’s Guide: The Best Table Saws We Tested This Year
Step 6: Finish the bottom of the beadboard with trim.
After all of the panels are installed, it’s time to address the bottom of the beadboard. While you can reinstall the baseboard that you removed or choose a typical baseboard profile, either one may stand out from the beadboard in an unappealing way. Dry-fit a piece to see if you like it before securing the baseboard to the wall.
In our projects, we avoid the bulk of a typical baseboard by installing 2-inch batten—a thin strip, approximately ⅜ inch thick by 2 inches wide—along the bottom of the panels. It covers the bottoms of the boards effectively without detracting from the overall look of the wall. You can use the table saw to cut these pieces out of the beadboard stock and trim them to length with a miter saw.

Step 7: Cap the tops of the beadboard panels.
The tops of the boards need to be capped. While this is often done with store-bought profiles or chair rail, this option can be messy, difficult, and expensive. We’ve found it easier and cleaner to rip boards out of beadboard panels on the table saw.
The top cap is usually a two-piece assembly: one piece fastened to the face of the beadboard, and the other fastened on top. A batten can be used for the face-nailed piece, but a full-thickness board looks good there too. When cutting the cap, we like to make sure it overhangs the face-nailed piece by about ¾ of an inch.
Before attaching a top cap, use scraps to experiment with pieces of different sizes and decide which combination looks best.
Pro tip: For a cleaner finish, place the cut edge of the board against the wall and leave the factory edge out. It’s hard to see the difference between the sides without paint, but there are swirl marks from the table saw blade. Paint or stain will immediately highlight these marks; sanding can do the trick to hide them.
Step 8: Paint or stain the beadboard.
For primed pine or other materials, apply a thin bead of caulk between the top cap and the wall, and fill all of the nail holes. After the surface is ready, apply paint or stain. While beadboard is traditionally painted white, beadboard that’s made from natural wood can be finished with urethane or boiled linseed oil.
If the material is already primed, there’s no need to use a paint-and-primer-in-one, but still plan on applying two coats. If you’re using a really strong color like matte black, plan on at least three coats.
Pro tip: If you’re using rags to wipe on a finish, never store the used rags crumpled up in a bucket, as they can combust. Always spread them out to dry thoroughly before throwing them away.
How to Hang a Beadboard Ceiling
Hanging beadboard on a ceiling is similar to attaching beadboard to a feature wall. While it’s possible to hang beadboard without an extra set of hands, the job will go much faster and more easily if someone can help hold the panels in place while you nail them to the ceiling.
The steps are similar to those for installing beadboard panels on a wall, with a few exceptions.
- Determine the orientation. While beadboard is traditionally installed vertically on a wall, you’ll need to decide which way you want the beadboard to run on a ceiling. Many choose to orient a beadboard ceiling with the beads running along the longer dimension, but running them along the shorter dimension can help make a skinny room seem a bit larger.
- Determine a nailing surface. As with installing beadboard on a wall, you need to have a secure nailing surface. Mark the joist locations on the walls to use as a guide as you install the panels. For open ceilings, install 2×4 blocks between joists to provide an additional nailing surface. For a ceiling that’s already finished in drywall, use construction adhesive and nails.
- Detail the edges. With a ceiling, unlike a wall, you don’t have to deal with top and bottom trimwork, but you do need to detail around the perimeter. Using the method described in Step 6, create a molding detail—using either a traditional crown molding profile or flat stock—around the edge of the beadboard where it meets the walls.
Tips for Installing Beadboard
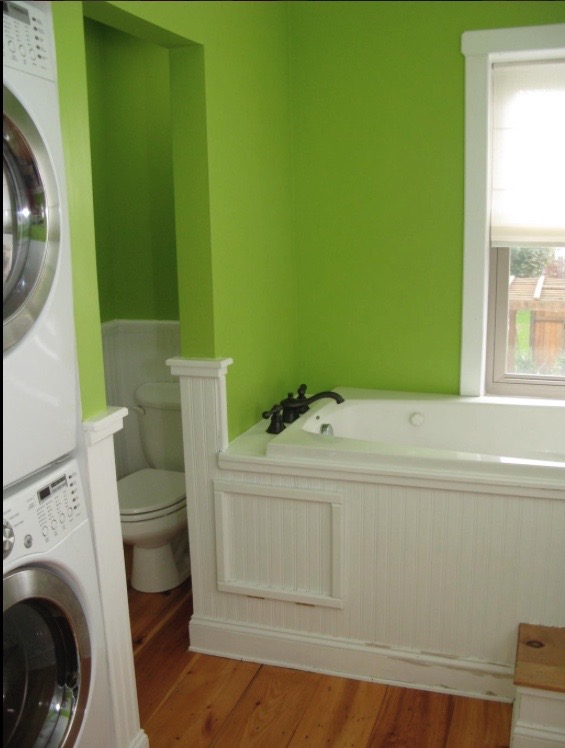
For successful, pro-quality results, whether you’re installing beadboard in the bathroom or any other space, keep these tips in mind:
- Prior to installation, leave wooden beadboard or wood composite panels stacked (with spacers between each one) for 72 hours so they can acclimate to your home’s moisture level.
- Carefully remove baseboard and/or ceiling moldings before you begin work so you will have the option of reinstalling them.
- If you plan to paint the beadboard and haven’t purchased primed panels, prime and apply the first coat of your chosen color before hanging the beadboard.
- When installing beadboard over drywall, use construction adhesive. While the adhesive cures, use finish nails to hold the panels in place.
- Buy or rent a battery-powered pneumatic nailer and compressor to make quicker work of the project and eliminate accidental and unsightly hammer dings.
Final Thoughts
Installing beadboard walls is a relatively quick DIY project that can really transform a room. Beadboard not only adds charm, but it also eliminates the need to finish or repair dings in drywall. It can be purchased primed, which helps save time.
Whether you’re installing beadboard in a bathroom or mudroom, on a wall or ceiling, it’s crucial that the beads are plumb and run parallel to each other across the entire surface. Make sure to check for plumb as you work so the finished look is exactly what you imagined.