
We may earn revenue from the products available on this page and participate in affiliate programs. Learn More ›
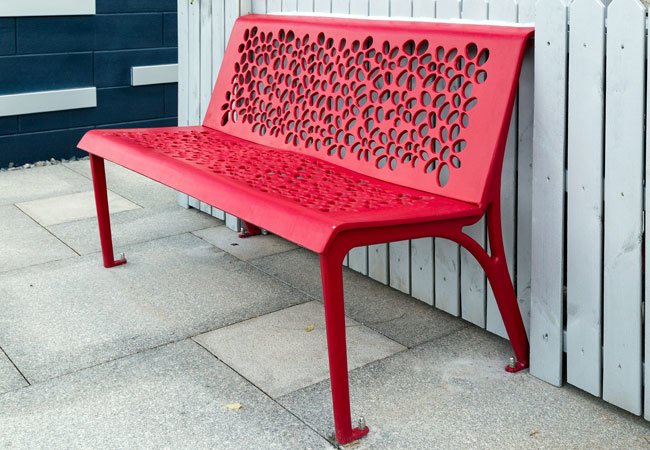
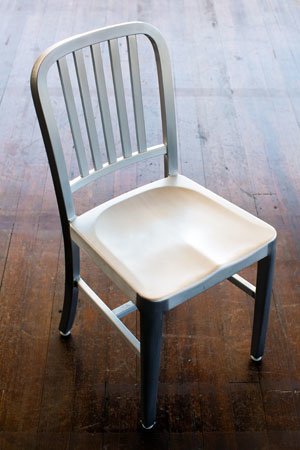
A lightweight and durable material, aluminum has long been used for construction projects and home furnishings. Though the silvery-white metal looks sleek and modern on its own, many homeowners opt to update aluminum surfaces with paint. Whether you wish to refresh an old filing cabinet or decorate a patio chair, the process is relatively straightforward. Simply follow the instructions laid out here, and you can make-over the metal surface in no time.
Project Summary
- Thoroughly clean the aluminum and let dry.
- Sand the metal surface with coarse-, then fine-grit sandpaper.
- Apply self-etching primer, let dry, then sand again.
- Apply paint (multiple coats, and sanding between coats, may be necessary).
- Apply enamel sealer.
For a full tutorial on how to paint aluminum, with details and tips for each step of the process, continue below!
Tools & Materials
Bobvila.com may earn a commission from purchases made through these links.
How to Paint Aluminum
STEP 1: Thoroughly clean the aluminum.
Find a well-ventilated work area, and lay drop cloths to protect the surrounding surfaces from paint splatters. Then, thoroughly clean your aluminum before you get started on your transformation. Fill a large bucket with warm water and mix in a few squirts of degreasing cleaner—either a specialty product like Stanley Home Products Original Degreaser (view on Amazon) or a grease-cutting dish detergent like Dawn. Next, dip a rag in the suds to wipe away dust and dirt. If the aluminum object is covered in rust or a flaking layer of paint, you’ll also need to scrub it gently with a wire brush to remove this layer—either can prevent a layer of fresh paint from fully adhering.
Allow the aluminum to air-dry completely.
STEP 2: Sand the metal surface in a two-stage process.
Next, you’ll need to sand the aluminum surface to further help your paint job stick. Don protective gear—gloves, goggles, and a dust mask—to save yourself from exposure to the metal dust particles. This is absolutely critical. Then, using either a sanding block or sandpaper, rough up every side, corner, and crevice on the object. If you’re working on a larger, more flat surface like an outdoor tabletop, you may find that the job goes faster with a power sander. Whatever tool you choose, start with a coarse 80- to 100-grit paper before sanding the surface a second time with a finer grit (400-grit or higher).
Wash the piece again with warm water and a degreasing cleaner to remove any dust from the sanding process; dry completely.
STEP 3: Apply self-etching primer, then sand again.
When preparing aluminum for paint, it’s important to use a self-etching primer. Its special formulation contains chemicals that micro-etch the surface of the aluminum for the best bond possible. Fortunately, it’s a cinch to apply: Purchase self-etching primer (such as SEM Self Etching Primer, available on Amazon) in spray paint form from a home improvement store or auto specialty shop. Spray the primer on in thin coats, according to the manufacturer’s directions.
Wait the recommended dry time that’s listed on the primer’s packaging. Then, lightly sand the piece again with 400-grit sandpaper, and wipe away the resulting dust using a rag.
STEP 4: Apply paint.
Choose acrylic or latex paint formulated for use on metal (and if you’re painting an outdoor item like aluminum patio furniture, don’t forget to pick a paint labeled “exterior grade”). Stay away from high-gloss paint; these are not ideal for painting aluminum, as they will highlight imperfections like dents and scratches often found in the lightweight metal. Instead, choose paint with a matte or satin finish.
Base your choice of application—spray or brush—on the size of your paint job and your personal preference, and be sure to follow the paint manufacturer’s directions with regard to the number of recommended coats recommended. Sanding between coats may be necessary.
STEP 5: Apply sealer.
After the paint has thoroughly dried, apply at least two coats of enamel sealer (view example on Amazon). This enamel layer will help protect the painted aluminum from chipping, scratching, or fading over years of use. Follow the manufacturer’s recommendations on cure times before you set anything on or start using your newly-painted aluminum item once again.