
We may earn revenue from the products available on this page and participate in affiliate programs. Learn More ›
Q: I re-painted my kitchen walls a month ago with great results, but woke up today to see the paint bubbling. What could have caused this effect long after my paint job and how do I eliminate it?
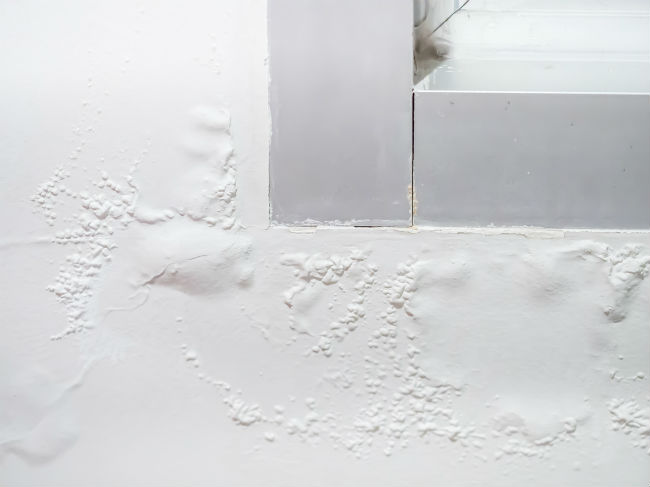
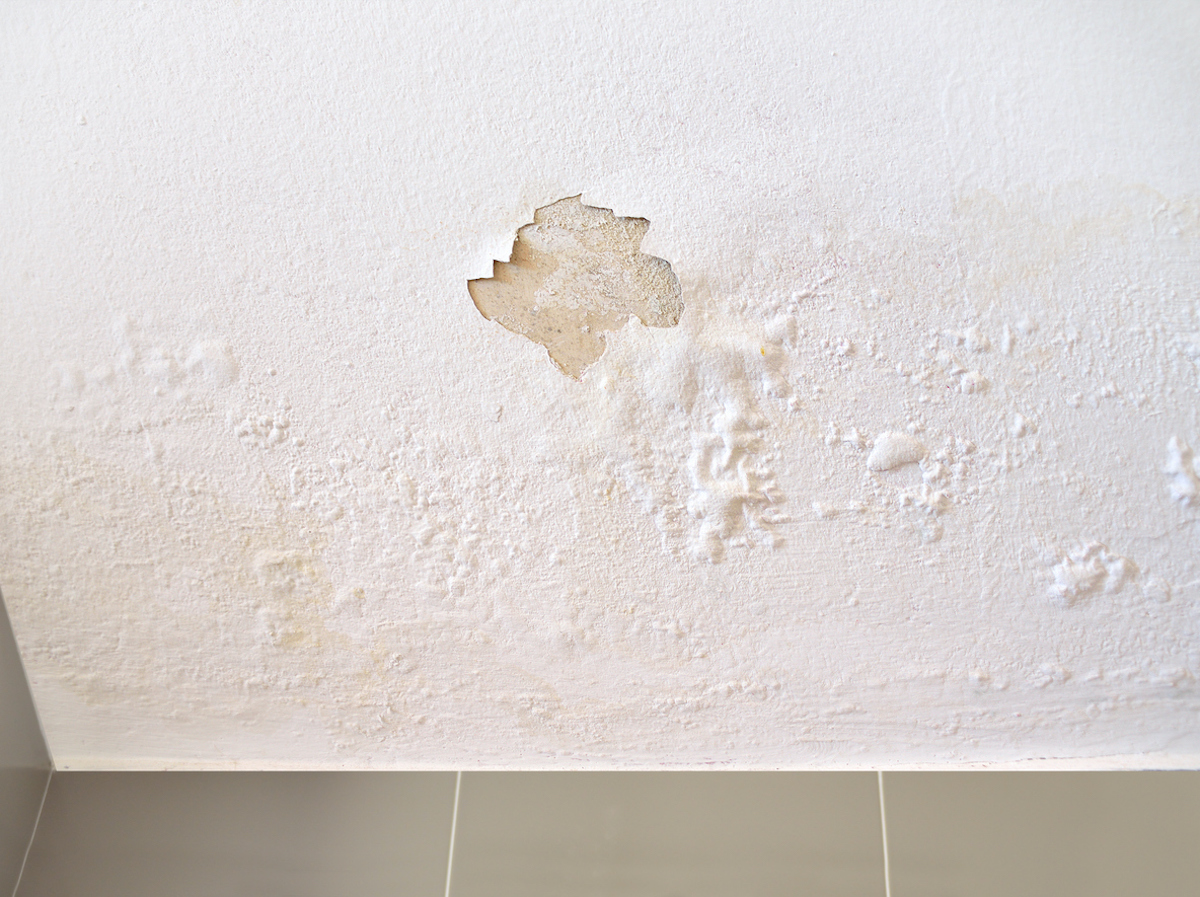
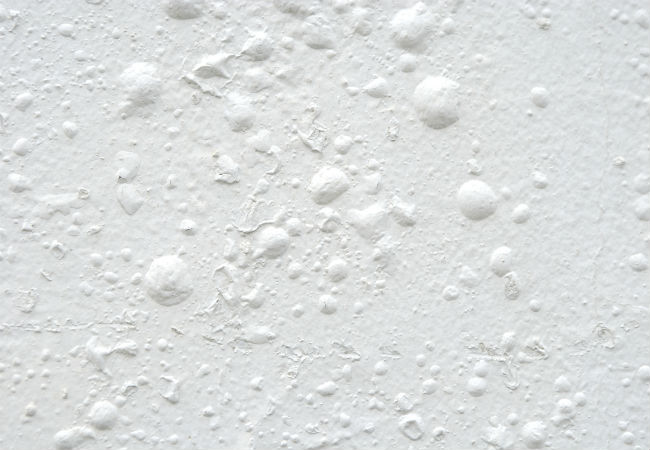
A: The type of paint blemish you describe, also known as blistering, is a result of the paint losing its adhesion to the base coat of paint or substrate (the underlying surface) such as drywall, plaster, and wood. Where the paint pulls away, air- or water-filled bubbles form—some deflating or popping on their own during the drying process, others hardening in place.
The sudden onset of paint bubbling in your kitchen isn’t altogether surprising since oil-based or latex (water-based) paint coats can be forced free at any time, from hours to months after application. Sure, you could paint over it to smooth the surface out, but that’s not a long-term solution—the troublesome paint blisters would likely re-emerge soon enough, rendering the second paint job a waste of time. Instead, the best means to remove the bubbles is to first identify what caused them and address the problem to prevent it from ruining your next coat. The following factors are the most common culprits for bubbling paint and, therefore, smart places to start.
RELATED: 12 Easy Fixes for a Botched Paint Job
What Causes Paint to Crack, Peel, and Bubble—and How to Fix it)
Many frustrating paint problems can be prevented by understanding the causes, some minor prep work, and the right tools.
The Painting Surface was Dirty
Ever wonder why the first step of painting a room often involves cleaning the wall? Dust, dirt, and grime inevitably collect on interior walls and ceilings over time, and fresh paint has difficulty adhering to surfaces clogged with these loose particles. As the new paint dries and, to some extent, shrinks, it will lift up from soiled areas of the surface and forms unsightly bubbles around specks of grime. These are examples of those confined to the topcoat, i.e. the bubbles won’t extend down to the substrate.
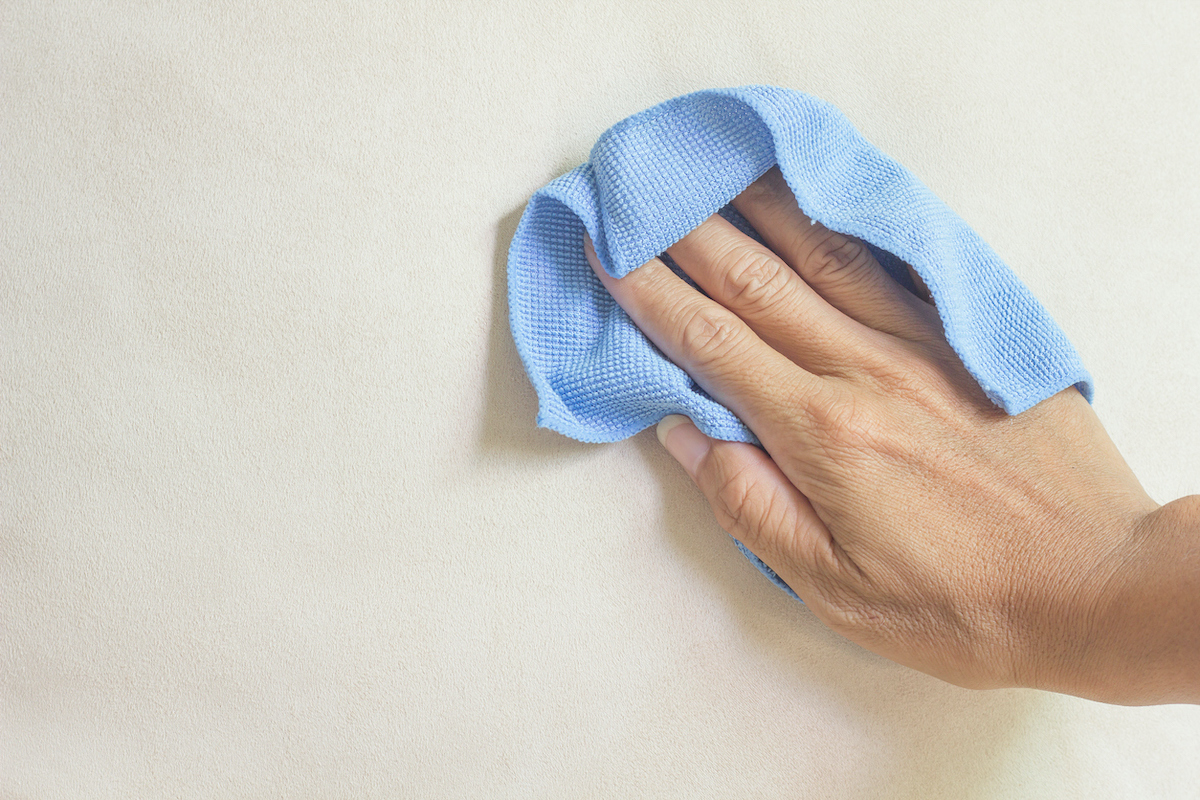
Solution: You can course-correct using the scraping-and-patching technique outlined in the last section of this article. Then, to prevent paint from blistering in the future, thoroughly clean the surface with a sponge dampened with soapy water followed by a dry rag. Let the surface air-dry completely before applying primer and paint to the patched areas.
You Skipped the Primer
Porous substrates like bare drywall or plaster absorb more of both the pigments and resins (binders) found in the paint than substrates that have been sealed with primer. As a result, your base coat of paint will have a thinner binder film than necessary for the next paint coat to stick to. Where new paint doesn’t stick to the base coat, it tends to lift off and result in a bubbling top coat.
Solution: If you notice paint bubbles after a primer-free paint application, remove the bubbles using the scraping-and-patching technique outlined below, clean the surface of joint compound dust and other debris, then apply a stain-blocking primer to the surface before re-painting it. Either oil-based or latex primer will do; pick yours to match the type of paint you plan to roll on afterward. (If you’re still deciding on the new topcoat, keep in mind that oil-based primer is more resistant to moisture, making it a better choice in high-moisture spaces like bathrooms or kitchens.)
The primer will seal pores in the substrate, ultimately affording a thicker base coat with adequate binders that subsequent paint coats can stick to without bubbling. Just remember that the primer itself needs to dry fully before paint application, or else the solvent component of paint that is meant to evaporate during dry time will instead become trapped beneath the top paint coat and lead to blistering.
The Painting Surface or Surroundings were Moist
Excess moisture on your painted walls—whether from water droplets, high humidity, leaks, or plumbing problems—can cause water-filled bubbles in the paint, originating anywhere from the substrate level to between the top two coats. These types of bubbles are common to bathrooms and kitchens, where liquids or condensation in the form of cooking fumes are present on surfaces, or in spaces like basements without adequate ventilation to moderate humidity levels.
Solution: Your first order of business (before even scraping away the bubbles) is to inspect and address the source of the moisture, whether that’s a roof leak, basement flooding, bathroom humidity, loose plumbing connections beneath a sink, or leaky caulking. Once you’ve remedied the problem, scrape, patch, clean, and dry the walls. Before you prime and paint, minimize the possibility of moisture impacting your finished paint job by checking that the room’s humidity levels are moderate—ideally anywhere from 40 to 80 percent, as measured by a hygrometer (available on Amazon or at home improvement stores for between $10 and $20). Then, keep the fresh paint coat away from moisture until it dries fully; for example, avoid turning on the shower in a freshly painted bathroom until the coat has cured.
RELATED: How to Avoid House Painting Problems
The Painting Surface or Surroundings were Too Hot
Extreme heat—common in kitchens, living rooms, and other spaces containing heat-generating appliances or lots of direct sunlight—soon after a fresh paint job can cause the topcoat to dry unevenly at a faster-than-average rate, leading to bubbles just underneath the surface.
Solution: To repair heat-induced paint bubbling, remove the bubbles with a scraper (outlined below), clean and prime the surface, then ensure the indoor temperature falls between 50 to 85 degrees Fahrenheit before painting (check the manufacturer’s instructions on your paint packaging for the specific temperature recommendation). During paint application and drying, rely on indoor lighting as a light source and aim to shut blinds and close doors that typically invite direct sunlight, since it can increase indoor temperature and the potential risk of paint blistering.
You Painted with the Wrong Roller Cover
A roller cover’s type or and nap length vary to provide ideal paint coverage on a number of materials; choose one that’s ill-suited for the texture of your surface (e.g. using a short nap roller cover on an extremely rough surface) and you’ll have uneven paint coverage and paint bubbles down the road. When painting a smooth or semi-smooth surface like untextured drywall or plaster that you might find in the kitchen, you’ll want to enlist either a foam or a short nap roller cover (3/16- to ¼-inch nap for smooth or ⅜- to ½-inch for semi-smooth); this applicator will create minimal gaps with each stroke to aid in optimal paint adhesion. A medium nap roller cover (¾- to 1-inch) is recommended for moderately rough surfaces like stucco, and a long nap roller cover (1-¼- to 1-½-inch) should be saved for extremely rough surfaces like textured drywall.
Solution: To repair bubbling caused by the use of an improper roller cover, eliminate the paint bubbles using the scraping-and-patching method outlined below. Then clean, dry, prime, and paint the surface—this time with the correct tools for the job.
Repair Tips and Tricks for Paint Bubbles
Once you’ve identified and adjusted for the cause of the bubbling paint, you’re ready to remove the blemishes altogether. Lay several drop cloths on the floor below the painting surface to collect falling debris. Then, donning a dust mask and goggles, enlist a putty knife to file away the bumps using a gentle vertical or horizontal scraping motion. When you’re finished, rinse the putty knife with water, dry it with a rag, then use it again to fill any holes or cracks in the substrate with a thin, even layer of quick-setting joint compound. Let the compound dry overnight, then lightly sand the dried compound until smooth with a fine-grit sandpaper.
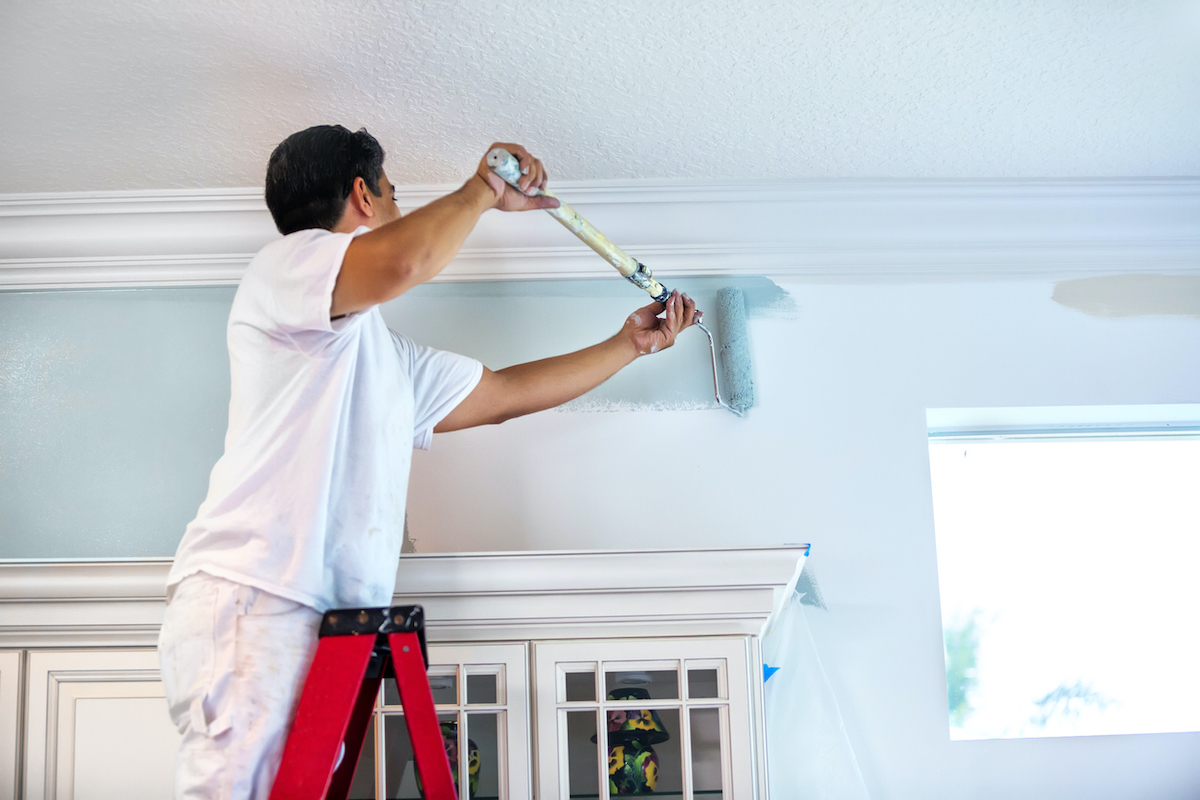
On top of cleaning, drying, priming, and starting the paint job in the appropriate conditions, your method of painting can help your finished product. Abide by the following painting tips for a bubble-free result:
- Stir paint slowly. Enlist a wooden stirrer or a paint-mixing power drill attachment to stir paint as slowly and for as short a duration as possible. Rapid stirring for a prolonged period can introduce air bubbles into the paint that might persist in the dried paint coat.
- Apply paint gradually if using a roller. If you see bubbles forming in the paint coat, slow down your stroke speed.
- Avoid applying oil-based paint directly over latex paint. The oil and water bases won’t bind, and the resulting lack of adhesion between the coats can cause blistering in the oil-based coat.