We may earn revenue from the products available on this page and participate in affiliate programs. Learn More ›
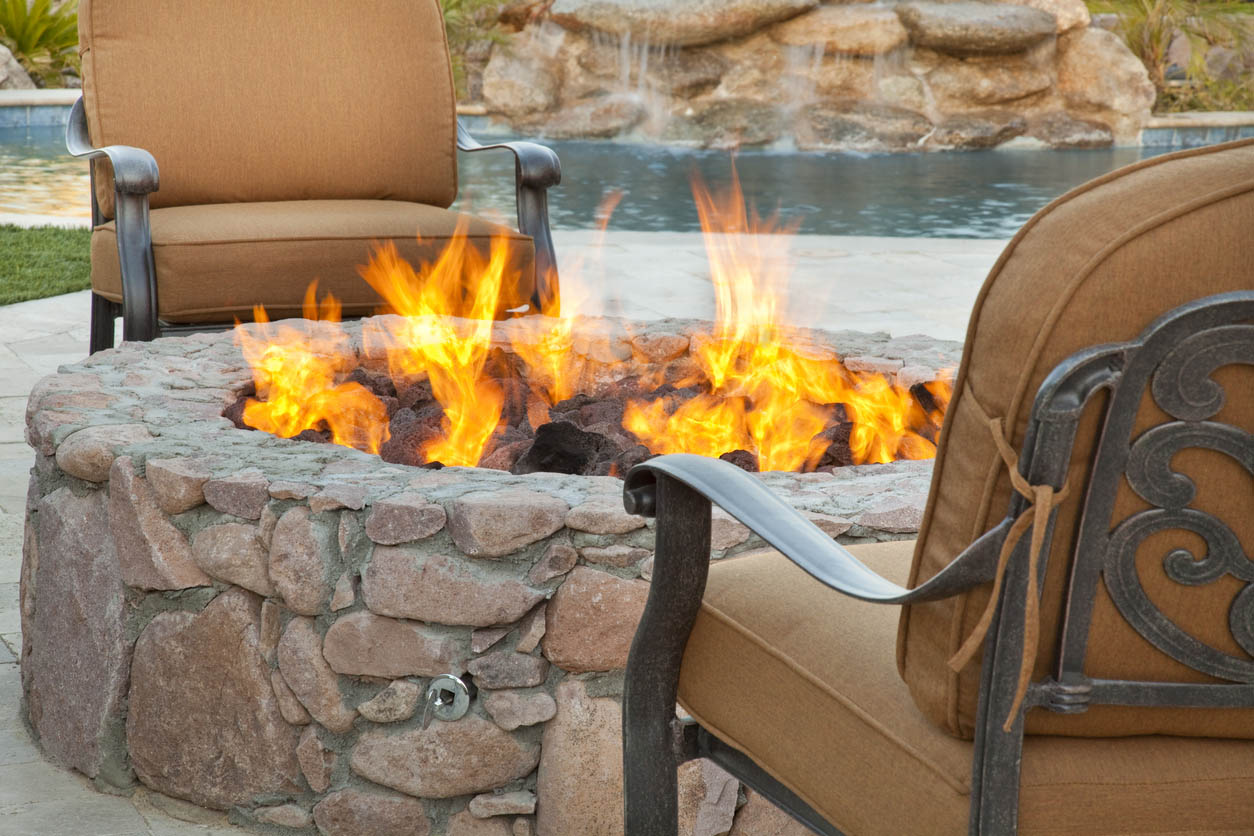
Many homes have fireplaces or propane stoves inside, but there’s nothing quite like enjoying a fire pit under the stars in your own backyard. On a cool night in the summer, you can cook up a feast of hot dogs over your fire pit, while in the chillier months, nothing beats a fireside snuggle in your most comfortable chair.
Of course, a fire pit can be as simple as a hole in the ground with stones haphazardly stacked around it. But believe it or not, in only a few hours, you can rather easily build a fire pit that is considerably more attractive (and safer), one that’ll really get you and your guests fired up.
How to Build a Fire Pit (3 Easy Ways)
These simple fire pit projects employ easy-to-find materials and tools you likely already have on hand.
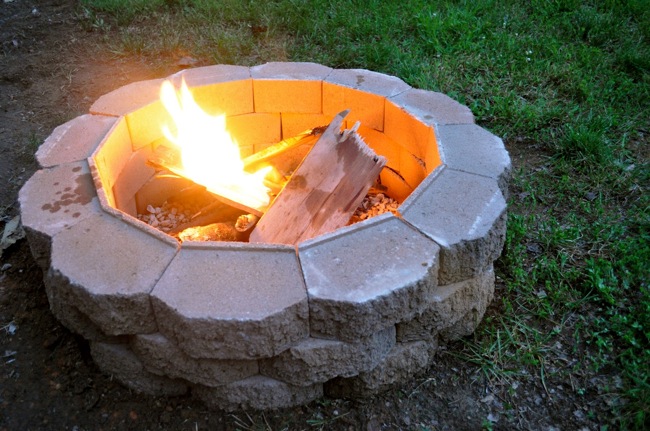
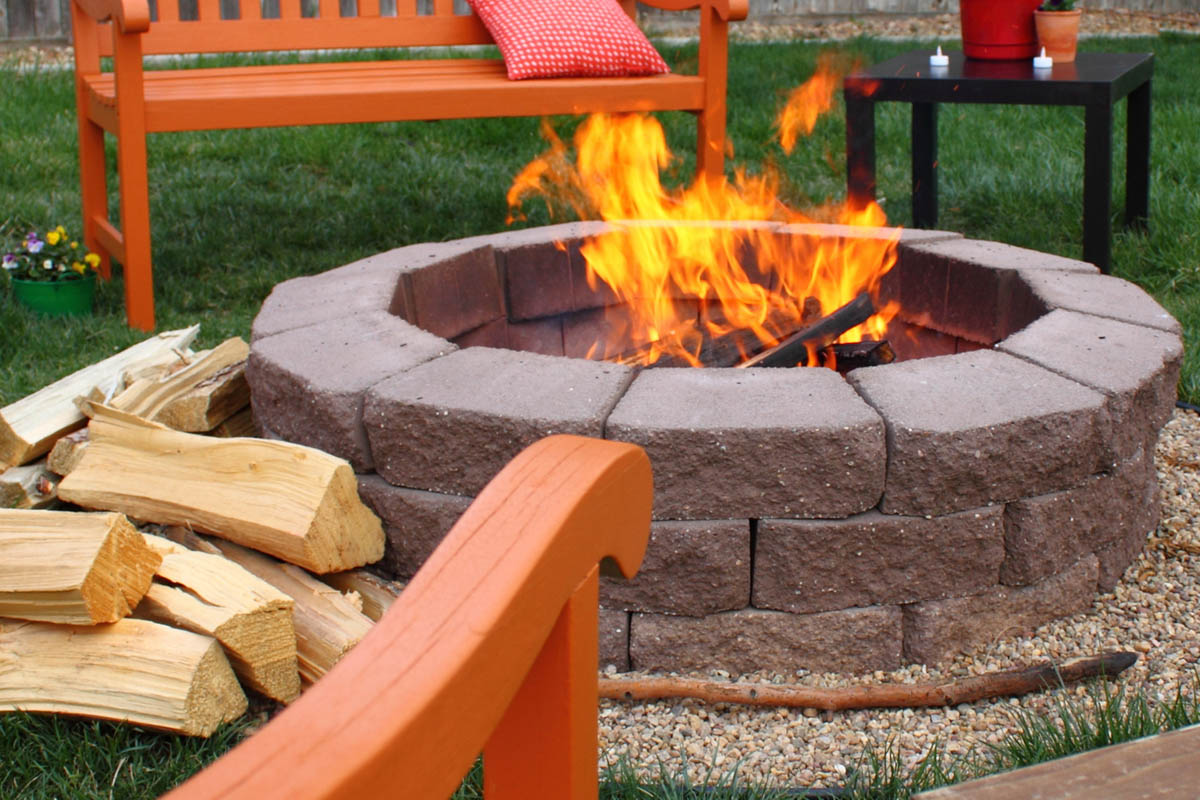
DIY Retaining Wall Fire Pit
Retaining wall blocks are designed with a rear lip to interlock effortlessly—and without mortar—creating a secure wall with a uniform and polished look. You can find straight-sided bricks for use in a rectangular pit, or blocks with angled sides to form a round pit.
STEP 1: Check local ordinances to make certain fire pits are allowed in your area.
First things first. Satisfy yourself that building a fire pit won’t result in your getting burned with a fine from the local government. Contact the planning offices in your area to see if any restrictions apply. Only proceed once you have the necessary approvals or when you’re convinced that none are required.
STEP 2: Choose a safe, sensible location for your fire pit.
Choose a location for your ring of fire, one that is on relatively flat ground and situated well away from flammable structures. Remember also to clear any tree branches that are hanging dangerously low. And before finalizing the spot you’ve chosen, record the movement of wind at a few different times of day; the outcome to avoid is smoke billowing into your home’s interior either through windows or doors.
STEP 3: Stake out the shape and size of your DIY fire pit.
Decide how wide you want your fire pit to be—the recommended diameter for a round fire pit is between 36 and 44 inches—and use marking paint to outline the footprint. Accomplish this by driving a stake into the middle of the area where you want the fire pit to go. Tie a length of twine to the stake that is equal to half the planned diameter. Then walk around the stake in a circle, twine extended, painting the perimeter. If you’re looking to build a square or rectangular fire pit, make careful measurements and mark its footprint.
STEP 4: Excavate 8 inches of dirt within the fire pit ring.
Now it’s time to excavate the ground within the circle you’ve drawn. Go about eight inches deep. If the yard is sloped, it may be necessary to dig down deeper on one end to ensure your installation will be level.
STEP 5: Fill the excavated area with a layer of sand.
Pour a two-inch-thick layer of sand into the area you’ve excavated. Tamp down the sand in order to compact and level it.
STEP 6: Begin laying the concrete retaining-wall blocks.
Lay one course of concrete retaining wall blocks around the edge of the pit. If slight adjustments are necessary in order to make the blocks level, tap them with a rubber mallet to establish the correct height.
Step 7: If needed, add construction adhesive to the wall blocks.
For a bit more peace of mind, you can use a fire-safe construction adhesive to bond the blocks together. This will ensure a solid structure that will withstand feet-propping — but will also make the fire pit more difficult to dismantle.
STEP 8: Continue laying the concrete retaining-wall blocks.
Lay a second ring of staggered blocks above the initial one, attaching the two tiers by means of masonry adhesive, if desired To promote air circulation around the fire, leave small, intermittently located gaps between the blocks.
STEP 9: Add a layer of gravel on top of the sand and complete the installation.
Add about four inches of crushed stone within the cavity, then lay down your final two rings of blocks. Let the adhesive dry for approximately two days before having your first fire. After that, let it burn, baby, burn!
Step 10: If desired, add a fire pit insert or bowl.
Your fire pit will be just fine with retaining wall blocks, but once you’re done building the pit, you may wish to insert a steel fire ring. Doing so will extend the life of your blocks by preventing them from drying out prematurely. You may find that you like the appearance of the steel ring, as well! You’ll find a number of fire rings for sale; this is a product where it makes sense to splurge for higher quality, to ensure you’re getting most protection.
DIY Fire Pit with Pavers or Natural Stone
If you have access to natural stone that’s rather flat-ish, consider building a more organic-looking fire pit. While these stones aren’t as neat and streamlined as purchased
Step 1: Check ordinances, select site, excavate, lay sand.
Follow Steps 1-5 as detailed above for the retaining wall fire pit.
Step 2: Source stones for your fire pit.
Whether it means scouring your property or visiting a nearby stone yard, secure enough flat, paver-like stones to build your fire pit. You should probably get more stones than you think you need, to ensure you have enough stones to fit them together properly.
Step 3: Place the base layer of stones for your fire pit walls.
Place a layer of stones according to your fire pit’s footprint. Assuming you are using irregularly shaped stones, fit them against each other as tightly as possible. You may have to try several rocks against each other to get the right fit.
Step 4: Continue building the walls of your fire pit.
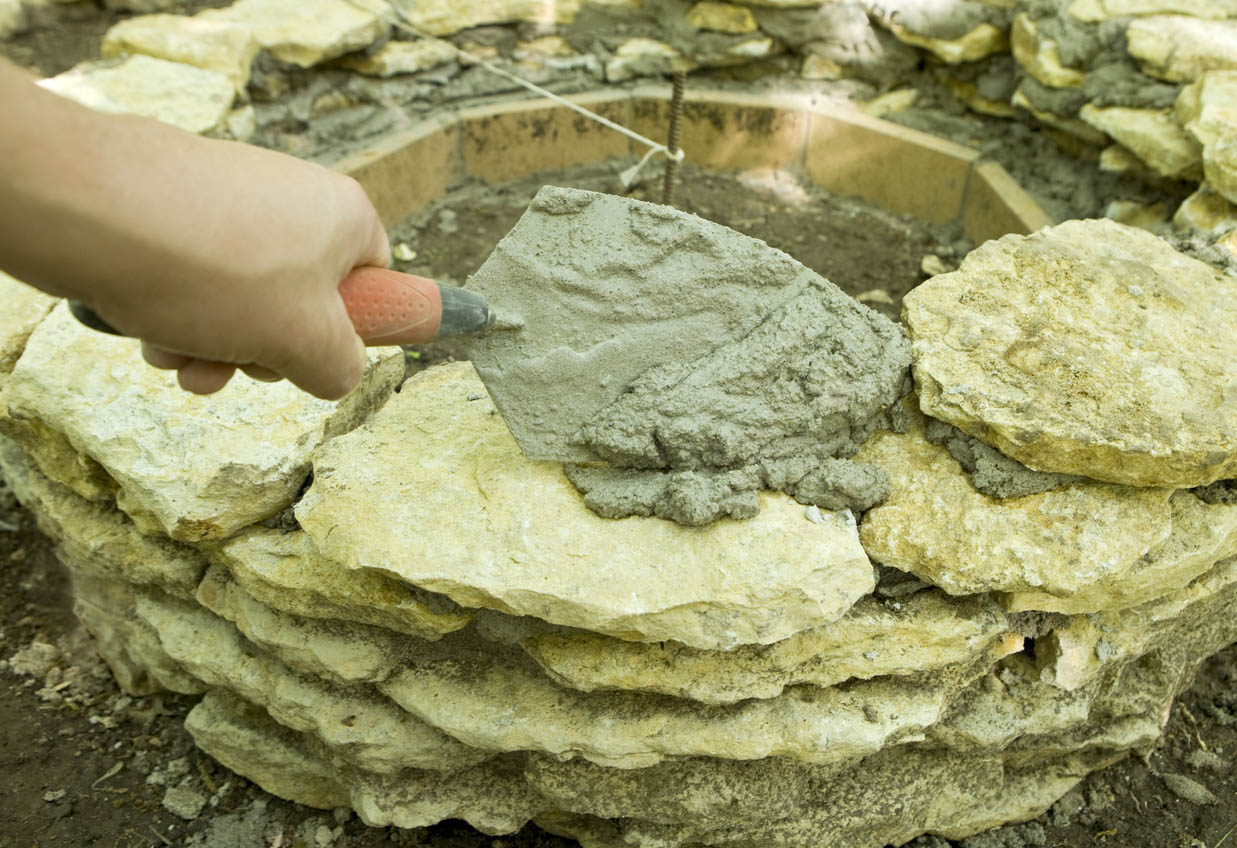
Lay a second layer of stones on top of your base layer, staggering them in a brick-like pattern against the first layer, and fitting them to each other carefully. You can simply stack the stones or you can use mortar to more firmly secure the stones. Continue the process, layering in your stones, and mortar if used, to build the walls of your pit to your desired height.
Step 5: Fill in any gaps.
Use small bits of broken stone to fill in any significant gaps in your fire pit walls. Mortar them in if you’ve used mortar.
Step 6: Add a layer of gravel on top of the sand.
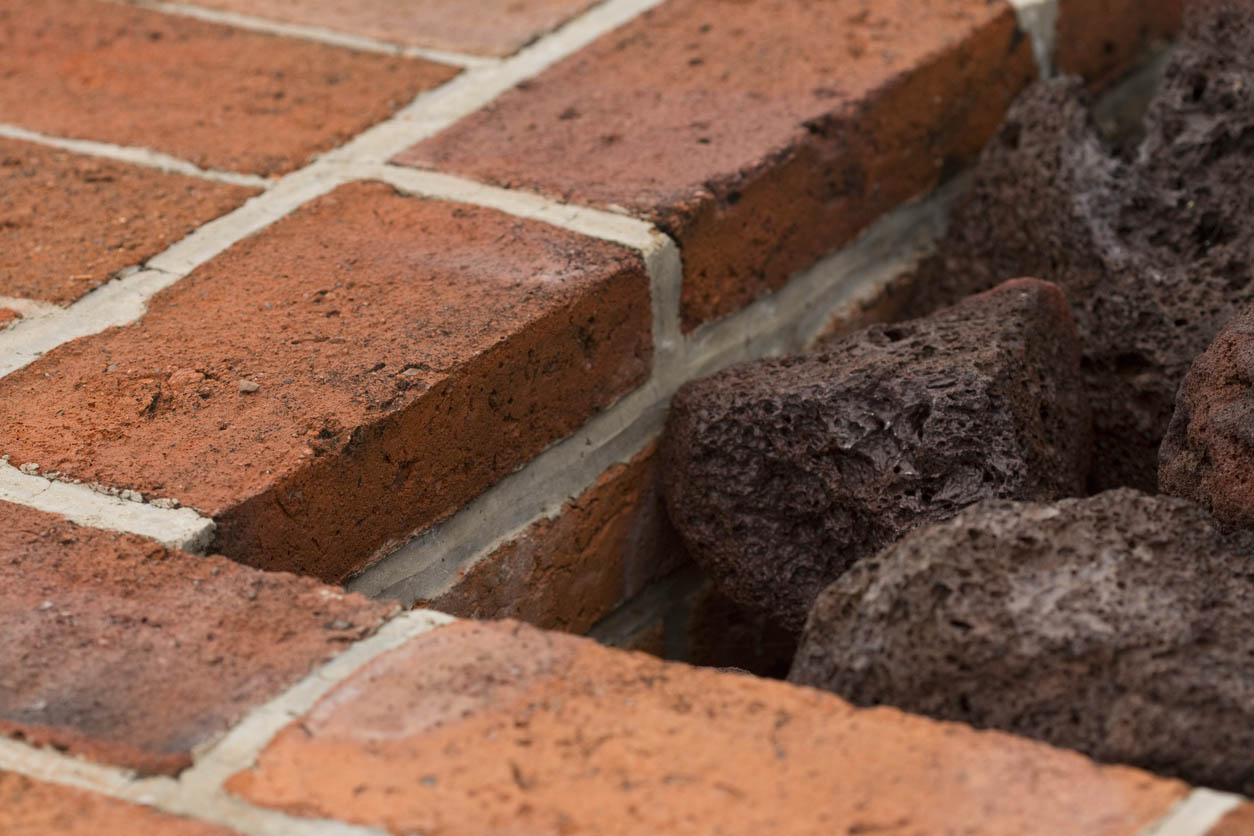
If you’ve used mortar, allow it to dry before adding about four inches of crushed stone, lava rocks, or fire pit glass within the cavity. Add a grate if you like, and voilá — your fire pit is complete.
DIY Fire Pit with Firebricks
Also known as refractory bricks, firebricks are blocks of ceramic material that can withstand high heat. You may find curved firebricks that are suitable for a round fire pit, and you may find rectangular bricks that will work best for a square or rectangular pit.
Step 1: Check ordinances, select site, excavate, lay sand.
Follow Steps 1-5 as detailed above for the retaining wall fire pit.
Step 2: Build your foundational layer.
Place an initial layer of firebricks outlining your fire pit’s footprint. Place them end-to-end and butted up against each other. Use a level to ensure the tops of your bricks are perfectly aligned.
Step 3: Add more layers.
Build additional staggered layers of bricks, ensuring each layer is level. You can use fire-safe adhesive or mortar if you like.
Step 4: Fill the bottom.
Place a 4-inch layer of gravel, crushed stone, or even more firebricks into the bottom of the pit, on top of the sand layer.
Fire Pit Build Safety Tips
Building a fire pit, while it indeed can be a fun weekend project, is also a serious undertaking with high stakes for the safety of your friends and family. It’s imperative that safety is top of mind through each step in the process to ensure a final product that offers not only fun and beauty, but a safe environment for all involved.
Start by ensuring that your fire pit is built in a safe area, away from flammable structures and plant life. Ensure that every material used in your pit is fire-resistant and safe for high-heat situations. This includes the stones, adhesive, and mortar you use to construct the fire pit. Build the pit carefully and solidly, and when enjoying an evening around your pit, always have a fire extinguisher or water source close at hand in case things get out of control.
- Do not use regular bricks to build a fire pit. They may crumble and degrade or, worse, because they may contain trapped water and gases, they can explode.
- Do not use river rocks as the base layer of your pit. They, too, can contain moisture that can explode.
- If possible, have a second human on the premises when you’re constructing your pit. If a heavy block lands on your foot or if you get carried away with the rock chisel, it’s good to have someone nearby to render first aid.
FAQ About How to Build a Fire Pit
With visions of fire pits dancing in your head, do you have a few remaining questions? Read on to get the answers to any lingering questions you may have.
What do you put in the bottom of a fire pit?
Line the bottom of your fire pit with a two-inch layer of sand. An excellent heat shield, sand is fireproof and also distributes heat around the whole pit. Top off your sand with a layer of gravel or fire bricks.
Can you build a fire pit on dirt?
You can indeed build a fire pit on dirt as long as you add a layer of sand on top of the dirt, and then a layer of gravel on top of the sand.
Will cinder blocks explode in a fire pit?
Look for cinder blocks that are fire-rated to avoid this problem. Cinder blocks that are too dense may contain trapped water, which when it turns to steam can cause the blocks to explode.
Which type of backyard fire pit can be made for under $60?
The least expensive fire pit to build is one using found materials — stones you source on your own property, for example. Otherwise, source fire-safe blocks at a home improvement store, and buy just enough to build your fire pit two layers high. This should keep you under $60.
Final Thoughts
Nothing beats the charm and ambiance of a backyard fire pit. Family and guests are drawn to the glorious glow of the flames as songs and marshmallows make memories that everyone will cherish forever. Gather a few supplies and put in an afternoon of endorphin-releasing labor—and you’ll be the family hero!