We may earn revenue from the products available on this page and participate in affiliate programs. Learn More ›
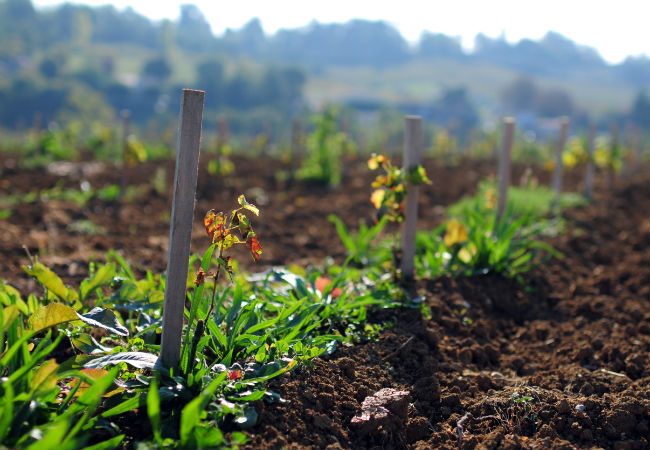
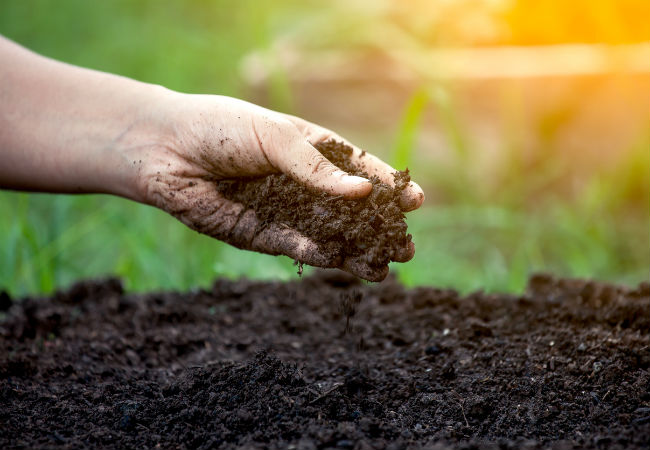
Even greenhorn green thumbs know that applying compost to soil helps plants fight erosion, pests, and disease. But were you aware that you can boost compost’s benefits with a natural liquid plant food made from decomposed organic matter? This “tea” is prepared by steeping compost in water, adding unsulfured molasses to nourish beneficial microorganisms, and then aerating the solution for a few days to create a brew teeming with billions of healthy microorganisms. Applied to plants or soil, these “good” microorganisms migrate onto leaves and roots, where they consume or crowd out “bad” microorganisms that cause disease. Beef up your garden’s defenses by getting the full scoop on this beneficial brew and making your own compost tea today.
Top 5 Benefits of Compost Tea
This valuable brew…
1. Contains higher concentrations of beneficial bacteria and fungus than solid compost. These microorganisms increase the biodiversity of soil and boost the defense mechanisms of your plants against erosion, pests, and disease.
2. Improves soil’s ability to retain water, lowering watering requirements for plants.
3. Can be applied to and readily absorbed by either plant leaves or soil, which makes it more versatile than solid compost, which can only be applied to soil.
4. Is an environmentally friendly, sustainable plant food, unlike synthetic fertilizers whose chemicals can harm plant ecosystems, lead to fertilizer burn (from over-fertilization), or run off into nearby water sources.
5. Is available ready-made for purchase, yet is simple (if a bit messy!) to make at home if you already do your own composting or vermicomposting. Regular compost is the product of traditional aerobic composting, in which soil microorganisms break down food waste into solid fertilizer. An alternative method, vermicomposting relies on worms and soil microorganisms to break down food waste into solid fertilizer containing worm waste.
Consider Commercial Compost Tea
For a mostly no-fuss way to nurture your plants, commercial compost tea—readily available at garden centers and online—is your best bet. It’s usually sold in one of three forms:
• Tea bags ($10 to $20 per pound) that must be steeped in water;
• Soluble powder that must be mixed with water ($10 to $20 per pound);
• Liquid concentrate that must be diluted in water ($20 to $30 per gallon).
Compost tea bags (such as Malibu Compost Bu’s Brew Compost Tea, which is available on Amazon) are the cleanest, easiest option because there’s no measuring required. You need only soak the single-serve tea bags in water overnight, then remove them and mix the results for several minutes to create a frothy, oxygen-rich solution. Pour it into a watering can, spray bottle, or pump sprayer, and then apply to your plants or soil at the application interval specified on the packaging.
While compost tea powder (such as Organic Plant Magic Instant Compost Tea, available on Amazon) is messier to work with than tea bags, it can be used immediately after dissolving in water—no overnight brew time. Simply mix the powder with water in a five-gallon bucket per the ratios on the packaging, then apply to plants or soil with a watering can, spray bottle, or pump sprayer.
Compost tea concentrate (such as Botanicare Pure Blend Tea, available on Amazon) has no solid particles, so it’s the most effortless option—and therefore, often the priciest. All you do is mix the concentrate with water in a five-gallon bucket per the ratios on the packaging and apply with a watering can, spray bottle, or pump sprayer to plants or soil.
How to Make Compost Tea at Home
After a small upfront investment in an aquarium pump, gang valve, airline tubing, and air diffusers known as airstones (all available at home centers for less than $40 total), do-it-yourself compost tea is the least expensive option and recommended for anyone who already composts (or plans to). The remaining supplies are bottom-dollar if you don’t already have them on hand. Keep in mind that the complete brewing process takes three days, so plan ahead.
MATERIALS AND TOOLS
– Mature compost
– Three-port gang valve
– Five-gallon bucket (2)
– Hose cutter
– Clear plastic airline tubing (at least 10 feet in length)
– Aquarium pump
– Airstones (3)
– Watering can (optional)
– Plastic scoop
– Plastic sandwich bag
– Garden hose (optional)
– Unsulfured organic molasses
– Long stick (a few feet in height)
– Nylon stocking

STEP 1
If not using commercial compost, determine if the compost in your bin or pile is mature (unlike “raw” or unstable compost, mature compost is largely free of “bad” microbes that can harm plants). Put a small amount of compost in a plastic sandwich bag and give it a sniff. Then seal the bag and leave it undisturbed for three days. Upon removal, it the compost smells the same, that’s a sign that the biological process of decomposition is complete and the compost is mature; if it smells worse, waste is still actively decomposing and requires more time in the bin/pile.
STEP 2
Prepare an aeration system to create desirably earthy-smelling compost tea (instead of the foul-smelling mess you’d make without a continuous oxygen supply). Hang a three-port gang valve over the lip of a five-gallon bucket. Using the hose cutter, snip one piece of airline tubing (at least a few feet long) and attach one end to the aquarium pump and the other end to the gang valve.
STEP 3
To finish the aeration system, cut three additional segments of tubing, each with a length equal to or longer than the height of the bucket. Attach one end of each of the three segments of tubing to one port on the three-port gang valve, then plug the open end of each of these tubes with an airstone (a porous stone typically used in aquariums to gradually diffuse air into the tank) and rest the plugged ends of tubing at the base of the bucket. The gang valve will channel air from the aquarium pump to the tubing connected to the airstones, while the airstones will diffuse this air into the bucket to supply microorganisms in the compost tea with oxygen.
STEP 4
If you have well water or water collected in rain barrels, skip this step. Municipal water, however, will contain chlorine that can kill beneficial microorganisms—it must de-chlorinated before adding to compost. Fill an empty five-gallon bucket with water to within three inches of the top and run the aquarium pump for an hour to evaporate the chlorine. Then, turn off the pump and temporarily transfer the water into a watering can or separate five-gallon bucket.
STEP 5
Using a plastic scoop, add one gallon of loosely packed mature compost to the bucket, making sure to cover the plugged ends of the airline tubing. Next, using a watering can, separate bucket, or a garden hose connected to a rain barrel, fill the bucket with water to within three inches of the top. Then, pour two tablespoons of unsulfured molasses into the solution and stir with a stick until incorporated. The molasses will feed the beneficial microorganisms in the compost and also enrich the tea with iron.
STEP 6
Start the aquarium pump and let it run continuously for three days. Twice daily, vigorously stir the tea with a stick to help stimulate microbial activity, making sure that the plugged ends of the airline tubing remain submerged.
After three days, turn off the aquarium pump and remove the tubing from the bucket. Let the compost tea dwell for 10 to 20 minutes to slow microbial activity.
STEP 7
Enlist a friend to hold a nylon stocking open over a second, empty five-gallon bucket while you pour the compost tea from the first bucket into the stocking to strain the tea. The stocking will collect the solid compost, leaving between two and two-and-a-half gallons of nourishing, earth-scented compost tea in the second bucket. For best results, use the tea within an hour of completion; it will still be usable for up to two days, but, beyond that, the microbes will die off and a foul odor will develop.
Apply Compost Tea Correctly
• Houseplants and flowering plants are perfect recipients for compost tea, but you can safely use it on fruit or vegetable plants; the tea is totally organic and eco-friendly, so no worries about introducing toxins into your diet.
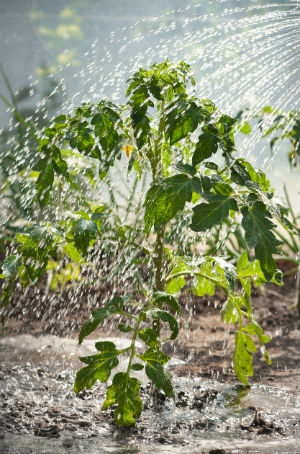
• Use compost tea as either a foliar spray to leaves with a spray bottle or pump sprayer; or, for deeper penetration, as a soil drench administered to the base of the plant with a watering can. There’s no strict limit on how much you can dose your plants, though foliar sprays are usually applied until the point of run-off (when the tea drips off the leaves). For soil drenches, it’s common to apply between five and 10 gallons of compost tea per 10,000 square feet of soil. Any leftover compost tea can be used to moisten your compost bin/pile to promote beneficial microbial activity.
• Apply compost tea on cool, clear days when the temperature is above freezing and below 80 degrees Fahrenheit. You should ideally apply in the early morning or late evening, as microbes are more likely to die off in the intense midday heat.
• Applying the tea at the time of planting or transplanting boosts plants’ defenses against disease-causing pathogens. But you can also apply it successfully to seedlings or established plants during the growing season. A good rule of thumb is to re-apply compost tea every two to four weeks during the growing season.