We may earn revenue from the products available on this page and participate in affiliate programs. Learn More ›
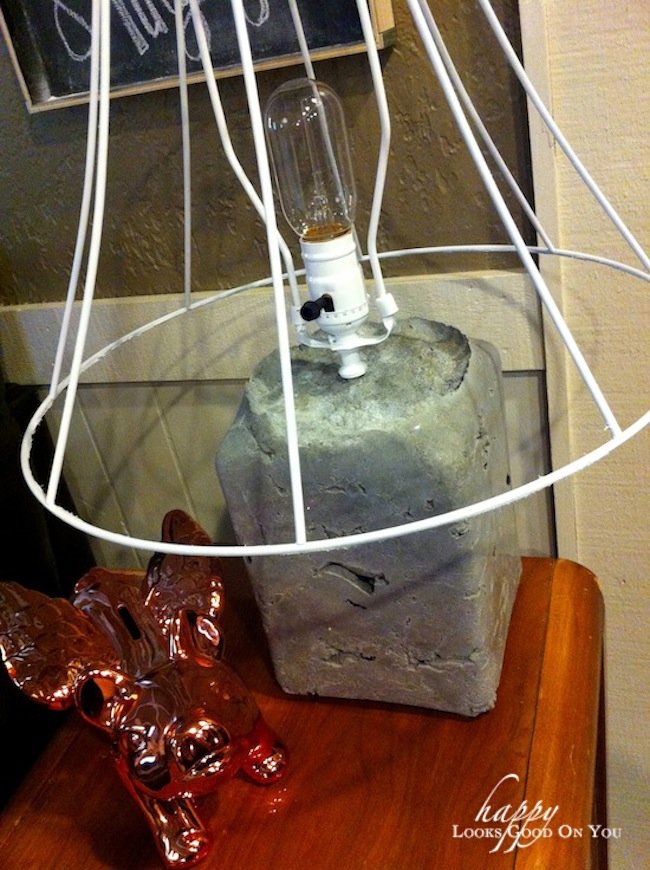
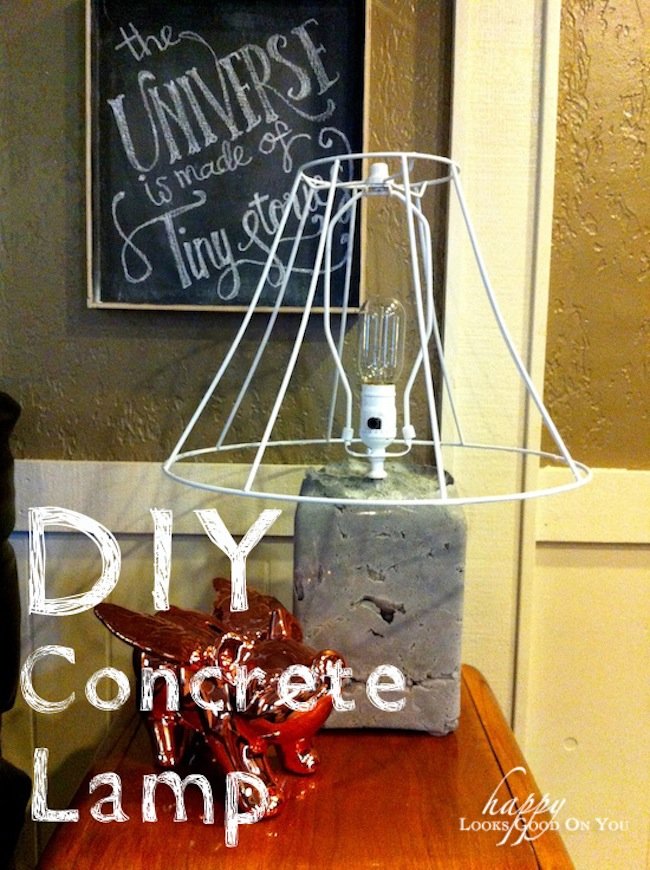
Concrete is one of the most versatile materials. And unlike many raw materials, concrete can be molded into any shape you like with little more than the proper form and time to set. So when we saw this concrete lamp from Meg at Happy Looks Good on You, we were bowled over. Read her tutorial to see how easy it is to elevate this ordinary material into an amazing home accent.
If you have all of a sudden become obsessed with having a concrete lamp of your own you, my friend, are in luck.
I will show you exactly how to make one and by the time you finish reading this post you’ll think, “Well that doesn’t seem too hard. I could probably do that.”
Yep, you totally can.
MATERIALS
– glass jar (for lamp base form)
– ceramic tile drill bit
– drill
– lamp kit
– tubing
– threaded rod
– concrete
– hammer
– safety glasses
– shop brush
– felt pads
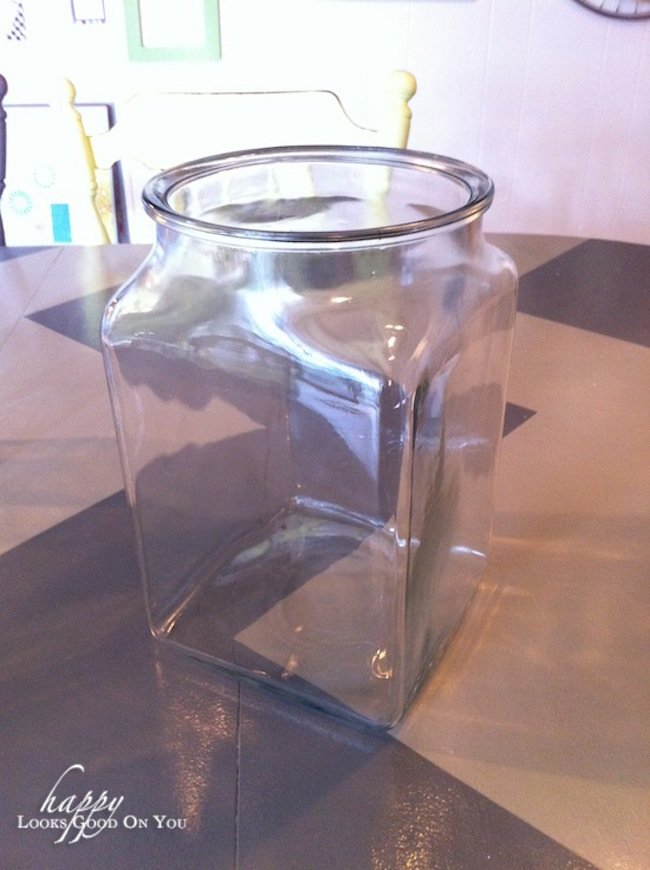
STEP 1
First, you’re gonna want to find a glass jar that you think would make a good lamp base shape. You also want to find one on the cheap since you’ll be shattering it into hundreds of pieces. Thrift stores are a great place to look. I picked this one up for $1.50.
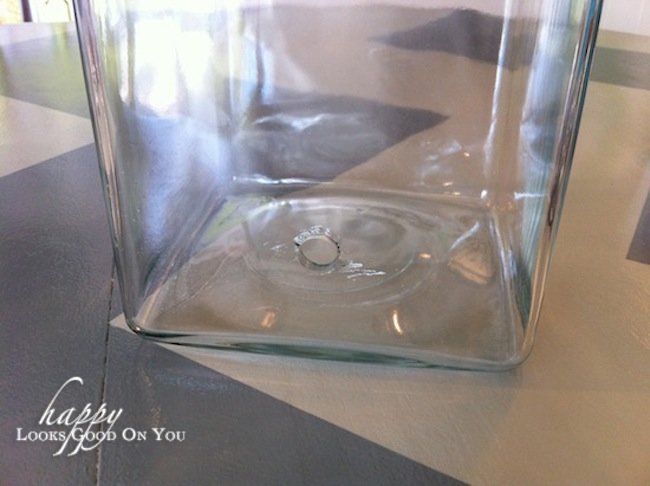
STEP 2
You’ll need a ceramic tile drill bit for this next part because you need to drill a hole in the glass jar. Which is not at all scary like it sounds. Promise. I have found that Rigid (found at Home Depot) is the best brand to get.
STEP 3
Be sure to snag a lamp kit, 1-2 feet of tubing, a threaded rod (found right next to the lamp kits in lighting) and a bucket of Quikrete. I like the buckets of Quikrete opposed to the bags because then I have a place to mix the concrete.
STEP 4
Then you’ll force the tubing over the end of the threaded rod.

Like so.
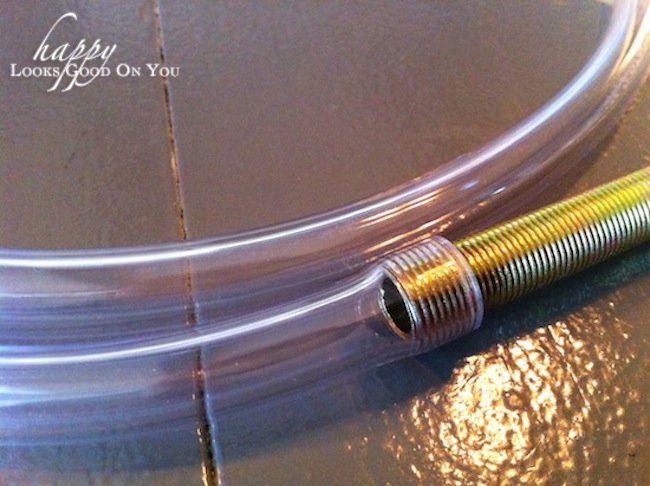
This is how the lamp cord will run up through the concrete to the socket.
STEP 5
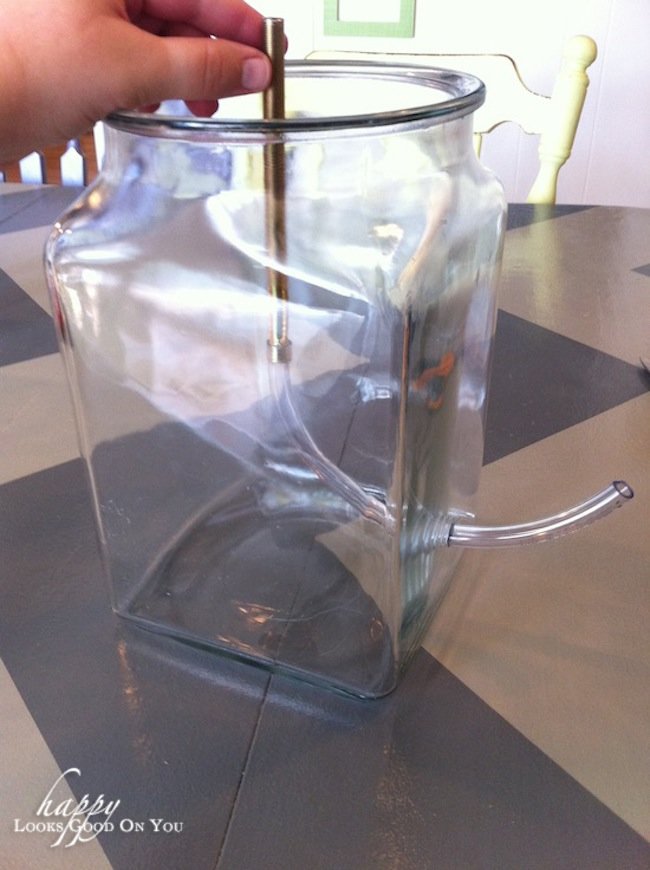
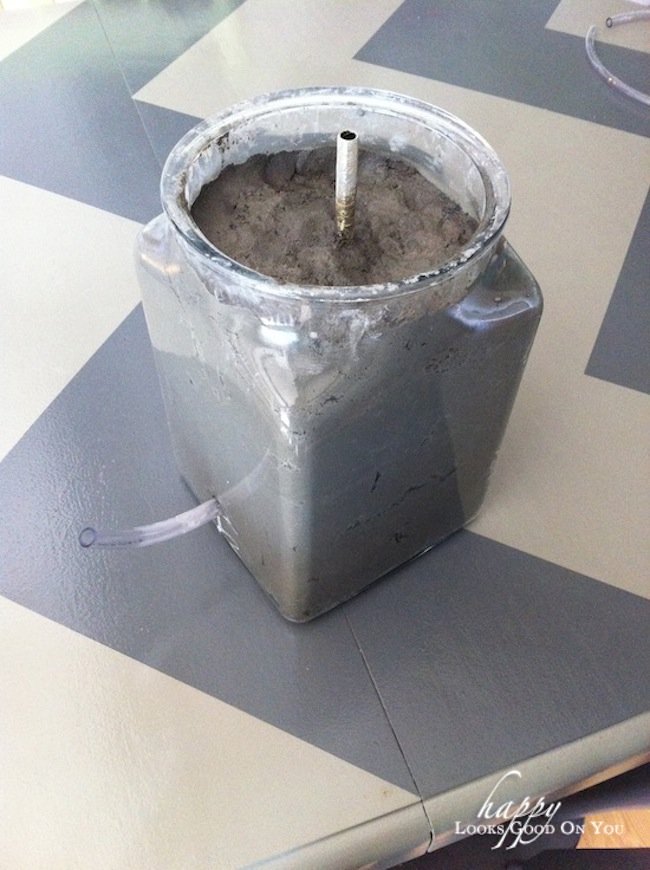
Fill the jar with concrete, making sure to keep the threaded rod centered in the middle of the jar. Also make sure you don’t get any concrete down in the rod or there are going to be problems when it comes time to wire up the lamp. Then you just let it dry for a couple days.
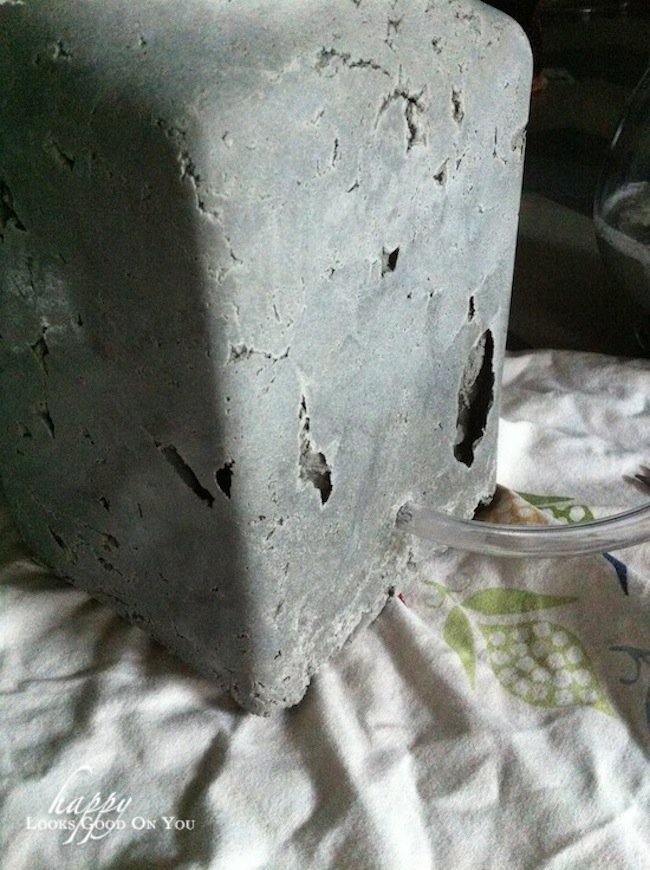
STEP 6
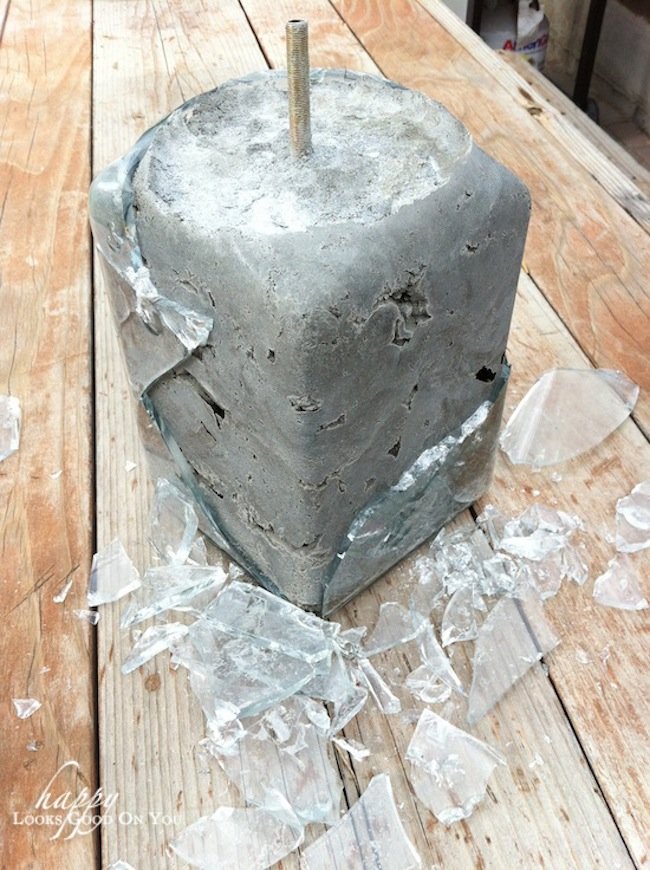
I thought this part was going to be much crazier than it actually was. I imagined flying shards of glass and barely escaping with my life. It was all rather benign.
Use a hammer to crack and break the glass off the concrete. It really doesn’t take too much force to achieve this. Once all the glass is off you’ll want to go over the concrete with a shop brush to be certain all the tiny bits and glass dust are removed.
STEP 7
It’s now time to wire this baby up!
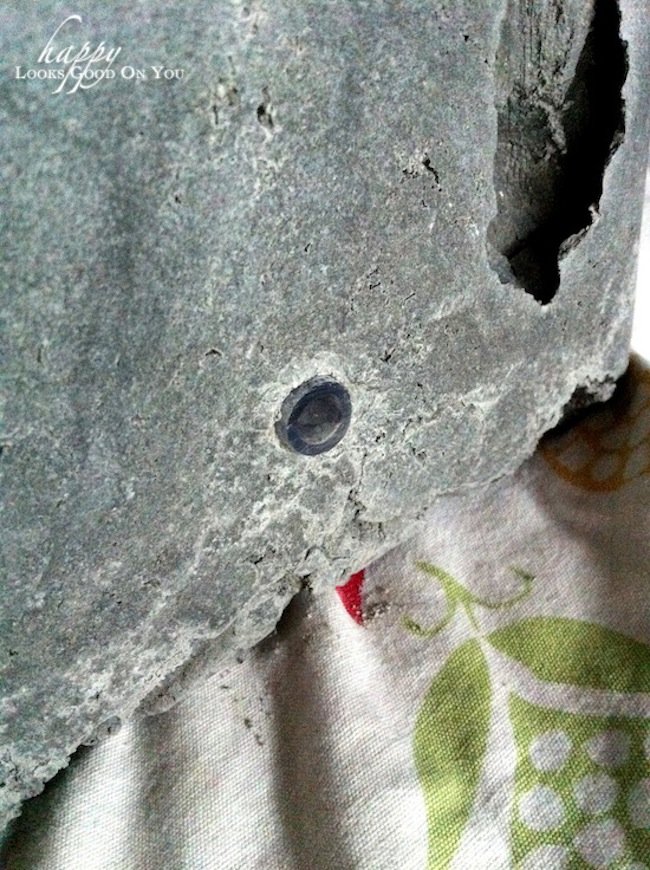
Remember the tubing that is now sticking out of the back of your lamp base like a tail?
Take a knife and cut it as close to the concrete as you can.
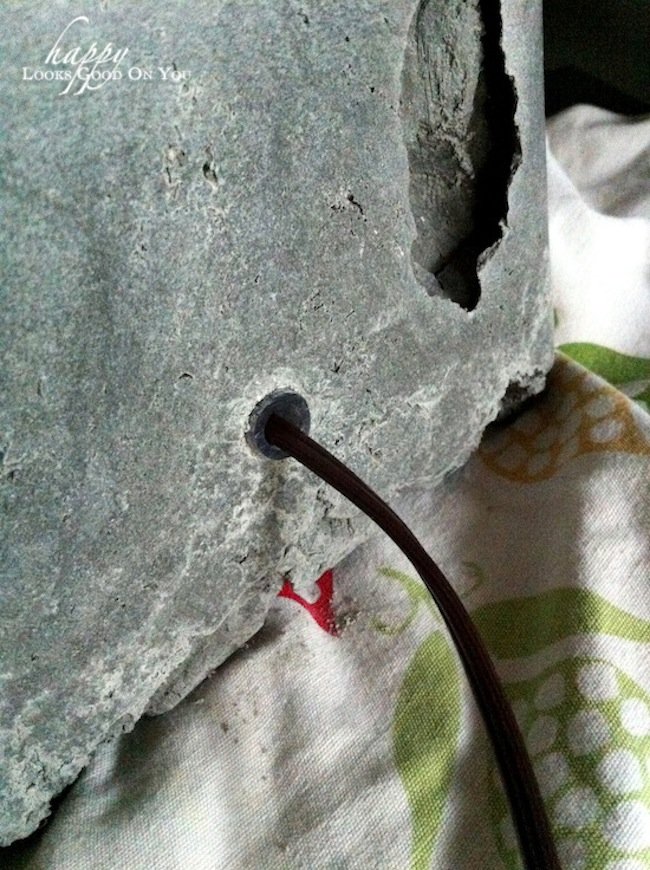
STEP 8
Then you’ll run the lamp cord through the tubing and out the top of the threaded rod.
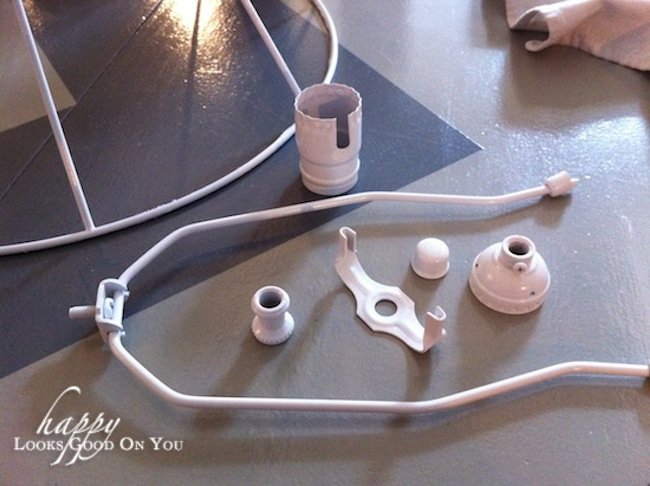
STEP 9
Lamp kit hardware is always a garish brass so I prefer to paint it. A nice glossy white will do perfectly for this project.
STEP 10
Wiring a lamp is easy peasy. There are simple instructions on the back of the lamp kit package.
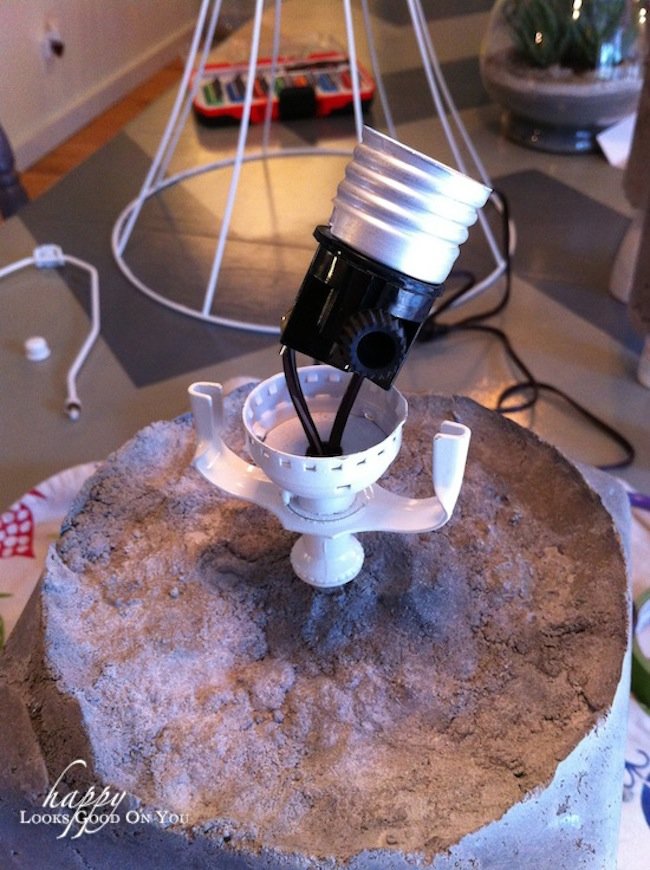
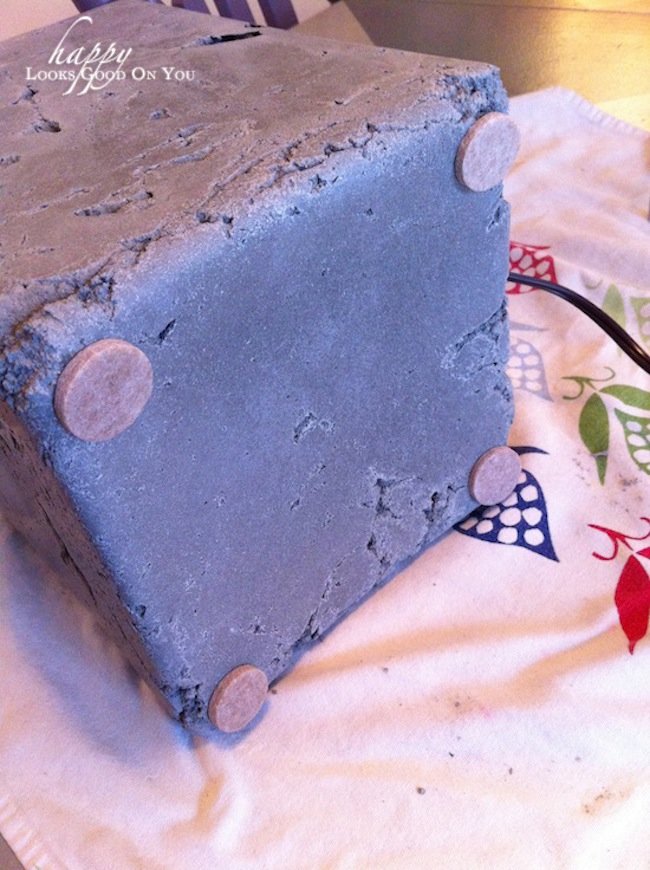
STEP 11
The final touch is some felt pads on the bottom of the base so the lamp won’t scratch any surfaces. Also, apparently the inside of my jar wasn’t level. It teetered a bit, but the felt pads fixed that right up.
And here it is. In all it’s glory. I love the juxtaposition of the warm wood and the cool concrete.
Thanks, Meg from Happy Looks Good on You! You can find even more inventive concrete projects at her blog.