We may earn revenue from the products available on this page and participate in affiliate programs. Learn More ›
Mixed Media
This striking table combines timeless leather weaving with sleek copper detailing. Building it takes a bit of patience, but the difficulty level is pretty low on the scale. After you do the necessary recon for materials, it’s a project you can finish in an afternoon, leaving you plenty of time to admire your achievement.
Trip the Light Fantastic
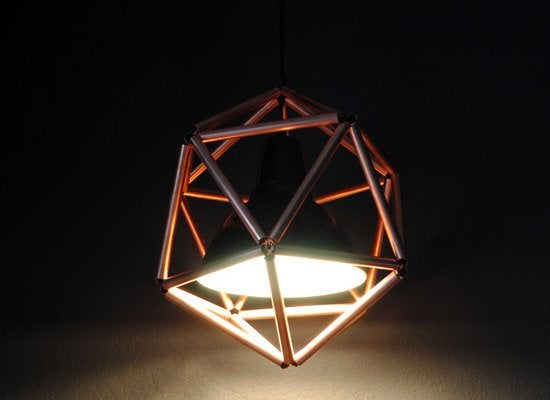
The shape of this light fixture is known as an “icosahedron,” but don’t let the unwieldy name scare you off. To create this geometric project, you will need some trusty mathematics—but from there, it’s as easy as 1, 2, 3. Use a standard pendant light as your base, then string together equilateral triangles with copper wire. See the complete tutorial here.
Pencil It In
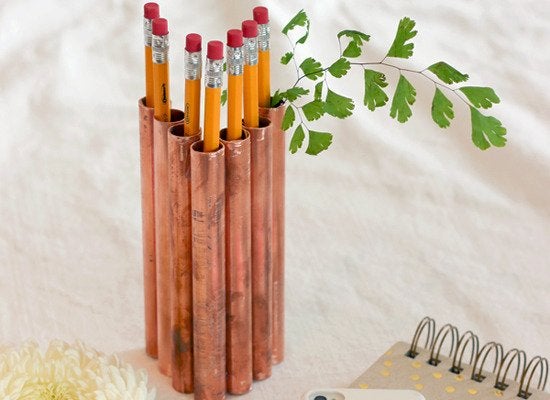
If you love industrial design elements but aren’t quite ready to take down the drywall and expose your pipes, start small with this quick project. This minimalist pencil holder was made by cutting one piece of copper pipe into seven equal lengths and simply hot-gluing them together in a V shape.
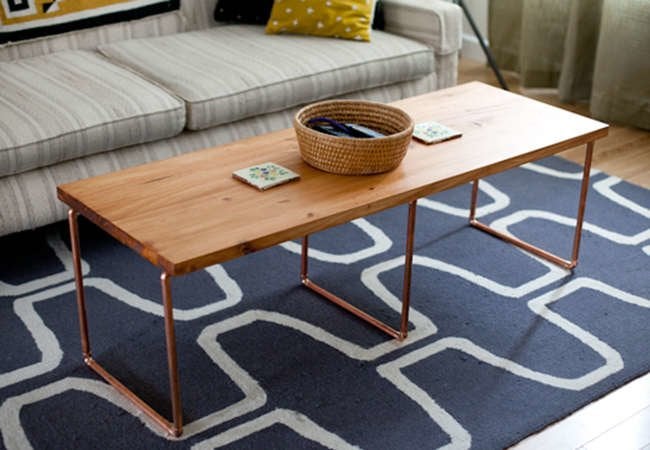
Turn the Table
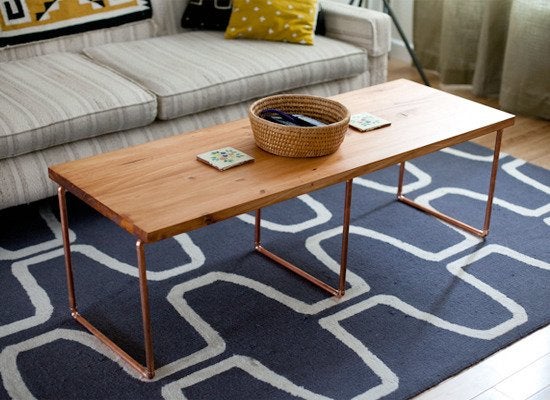
Copper has a pricey reputation, but you can DIY your own projects on a dime. The slender legs of this contemporary coffee table are built with 1/2-inch Type M copper pipe, which is relatively inexpensive and easy to cut. After building your copper base, attach a solid top (like the laminated pine used here) using copper tube straps.
Related: 16 Style-Setting Coffee Tables You Can Make Yourself
Powder Room Polish
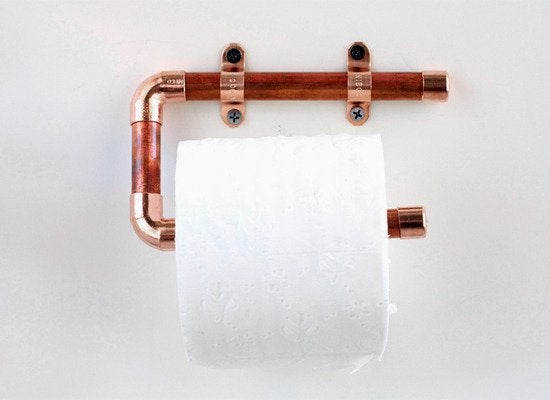
If you want a bathroom conversation starter (OK, maybe not), here’s a copper project you can put together in no time. This shiny toilet paper holder is just a collection of copper pipe and elbows. Kristi Murphy has the complete list of supplies and instructions.
Radiant Replica
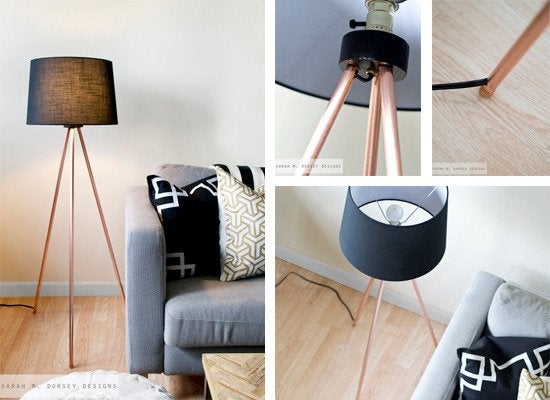
Based on a much more costly retail piece, this homemade tripod lamp offers an equally gorgeous contemporary statement—at a fraction of the price. Requiring merely a lamp kit and shade, copper pipes, spray paint, a drill, and a 2×4, this lamp takes only a few hours to assemble. Find the tutorial at Sarah M. Dorsey Designs.
Copper at the Core
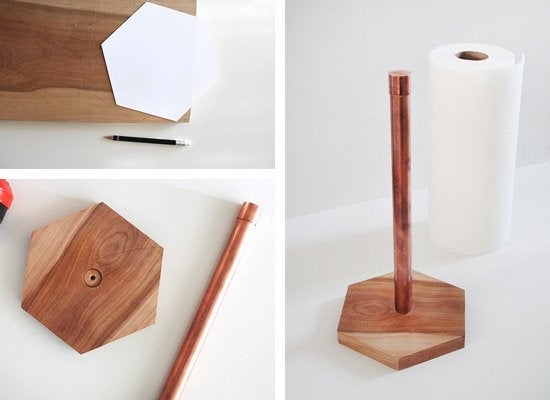
A paper towel holder is a kitchen staple, so why not make it special? Start with a wooden base of your choice, then drill a hole in the center to accommodate one end of a length of copper pipe that’s slightly taller than your paper towels. After a bit of glue and some drying time, you’re ready to roll!
For More…
If you’re interested in more DIY projects, consider:
10 Ways to Use Leather in Your Next Project