We may earn revenue from the products available on this page and participate in affiliate programs. Learn More ›
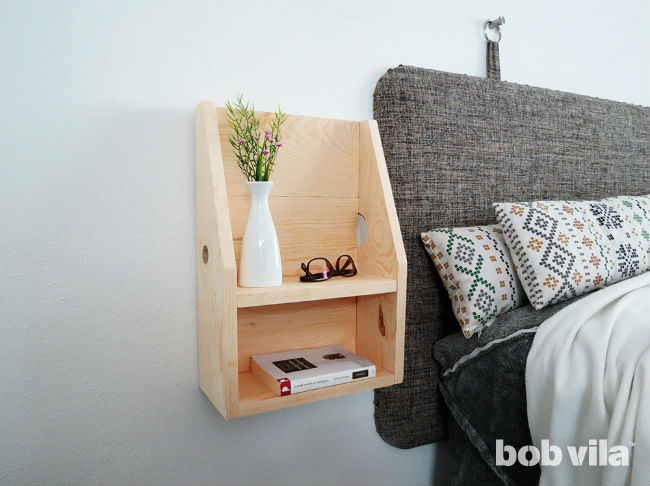
Whether you can’t wind down without a book or you simply like to check your email on your phone before falling asleep, you can appreciate the storage a full-fledge nightstand offers immediately next to the bed. Sometimes, though, when your sleeping quarters already feel cramped, one more piece of boxy furniture feels like one too many.
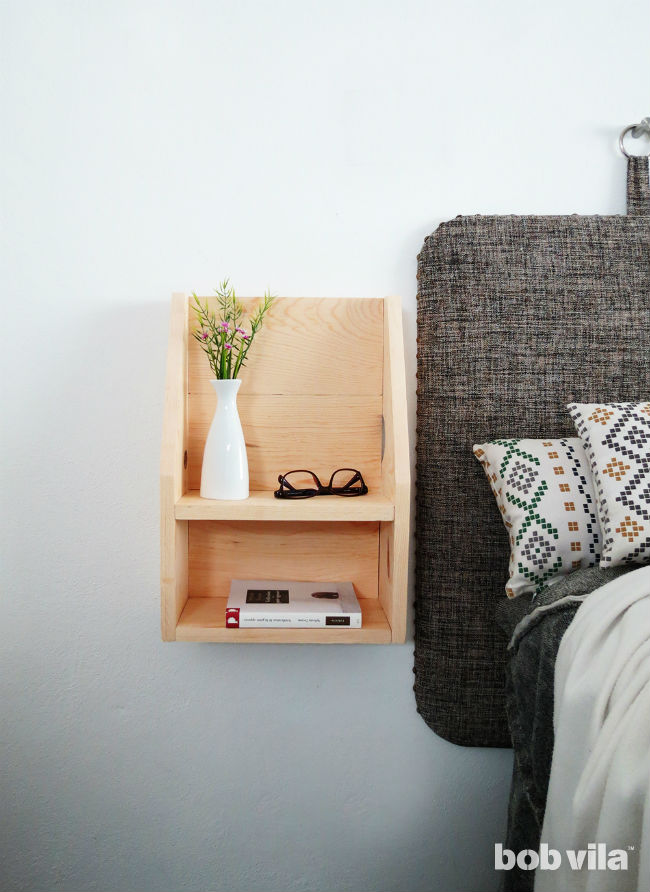
Not so with this DIY floating nightstand: Its narrow form sticks out not more than 6 inches at its deepest sections—a perfect depth for setting down your phone, book, glasses, or mug. Because it doesn’t take up any floor space, it won’t appear to crowd the room. Plus, its small profile takes only a single lumber to build! Just a few cuts and screws, and you’ll have your indispensable storage at arm’s reach.
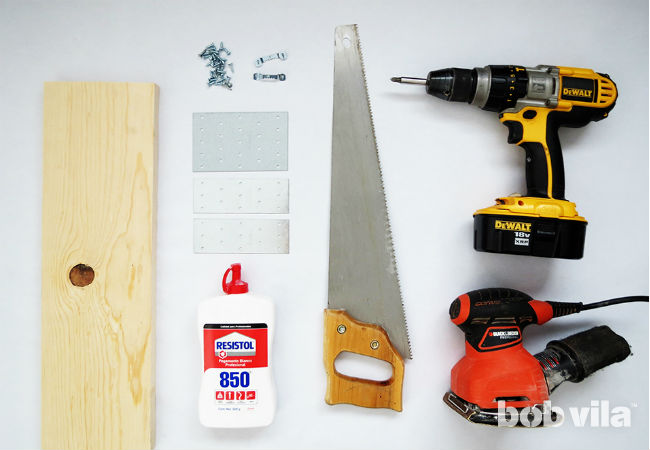
MATERIALS AND TOOLS
– 1×6 lumber (8 feet)
– Ruler or protractor
– Pencil
– Handsaw
– Palm sander
– 60- and 120-grit sandpaper
– Wood glue
– 2-inch by 5-inch gauge mending plates (2)
– Cordless drill/driver
– 1⁄2″-long screws
– 3-inch by 5-inch gauge mending plate
– Hammer
– 1-1⁄2″-long nails
– 2 sawtooth frame hangers
– Primer (optional)
– Semi-gloss paint (optional)
– Wood stain (optional)
– Varnish (optional)
– Paintbrush
– Wall anchors (optional)

STEP 1
Cut the 1×6 lumber into five pieces, each 11-½ inches long. Three of those will stack to build the back of the nightstand, and the remaining two will make the shelves. You should have just enough lumber leftover to cut two 18-1⁄2″-long pieces to make the sides of the nightstand. Sand all edges once using 60-grit paper, then repeat with 120-grit sandpaper.
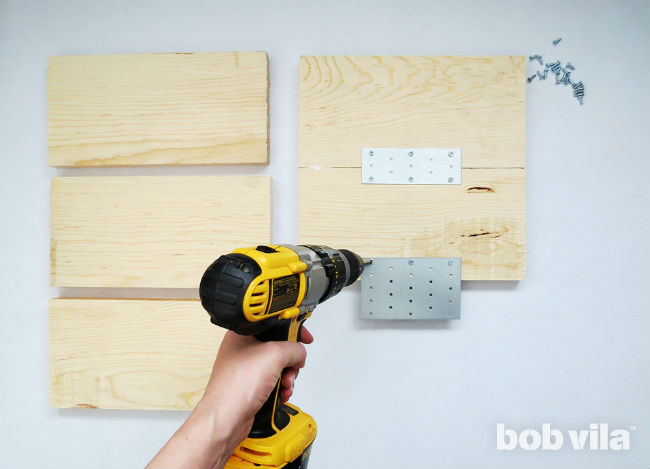
Once all the pieces are cut, start building the back of the DIY floating nightstand: Arrange two 11-1⁄2″-long pieces horizontally on a flat surface, one above the other (as pictured). Add some wood glue on the edges that will touch, and press together. Then, secure it by fastening a 2-inch by 5-inch mending plate centered over the seam with six 1⁄2-inch screws.
STEP 2
Lay a larger 3-inch by 5-inch mending plate on the bottom edge of the lower piece of wood. This plate will need to extend over the ¾-inch back edge of a shelf and part of the bottom panel, so center and position it in a way that 1/3 is on the wood and 2/3 hangs off. Fasten with three screws.
STEP 3
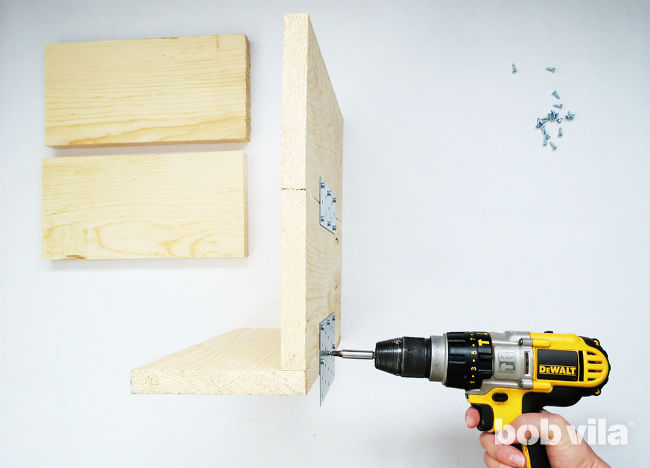
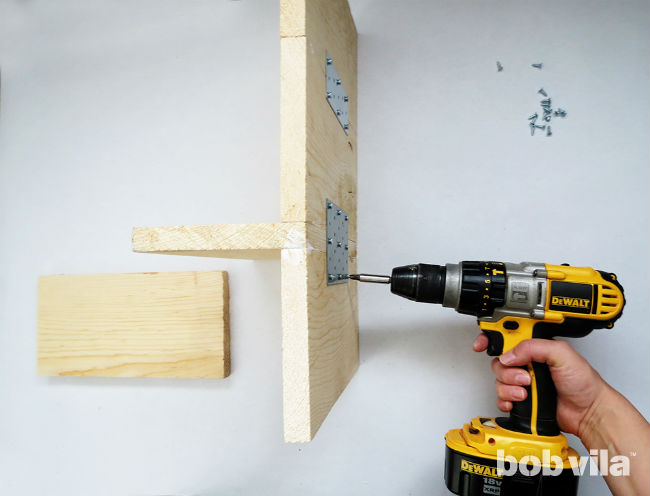
Squirt a line of wood glue along the top edge of an unused 11-½”-long cut of wood (the top shelf); this is where it will connect to the back of the DIY floating nightstand. Then, place the shelf perpendicular to the wooden panel you assembled in Step 2 and press the panel into the glue.
The mending plate should now cover and hang over the edge of the shelf. Screw through the plate’s holes into the shelf.
STEP 4
Take the fourth piece of 11-1⁄2″-long wood and apply glue to the edge of one of the longer sides. Press the glued edge in line with the back panel of the DIY floating nightstand and turn it on its back—it’s good to periodically make sure that the back lies perfectly flat. Then, lay the project on its side once more and put three screws through the mending plate.
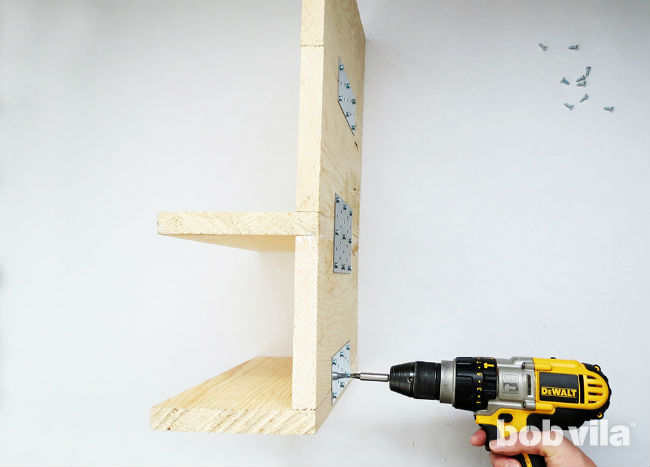
STEP 5
Use the last 11-1⁄2-inch cut to make the bottom shelf. Apply some glue on one of the longer edges on whichever side will be the top of this shelf. Then, press the glued edge against the bottom of the panel. Along the back, mount another 2-inch by 5-inch mending plate with three screws in the back and three screws through the shelf.
STEP 6
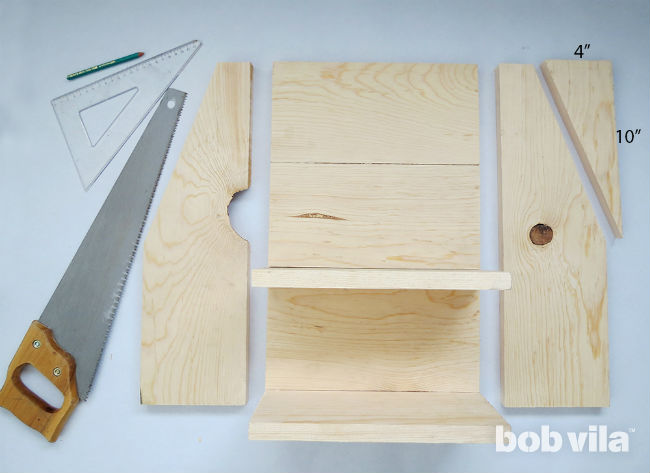
Next, make the sides of your DIY floating nightstand from the two 18-1⁄2″-long pieces of wood.
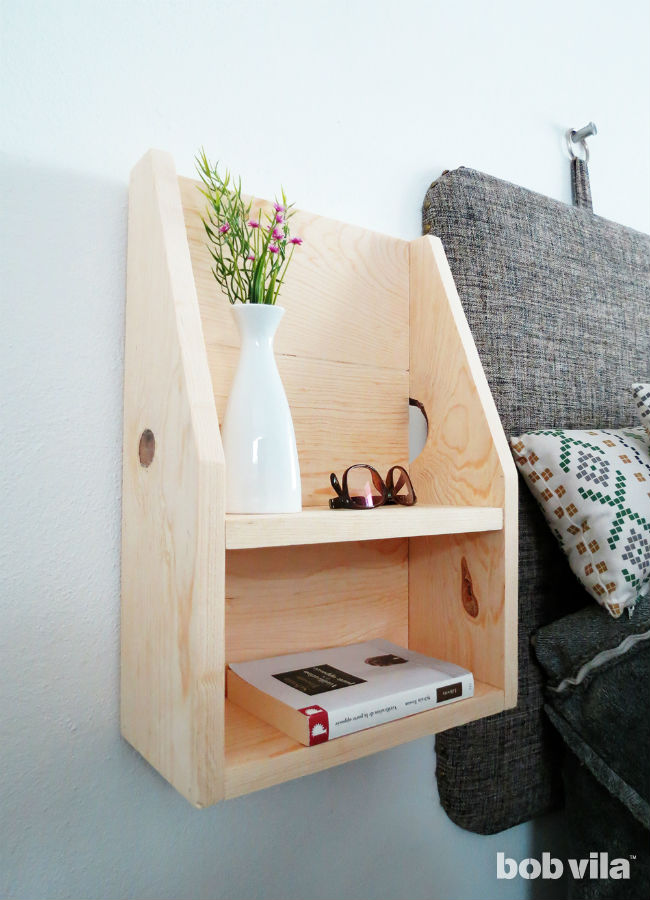
For a design that doesn’t feel so obtrusive hanging on the bedroom wall, we made the top half of each side (starting above the top shelf) slant toward the back. To do so, pick a top corner and make marks 4 inches in (along the short, 5-1⁄2-inch side) and 10 inches down (along the 18-1⁄2-inch side) and connect the points. Saw along the pencil line to cut out a triangle. Sand all of the edges on these nightstand sides, starting with 60-grit paper and finishing with 120-grit paper.
STEP 7
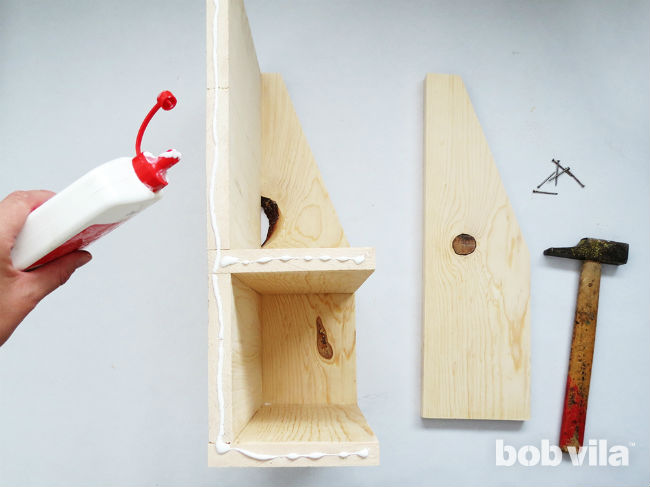
Attach the sides with the cut corners facing out. Glue the exposed edge of your assembly, and place the side on it so that all of the edges line up. If you’d like, use some trigger clamps to hold the boards together while the glue starts to dry and you hammer in nails.
Then, tap a handful of nails along the top edges of the side: one or two along the bottom, and three or four along the edge that connects to the back of the floating nightstand.

STEP 8
Nail two sawtooth picture frame hangers on each side of the back of the DIY floating nightstand. Before you attach them, help yourself out by drawing a line 2 inches from the top all the way across the back. If you align the tops of the hangers with this pencil mark, they’ll be properly aligned and the shelf will be straight once mounted to the wall.
STEP 9
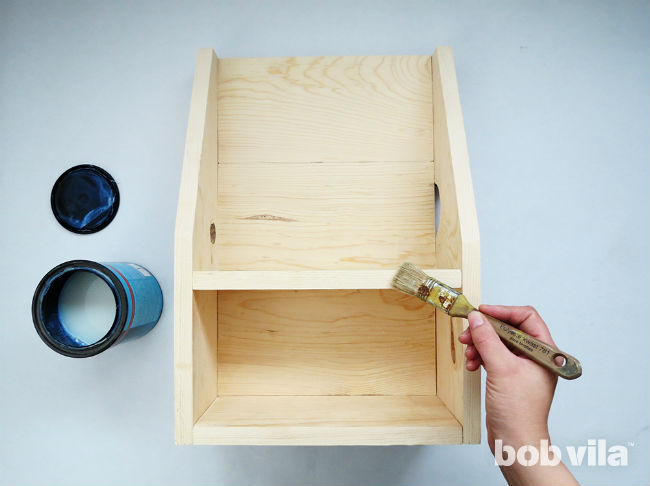
Finally, decorate the DIY floating nightstand however you’d like with wood stain or paint. If you’ve chosen a stain instead of a primer and semi-gloss paint combo (which can wipe up easily if your glass of water spills, for example), protect by brushing on a coat of varnish.
Once dry, it’s ready to hang! Measure the from the center of one sawtooth hanger to the center of the other—they’ll be roughly 10-1⁄2 inches apart—and put two nails or screws separated by that distance into the wall next to your bed for hanging your new floating nightstand. Since you may have a couple of books weighing down the shelf at any given time, it’s best to drill into wall studs. But if there are none near your bed for the job, use drywall anchors with your screws for extra support.

Ama is a DIY addict and the creative mind behind Ohoh Blog. She likes home decor, lighting, and furniture projects that may involve painting, sewing, drilling…no matter the technique! Whatever she has on hand is inspiration to create, and fodder for her serious addiction to upcycling.