We may earn revenue from the products available on this page and participate in affiliate programs. Learn More ›
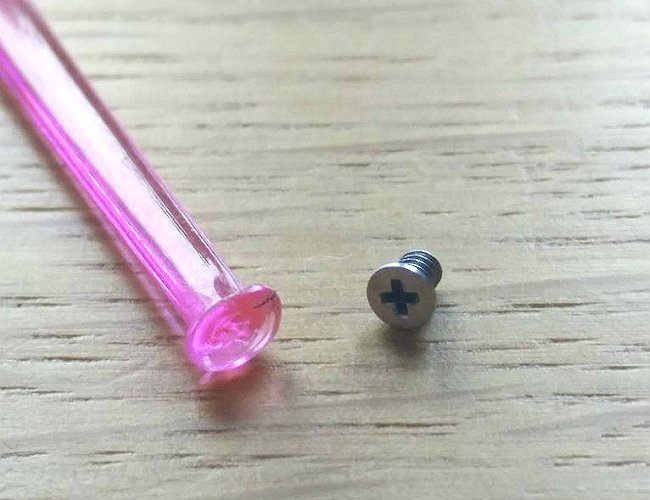
Instructables user deluges, a self-described amateur tinkerer, has nothing against custom screws—just the added cost and hassle to remove them. Found on window guards, door locks, license plates, IKEA furniture, game consoles, laptops, glasses and more, these tiny screws are designed to be tamper-resistant. So how did he deal with the custom screws that needed to be removed before he could clean the inside of his laptop? He crafted his own screwdriver for the purpose by melting and reshaping a plastic fork!
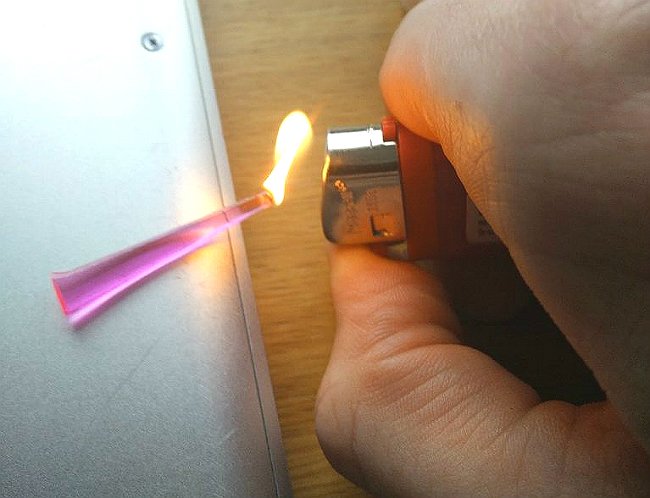
Lucky for us, this handy man shared his money-saving trick with the rest of the Web. To follow his lead, all you need is a lighter, a plastic fork, and a little MacGyver spirit. Start by breaking off a tine of your plastic fork. Heat the plastic tip with the flame for about 30 seconds. Then, before the plastic has a chance to cool and harden, push the tip into the screw head. Press down firmly to create a clean, deep impression of the screw, holding your new custom screwdriver in place for a minute or two before gently pulling it off. Is the plastic still warm to the touch? To harden it in a hurry, dip the tool in cold water and you can get to work.
This works best on screws that are small but not impossibly tight, potentially saving you an unnecessary trip to The Home Depot or a custom repair shop. Give it a go next time you’re stuck—since it’s free, you’ve got nothing to lose. In the words of one impressed commenter: “This is genius… 1,000 thumbs up.” We couldn’t agree more.
FOR MORE: Instructables