

We may earn revenue from the products available on this page and participate in affiliate programs. Learn More ›
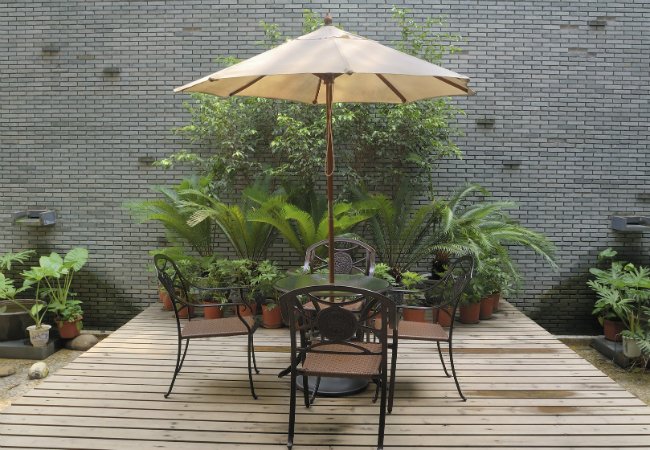
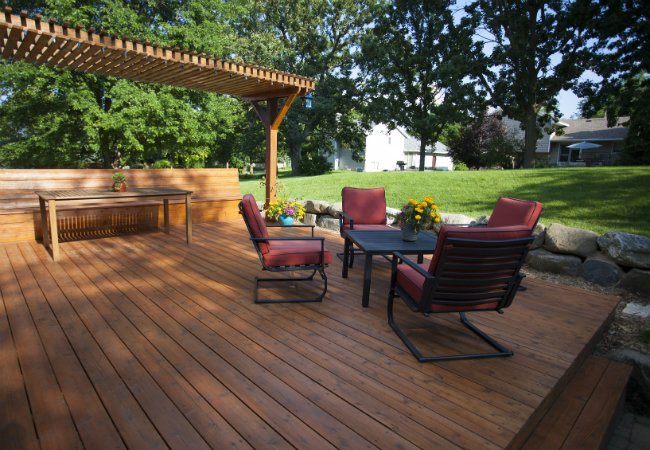
Summer isn’t summer unless you’re soaking up the sun, grilling, and chilling in your own backyard. Yet a traditional deck isn’t always feasible or permitted by local authorities, so for many homeowners, a “floating” deck—a raised wooden platform that sits a few inches off the ground—is the perfect solution. A floating deck isn’t all that difficult to build for the DIYer with basic carpenter hand and power tools and a working knowledge of standard deck construction. Ahead, all the information you’ll need before purchasing materials for the project—or opting to hire a pro.
Floating Decks vs. Traditional Decks
There’s not a big cost differential in materials for either a traditional or a floating deck; the main difference lies in their structural support systems.
- A traditional deck has posts cemented below ground level, making the deck a permanent structure and subject to local building codes.
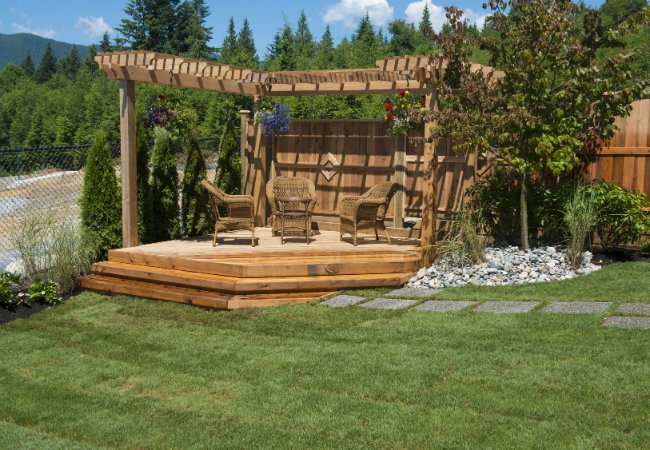
- Floating decks, on the other hand, sit low to the ground and actually appear to float on two or more sides, depending on the joist system design. They rely on a structural base that’s not permanently fixed in the ground, classifying them in most communities as personal property instead of real estate. Because it’s not attached to the ground or an existing structure, local building authorities do not require a building permit. If your neighborhood has a homeowner’s association, however, you will need to get permission before proceeding. All of that said, don’t let the term fool you: You can’t take a floating deck with you if you choose to move—they’re not portable.
Drawbacks of Floating Decks
A well-constructed floating deck adds style and comfort to a backyard, but it has a few possible downsides:
- Because floating decks sit low to the ground, there is an increased likelihood of weeds growing up between the decking planks.
- A floating deck can become a hazard in serious storms, as high winds can potentially toss it off its base.
- If the ground beneath a floating deck settles, the deck could tilt or sag, requiring it to be rebuilt.
Installing a Floating Deck
GET A STRONG BASE
If you decide that a floating deck is for you, keep in mind that your finished product will only be as good as its structurally sound base. While you can build one on concrete pavers or over an existing level patio, perhaps the soundest way to support a floating deck is with pre-made concrete deck blocks that have notched tops designed to hold either 4×4 posts (on end) or 2×6, 2×8, or 2×10 lumber (on edge). Deck blocks must sit on a stable surface, typically comprised of compacted sand a few inches deep, and their tops must be perfectly level. Using a laser level will ensure accuracy. Basic models start in the $200 range, so if you don’t want to spring for one, rent one for about $40 per day.
ASCRIBE TO STANDARD DECK CONSTRUCTION
Once the base is in place, you’ll apply standard deck construction techniques. You’ll set support beams on the deck blocks, and then install deck joists on top, perpendicular to the beams.
Lumber dimensions you choose depend on the intended size of the deck and joist span. If you’re unsure how to size your lumber, take a drawing of your deck to the engineering department of your local lumberyard (not a do-it-yourself center) for help choosing the correct dimensions.
The “floating” aspect is created when joists extend far enough past the blocks to obscure the blocks. This, combined with the deck’s close proximity to the ground, gives the illusion of a hovering platform. Usually, this floating effect occurs on the two sides of the deck where the joists end. On the sides parallel to the joists, the support blocks beneath will be visible. A deck that floats on all sides requires advanced framing skills that involve installing cross-joists and notching rim joists to support them. If you’re not experienced in this type of framing, call a reputable contractor or deck builder.
Should you decide to build a deck more than 8 inches above the ground, don’t forget to include a stair or two in the plans for stepping on and off safely and easily.
Floating Deck Maintenance
Once you’ve invested your money, time, and effort into updating your backyard with this installation, keep the brand-new floating deck looking great for years to come with some easy (and essential) maintenance. Immediately after construction, application of a penetrating sealer, or a sealer/stain combo, will repel moisture and prolong the deck’s lifespan. Beyond that, simply remember to sweep the deck frequently to remove fallen leaves and debris, and spray it down with plain water to rinse off occasional spilled food or bird droppings. A thorough cleaning at least once a year with a good deck-cleaning solution and scrub brush—followed by more sealer—should take care of the rest for your backyard retreat.