
We may earn revenue from the products available on this page and participate in affiliate programs. Learn More ›
You may think that your bathroom is sparkling clean: The faucets gleam, the room smells fresh, and you’ve diligently scrubbed the brown rust stains off the rim of your toilet bowl. But your job may not yet be done. You may have neglected the one spot that’s most often overlooked: the toilet tank. Unless you’re trying to diagnose or fix a running toilet, you usually have no reason to look inside the tank. But beneath that lid lurk unsightly stains, mineral deposits, and maybe even bacteria. Over time, grime and buildup in the tank can corrode the flushing mechanisms and lead to excessive staining of the toilet bowl. As well, collected sediment can affect the performance of the flush and fill valves.
By cleaning your toilet tank regularly—just twice a year—you can keep your bathroom smelling fresh, extend the life of the flushing mechanisms, and maybe even keep your toilet bowl a little cleaner. So what are you waiting for? Knock out this one job quickly and make your bathroom truly spotless by following this guide on how to clean a toilet tank.
RELATED: How to Make a DIY Toilet Cleaner
Tools & Materials
Bobvila.com may earn a commission from purchases made through these links.
- Rubber gloves
- Scrub brush with long handle
- Sponge
- Rags
- Bucket
- Wet/dry vacuum (optional)
- Spray bottle (optional)
Project Overview
Working Time: 20 minutes
Total Time: 1.5 to 13 hours (depending on soaking time)
Skill Level: Beginner
Estimated Cost: $4
How to Clean a Toilet Tank
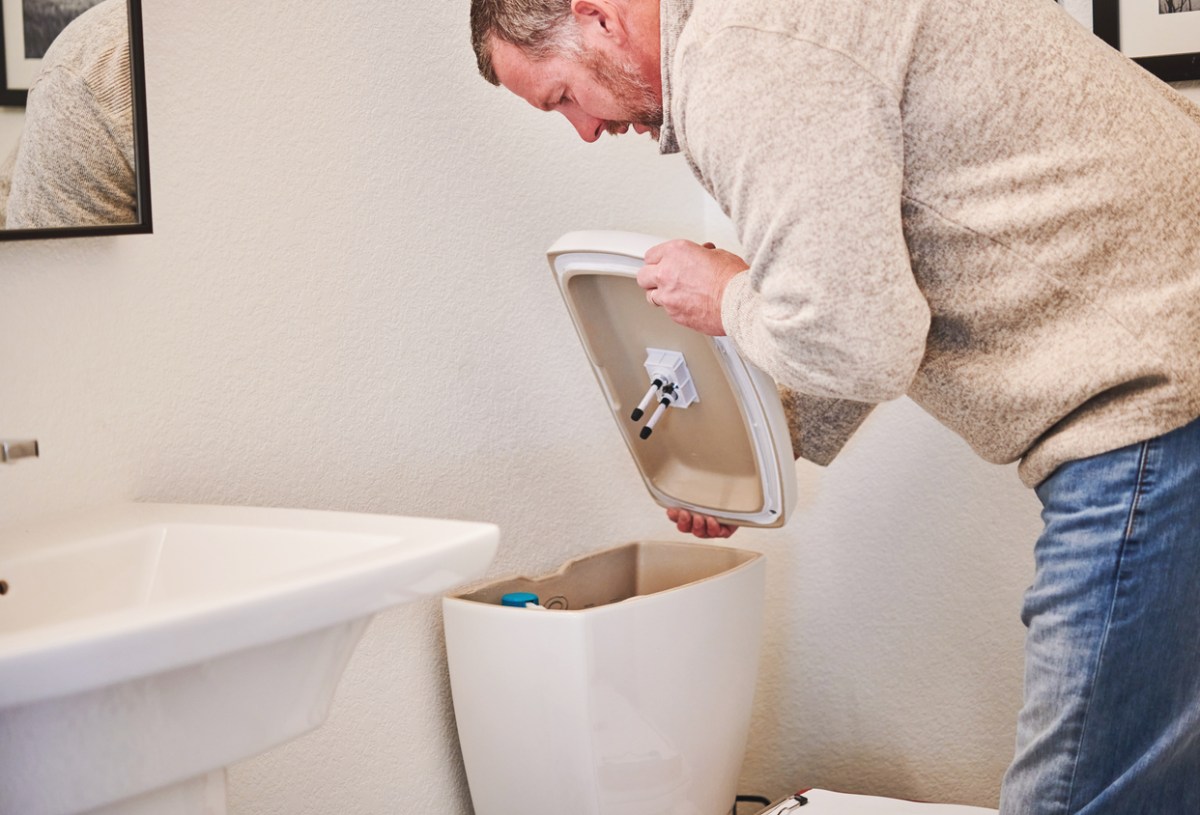
Step 1: Assess the condition of your tank.
Remove the lid from the tank and place it carefully on a nearby surface. Flush the tank and check that the water is coming into the tank from the fill valve, that the flapper or cartridge seals securely, that there isn’t too much slack in the chain that connects the lever to the flapper, and that the toilet doesn’t continue to run after the flapper or cartridge closes. If anything isn’t operating correctly, plan on making some repairs after you’ve cleaned the tank (see Step 5).
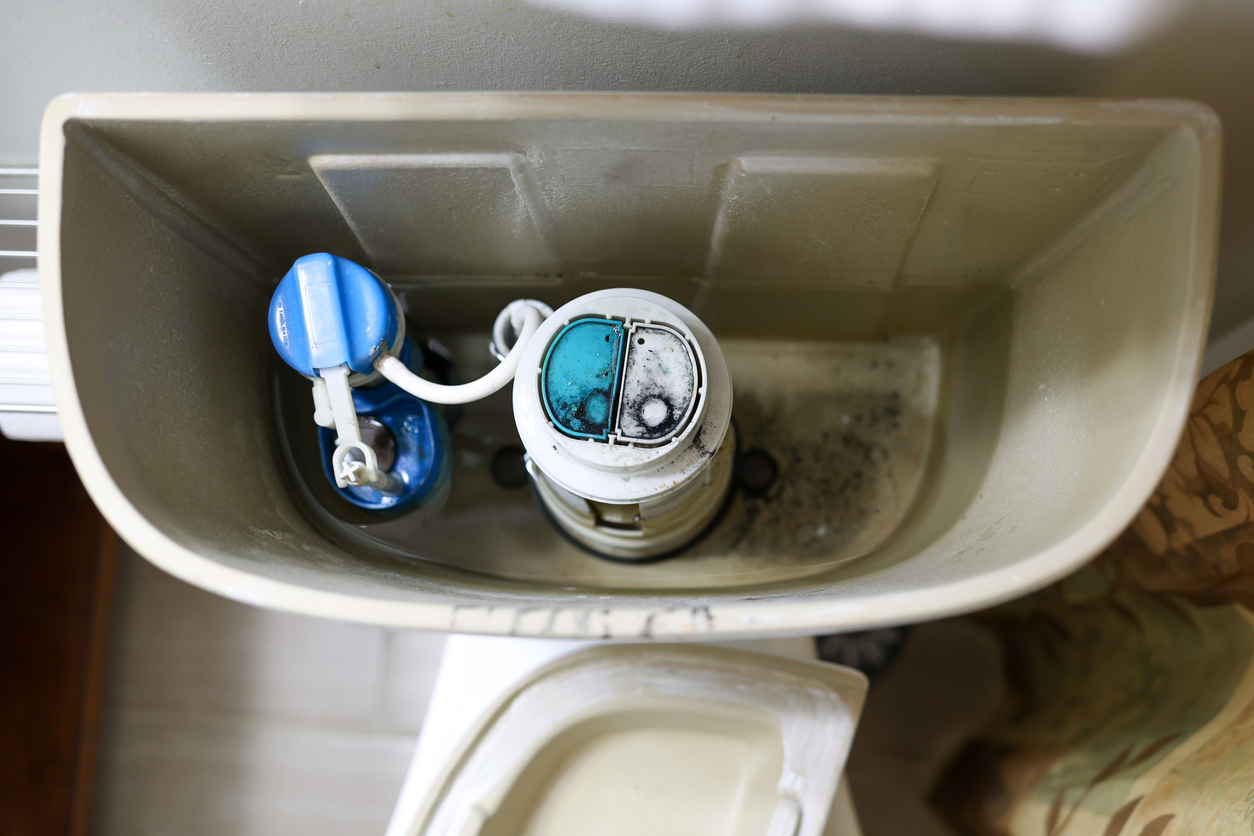
After checking the flushing action, look at the condition of the inside of the tank. If you notice just a bit of surface grime and dirt, move on to Step 2. If, however, the inside of the tank is discolored from mineral deposits and you see a lot of residue at the bottom of the tank, jump to Step 3.
Step 2: Clean the tank.
If the tank isn’t very dirty and doesn’t have much sediment at the bottom, here’s how to clean the toilet tank without draining it. Put on rubber gloves and either scrub the sides and bottom of the tank with a long-handled brush and a little dish soap, or pour in about 4 to 6 cups of white vinegar and let it sit for about an hour. (Vinegar is a great line of defense against mold and mildew, hard water deposits, and more.) After the tank has soaked, scrub down the inside of the tank with a long-handled brush. (Be sure to wear gloves.) Use a smaller brush or an old toothbrush to clean any slime or discoloration from the fill or flush valves. When you’re done, flush a few times to clear out the vinegar and dirty water. Continue flushing until the water in the toilet bowl is clear.
If this method didn’t quite get your toilet tank clean, proceed to Step 3.
RELATED: 9 Tips for a Bathroom That Cleans Itself
Step 3: Empty the tank.
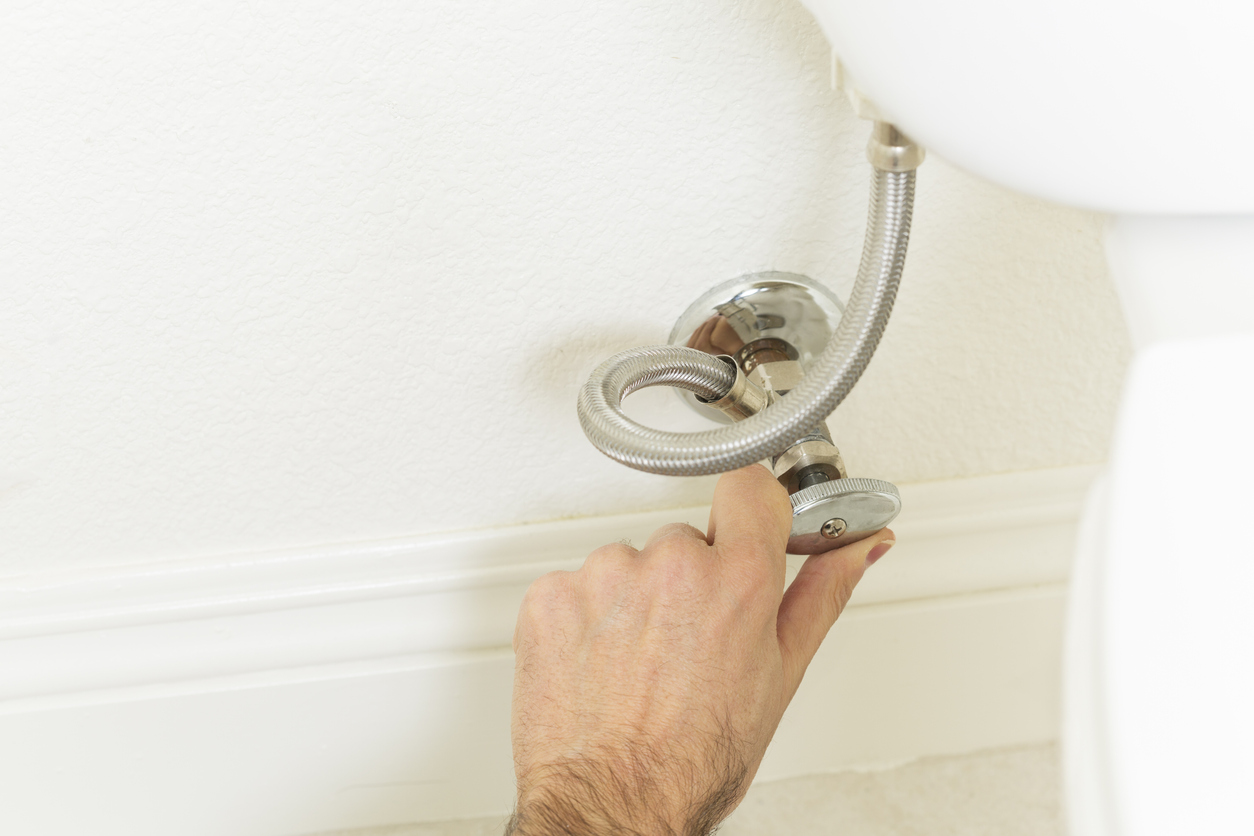
If your tank is heavily soiled, you’ll have to drain the water before cleaning it. Locate the shut-off valve, which is usually behind the toilet, toward the base. Turn it all the way clockwise to cut off the water supply. Flush the toilet repeatedly—about two or three flushes should do it—until it drains completely. There may be about a half inch of water left in the tank, and that’s fine. If there’s a lot of sediment at the bottom of the tank, you can wipe it out with a sponge or rags. Have a bucket nearby to squeeze out and rinse the sponge until the sediment has been cleared out. Alternatively, you can use a wet/dry vac to vacuum out the sediment.
Step 4: Soak and scrub the tank.
Fill the tank up to the overflow tube (the tube connected to the flush valve) with equal parts water and white vinegar. Depending on the size of your tank, this could take as many as 3 gallons of vinegar. Let the solution sit without flushing for a few hours or overnight. When you’re ready to start scrubbing, flush the vinegar out. Again, this may take two or three flushes.
When the tank is empty, put on rubber gloves and start scrubbing the inside of the tank. For especially stubborn stains, fill a spray bottle with a half-and-half solution of vinegar and water and spray down the sides as you scrub.
Step 5: Make any necessary repairs or adjustments.
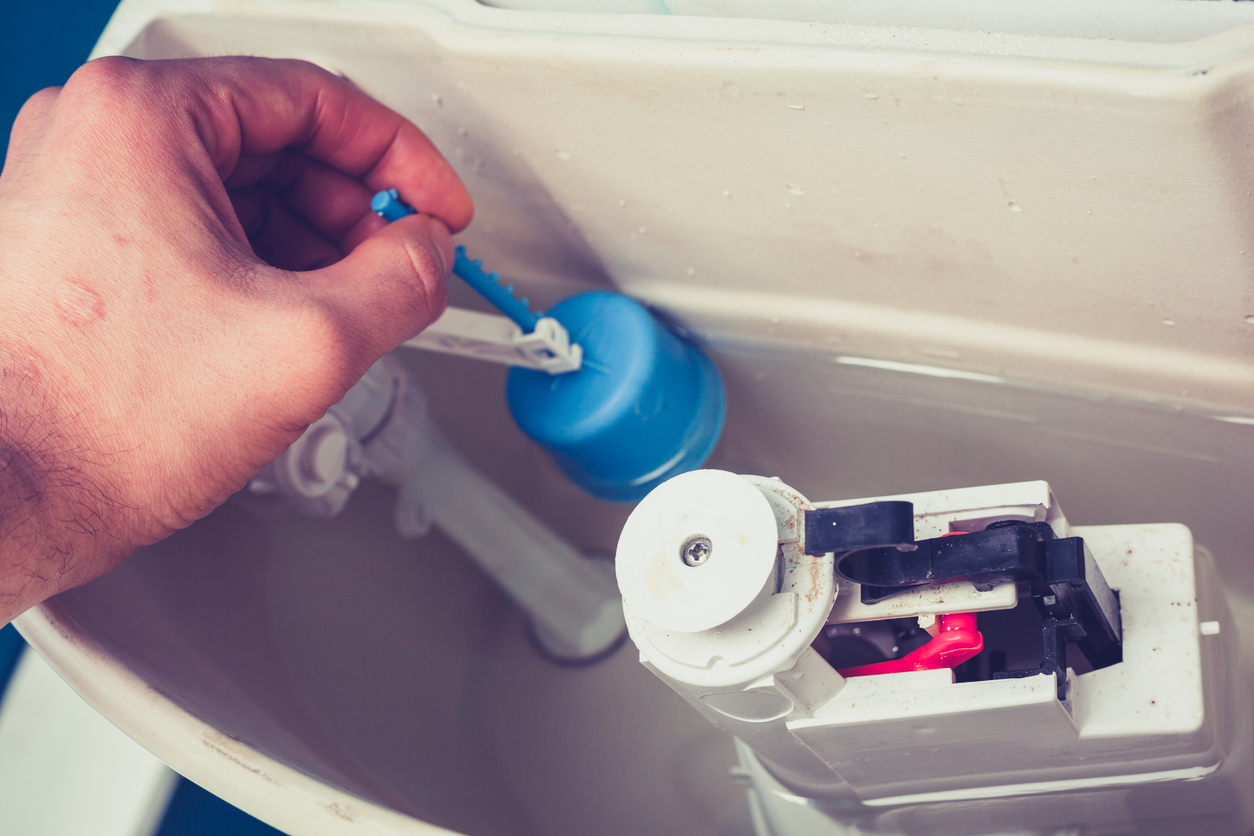
If you have repairs to make, it’s a good idea to do them now, while the water is off and the tank is still empty. Even if the flapper is still working, if it’s sticking, or if it seems either very stiff or very soft, you might want to replace it. These are all signs of an aging flapper—most flappers last just 3 and 5 years. If you have no repairs to make, move on to Step 6.
Step 6: Wipe down the flapper.
Using just water and a sponge or rag, wipe down the toilet flapper. If there’s accumulated sediment and slime remaining on any of the parts, including the flapper and the fill valve, scrub them with a small brush or a toothbrush or wipe them off with a sponge.
Step 7: Refill the tank.
Turn the handle on the shut-off valve counterclockwise all the way to refill the tank. Flush the toilet a couple of times, checking the action of the flush mechanism to make sure the flapper is closing firmly and the toilet is refilling efficiently. If not, make adjustments (shorten or lengthen the chain or turn the adjustment screw on the fill valve).
How to Keep a Toilet Tank Clean
Now that your toilet tank is clean, take steps to keep it that way. By minimizing rust stains and mineral deposits in the tank, you may be able to extend the life of the flush and fill valves, and the toilet bowl will stay cleaner too. Try these strategies for keeping the tank clean between cleanings.
- You may be tempted to use tank tablets, which combat toilet staining caused by mold, minerals, and limescale. Be careful, though. Many tablets as well as commercial toilet bowl cleaners include bleach and other chemicals that can corrode metal parts inside the tank and damage the rubber seals. Also, the use of in-tank cleaners may void manufacturers’ warranties. If you choose to use tablets, avoid any that contain bleach, and limit yourself to tablets marketed as “natural” or “chemical-free.”
- If sediment and stains build up rapidly in your tank, once or twice between cleanings, pour a few cups of vinegar in your tank (as in Step 2), let it sit for an hour or so, and then flush several times until the water in the bowl is clear. Doing this occasionally may help kill mildew and dissolve mineral deposits before they become a problem.
- Be especially vigilant if you have hard water or if you have a toilet that gets used rarely (for instance, a toilet in a guest room or the basement). With hard water, mineral deposits may build up more quickly, and when a toilet is rarely flushed, the standing water can promote mineral buildup, staining, and mold growth. Lift the lid every month or so to check for staining and sediment buildup, and make sure that you flush the toilet at least once a week to keep the water moving.
FAQs
Q: Should you clean inside your toilet tank?
Toilet manufacturers are curiously silent on the subject of how to clean your toilet tank, although they offer plenty of advice (and products) for cleaning the toilet bowl and exterior. They do, however, specifically discourage the use of toilet tank cleaners. Despite the lack of manufacturer guidance, there are practical reasons for cleaning the tank. Over time, sediment, grime, and mineral buildup can affect the performance of the flush valve and lead to bowl staining; mineral deposits can clog the rim holes in the bowl; and odors can develop. Then there are cosmetic concerns: Sometimes it’s just gross under that lid! All of this argues for cleaning the tank occasionally but using gentle cleaning products that can still get the job done—in other words, vinegar and dish soap, along with some scrubbing.
Q: How do I get rid of black mold inside the toilet tank?
Vinegar is effective against 82 percent of mold species, and it works particularly well on the hard, nonporous surfaces of a toilet.
Final Thoughts
While you don’t need to clean the toilet tank frequently, giving it a quick inspection and scrubbing once or twice a year can keep the toilet working well, cut down on odors, and minimize staining. It’s important not to use harsh chemicals, and especially not bleach, when you clean the toilet tank. Many manufacturers will void warranties if you use in-tank cleaners, so keep your cleaning efforts simple, limiting yourself to good, old-fashioned elbow grease, diluted vinegar, and maybe a little dish soap. The job isn’t particularly difficult or time-consuming, and when you do it, you’ll have the satisfaction of knowing that your bathroom is clean, inside and out.