We may earn revenue from the products available on this page and participate in affiliate programs. Learn More ›
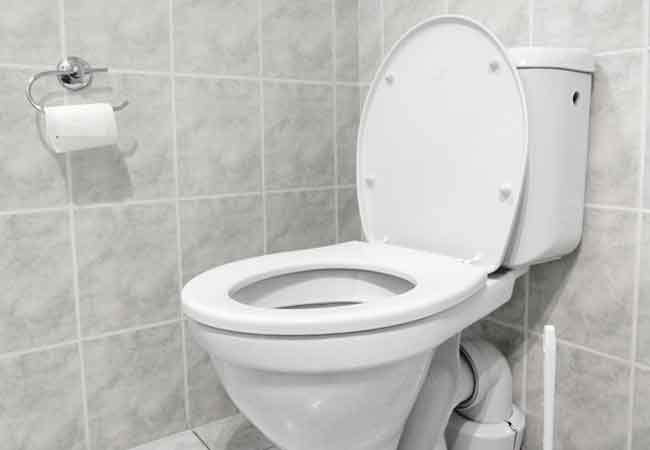
Whether fixing a toilet that’s running or leaking from the base, cleaning the tank, or replacing a unit that’s beyond repair, your first step must be to drain the toilet in order to inspect its internal parts and avoid a flood on the bathroom floor.
Fortunately, eliminating water from both the tank and the bowl is among the easiest, least messy toilet-related DIY tasks, using supplies you no doubt already have on hand. Below, we’ve outlined the simple step-by-step instructions for draining a toilet, along with the tools that make it easy.
RELATED: 5 Most Common Toilet Troubles and How to Fix Them
Tools & Materials
Bobvila.com may earn a commission from purchases made through these links.
How to Drain a Toilet
STEP 1: Prepare the area.
Protect your bathroom floor by laying old towels around the base of the toilet. Fully lift the toilet seat cover and toilet seat toward the front of the toilet tank to protect them from potential splash back.
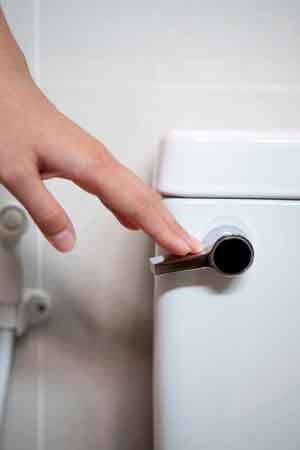
STEP 2: Turn off the water supply.
Locate the metal shut-off valve along the wall behind the toilet, usually near the base of the tank. Manually twist the valve clockwise until tight to turn off the water supply to the toilet.
STEP 3: Remove toilet tank lid.
Use gloved hands to lift the lid off the toilet tank and gently set it on a flat, soft surface, such as a rug on the floor. (The lids of standard porcelain toilets can crack if abruptly placed on a hard surface.)
STEP 4: Drain the toilet.
Flush the toilet, keeping the flush lever depressed until the water level inside the tank empties as much as possible. At this point, the tank will either be completely empty or filled with less than half an inch of water. If the tank is empty, go to Step 6. If the tank still contains some water, proceed to the next step.
STEP 5: Remove excess water.
Soak up any water remaining in the tank with a large and absorbent cleaning sponge. Squeeze the sponge over the toilet bowl to discard the water, and then set the sponge aside.
STEP 6: Fill bucket with cold water.
Fill a five-gallon bucket with three gallons of plain cold water. The easiest way to fill the bucket is to place it in the bathtub and run the cold tap. If you have a half bath without a tub, fill a shampoo rinsing pitcher or a tumbler (no more than eight inches tall) with water from the bathroom sink, then empty its contents in the bucket, repeating this process until the bucket has roughly three gallons of water.
STEP 7: Pour water into toilet.
Tote the bucket to the toilet. Lifting the bucket to the height of a few inches above the toilet bowl, quickly start to pour the water into the toilet bowl, gradually lifting the bucket to a height of one foot above the toilet bowl until the bucket is empty.
While pouring water into the bowl sounds counterintuitive for draining a toilet, lifting up the bucket as you pour will speed up the water flow and encourage most of the remaining water in the bowl to go down the drain—similar to a flush.
STEP 8: Dry up remaining water.
To drain the toilet completely dry, soak up any standing water that remains in the toilet bowl with the large sponge. Now, you’re ready to proceed with your toilet repair or maintenance task. When your toilet is back in business, remove any towels from the bathroom floor, and turn the toilet shut-off valve counterclockwise to restore the water supply to your commode.