
We may earn revenue from the products available on this page and participate in affiliate programs. Learn More ›
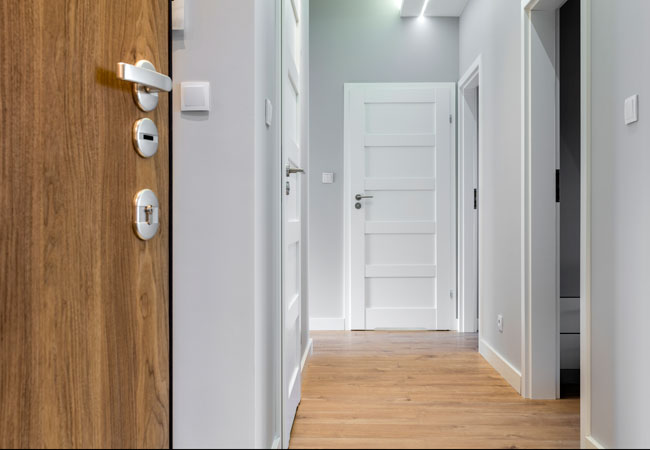
Hollow core doors—consisting of a lightweight wood frame covered with composite veneer—are affordable (around $50 per door, compared to $150 to $350 for a solid hardwood) and paintable, so you can easily match the color of the door to your trim.
Yet, while these interior doors withstand normal wear and tear, one unfortunate accident (as can happen when moving heavy furniture between rooms) or a screwed-in hook can result in a jagged hole.
Tools & Materials
Bobvila.com may earn a commission from purchases made through these links.
- Low-expansion aerosol foam insulation
- Lightweight auto-body filler
- Spackle
- 120-grit sandpaper
- Touch-up paint
The good news is that the steps for how to fix a hole in a door are short and sweet—you can make a seamless repair with a few inexpensive tools and materials, no special skills required. Read on for the fast fix details!
STEP 1: Protect the floor from glue insulation, spackle, and paint.
Slide a drop cloth under the door to protect the floor as you work. Leave the door on its hinges—you needn’t remove it to complete this fix.
STEP 2: Neaten the edges of the hole.
Cut away ragged edges around the hole using a sharp utility knife (the kind with retractable snap-off blades). Hold the knife at a slight angle to create a beveled cut and use a gentle sawing motion to remove splintered edges and roughness.
STEP 3: Stuff paper inside the door surround the perimeter of the hole.
Crumple up a small bit of newspaper or paper towels and push the wad lightly into the hollow area of the door surrounding the hole. The crumpled paper will serve as a lightweight block to contain the foam you’ll be using in the next step, so be sure to insert it all the way around the perimeter of the hole.

STEP: 4 Fill the hole with insulation.
Spray low-expansion aerosol foam insulation into the hole using the straw that came with the can. (Note: Avoid using high-expansion foam, which can create excessive pressure in the hollow and cause the door surface to bow outward.) Start at the back of the hole and spray slowly. The foam will come out as a liquid but quickly expand to a fluffy foam to fill the hole. Let set for 10 to 15 minutes, until it’s no longer tacky to the touch yet still feels soft and rubbery.
STEP 5: Trim the insulation.
It’s likely that some foam will have expanded outside the hole. Once it has fully dried, cut the excess away with a utility knife. Extend the blade until four to six snap-off sections are visible, and then hold it flush against the surface of the door to trim the foam.
STEP 6: Add auto-body filler.
Cover the foam-filled hole with lightweight auto-body filler compatible with fiberglass, the insulation you’ve sprayed into the hole already. (Check packaging info for specific use instructions; some types come in two separate containers and require blending, while others are ready to use.) Scoop up a small amount of auto-body filler with a plastic putty knife and smooth it over the hole. Wipe off excess with the putty knife. Let the filler dry completely.
STEP 7: Smooth, spackle, smooth.
Sand with 120-grit sandpaper to remove dried auto body filler and create a seamless surface. Then use a putty knife to apply a very thin layer of lightweight paintable spackle over the filler. When dry, sand once more. Run your fingers over the surface to ensure that it feels very smooth.
STEP 8: Touch up with matching paint.
Brush touch-up paint over the repaired hole to hide any last signs of a repair. For best results, apply two to four very light coats, letting each dry completely before applying the next.