We may earn revenue from the products available on this page and participate in affiliate programs. Learn More ›
An outdated kitchen puts a damper on daily meal prep and entertaining, but a full-on kitchen renovation is rarely in the cards. Instead of spending thousands of dollars, though, homeowners can transform the space with a simple DIY project: glazing their cabinets.
Before You Begin
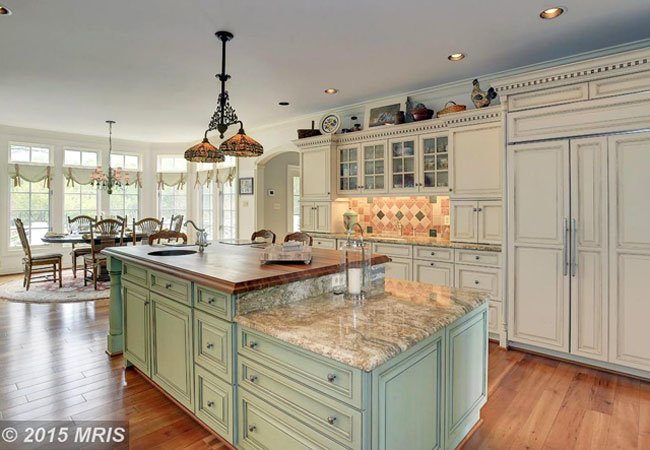
Glaze is a semi-clear coating that’s often applied on top of kitchen cabinets—preferably ones that have been freshly painted or stained—to enhance architectural details like corners and molding with subtle shading.
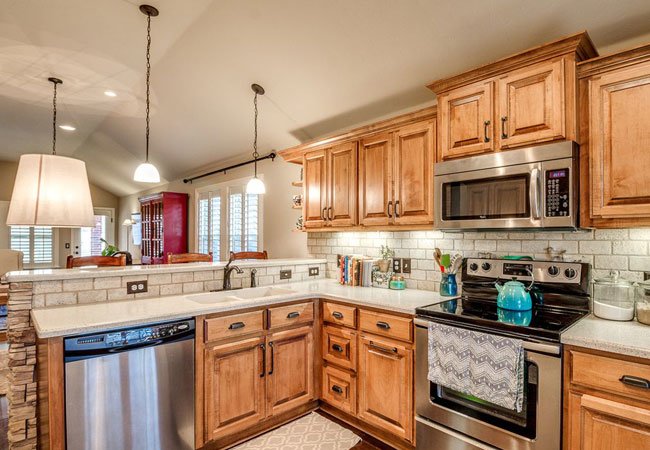
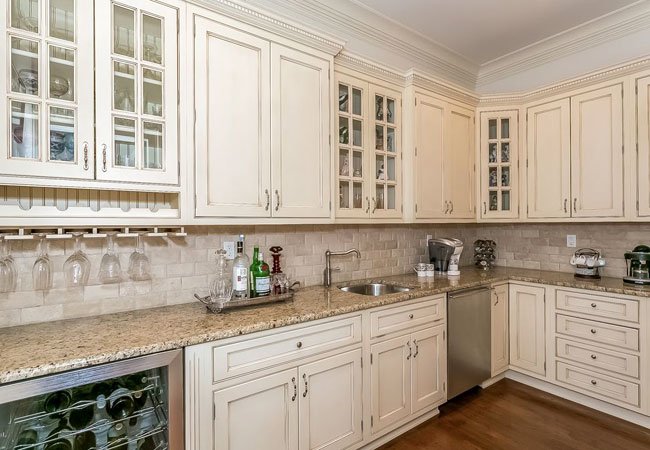
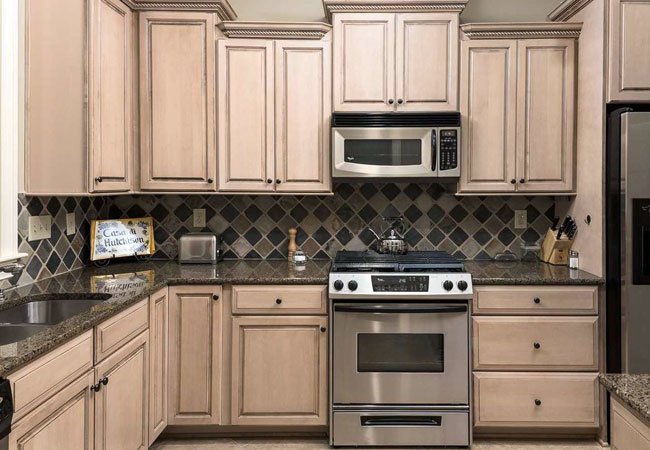
With a wide array of colors to choose from, most homeowners opt for either dark glaze on stained cabinets or white glaze on lighter-colored cabinets for a subdued rustic vibes. Dark glaze on light cabinets skews even more dramatic and antique by using extra shadows to accentuate surface details.
Perhaps the best part of working with glaze is that there’s no regret. Start with subtle and work until you’re satisfied, or wipe away with paint thinner and begin again.
Why delay? Learn how to glaze kitchen cabinets with these steps and achieve a trendy vintage vibe this weekend.
Tools & Materials
Bobvila.com may earn a commission from purchases made through these links.
- Painter’s tape
- Degreasing cleanser
- Deglosser
- 220-grit sandpaper
- Oil-based paint
- Oil-based glaze
- Latex paint
- Paint thinner
Step 1
Remove all cabinet doors and drawers by unscrewing the hinges, then empty the contents completely. Take off all hardware, knobs, and handles to protect them from paint splatter. Cover the surrounding areas—the floor, backsplash, and countertops—with drop cloths and painter’s tape.
Step 2
Clean your kitchen cabinets with a degreasing cleanser to remove any residue left behind from meal prep. Then apply a deglosser (which is basically liquid sandpaper) with a rag to ensure all dirt is removed. If you’re planning to paint or stain the cabinets, sand them with a 220-grit sandpaper to smooth the surface for an even application of paint.
Step 3
Some homeowners may want to paint or stain their kitchen cabinets before glazing, in order to achieve their desired base coat for the glaze. If that’s the case, refer to our guides on painting kitchen cabinets and staining kitchen cabinets before picking up the glaze. Always opt for an oil-based paint (since it’s more durable than latex varieties), and keep your desired look in mind when choosing the color. For example, if you like the look of a light-colored glazed finish, opt for an oil-based paint in a cream-white color. Once painted or stained, allow the cabinet doors, drawers, and cabinets to dry for at least 24 hours before moving on.
Step 4
Glaze comes in two different formulas: oil-based and water-based. In general, oil-based glazes work better for stained cabinets and water-based glazes are ideal for painted cabinets. Keep in mind that oil-based glazes have a slower dry time, making them easier to work with.
For the easiest application, choose pre-mixed glaze (which you can find at home stores in a variety of shades) and prepare it by simply mixing once more with a paint stirrer upon opening. Of course, you can achieve a more custom shade of glaze, you can make your own by combining a store-bought glazing product with latex paint. The exact measurements will depend on the glaze manufacturer’s instructions and your personal shade preference, but four parts glaze to one part paint is a safe starting point. Blend the two components together with a paint stirrer, test on a wood scrap or cardboard, and then adjust it to your liking.
Step 5
Dip a rag, natural bristle paintbrush, or foam brush into the glaze. Then, using a circular or straight motion, liberally apply a layer of glaze over one of the cabinets. Once applied, the glaze should look messy and darker than your desired outcome.
Step 6
Using circular wiping motion, quickly wipe the cabinet with a clean rag to eliminate the excess glaze. When wiping, you’ll notice that the glaze sticks to the cabinet’s corners and surface details, making them appear darker and contributing to the vintage look. Keep thinning the glaze with the rag until you’re satisfied with the finished look.
If you’re unhappy with the outcome, use paint thinner to wipe off all the glaze with a clean rag, and then start the process anew. Remember that the glaze dries very quickly, and it appears darker when it stays on the cabinet for longer. Glazing in small sections—one cabinet at a time—gives you more leeway to correct any mistakes before the glaze dries.
Step 7
Once you’re satisfied with the look of the cabinet, continue glazing the rest of the cupboards and drawers. Make sure to apply glaze in all crevices and corners, as well as the tops and sides of all doors and drawers. Apply a layer of glaze on the cupboard framing as well.
To achieve a more dramatic finish, apply an extra layer of glaze on any grooves or carved inset moldings along the drawers, doors, or cupboard framing. Wipe off the glaze as usual, but keep it a little darker than the rest of the surface. The accentuated grooves provide a unique contrast to the lighter cabinet faces.
Step 8
Allow the glaze to dry according to manufacturer’s instructions. Most manufacturers suggest a minimum dry time of 24 hours, but climate and humidity will affect the drying rate. Homeowners don’t need to apply sealant to freshly glazed cabinets, but a coat of urethane, varnish, or lacquer finish—either high-gloss or matte—can prevent damage and make the glaze last longer. Apply the topcoat with a brush and let it dry completely.
Step 9
Using a rag, remove any errant spots of paint or glaze with hot water or a paint thinner. Remember not to wipe the freshly-glazed cabinets, and let them dry thoroughly before replacing the hardware. Voila! You’ve just completed a DIY kitchen transformation at the fraction of the cost of renovation!