We may earn revenue from the products available on this page and participate in affiliate programs. Learn More ›
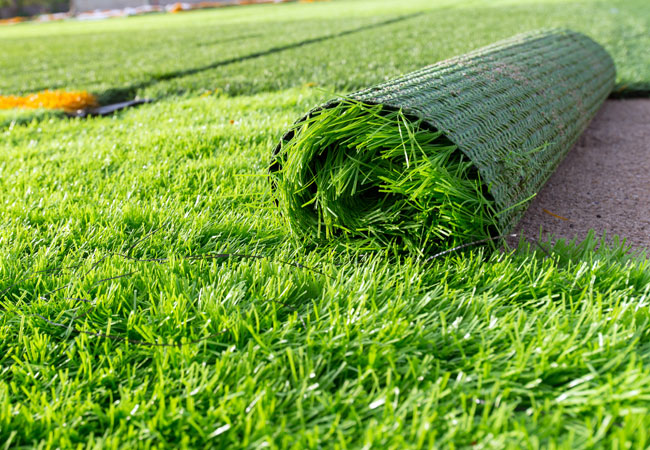
Artificial grass made its big debut at the Astro Dome in 1966—hence the term Astroturf—but it’s come a long way since then. Once considered only for professional sports fields, artificial grass is now a bona fide option for homeowners who want the look of a lush, green lawn without maintenance that provokes headaches.
Artificial grass requires no water or fertilizer, which makes it eco-friendly, and there’s no mowing required either. A lawn of artificial grass can last up to 15 years under heavy traffic, the only maintenance being an occasional spraying with the garden hose if you have pets (for obvious reasons!).
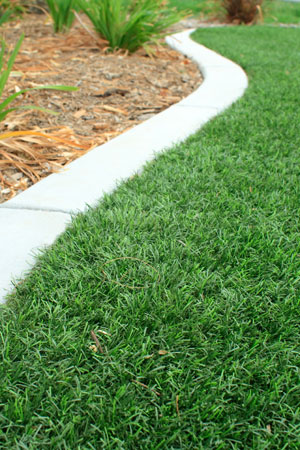
Professional installation can cost anywhere from $10 to $15 per square foot. But laying the turf, which costs between $2 and $8 per square foot, on an average-sized yard is a doable project if you’re game for some physical labor.
Check out this tried-and-true technique here for how to lay artificial grass!
Tools & Materials
Bobvila.com may earn a commission from purchases made through these links.
- Garden spade
- Landscape rake
- Tamper
- Utility knife
- 7-inch galvanized lawn spikes
- Rubber hammer
- Stiff broom
Step 1
Remove whatever current turf you have. Use a spade or a sod-cutting machine (available to rent for about $100/day at a home improvement store) to pull it up. If a neighbor or friend can’t use it, dispose of the turf according to the organic waste removal rules in your community.
Step 2
You will need a level base on which to lay your artificial grass. Spread about 1-½ inches of builder’s sand in the area to create a level surface, using a landscaping rake to distribute it evenly. Then, compact the sand with a tamper or 2X2 piece of plywood and a rubber hammer until it’s firm and level.
Step 3
Lay down a weed barrier to reduce the chance of weeds growing up through the turf. Roll it out to cover the area completely, allowing the edges to overlap at any joints by several inches, and trim with a utility knife to secure it into place with landscaping staples every three or four feet.
Step 4
Artificial grass has a “grain” to it, which means rather than standing straight up, it bends slightly at an angle. For the most natural look, roll it out so that the blades bend toward your home—making sure that all pieces are laid in the same direction.
If using more than one roll’s width of turf, it’s best to stagger the end seams so that they don’t line up in a row: They’ll be less visible and will wear better that way.
Trim any edges with a utility knife from the back side, being careful not to cut any of the turf.
Step 5
Artificial turf generally comes in widths of 12 to 15 feet. If the space you’re covering is more than the roll’s width, you’ll need to join pieces together.
To do so, trim the edge of each of the pieces with a utility knife (from the back, being careful not to cut the turf) so that they will meet without overlapping. Then roll the pieces back and lay jointing tape underneath where the seam will be.
Apply artificial turf adhesive to the jointing tape, and lay the two turf pieces together, making sure that the seam matches up together, without overlapping.
Step 6
Nail the artificial grass down with 7-inch lawn spikes, using a rubber hammer. Space the nails about every four feet. Take care to spread the turf blades out and away from the base of the nail before you hammer it in. After nailing, brush the nap up around the nail to hide placement.
Step 7
Once all the turf is installed, brush the entire lawn with a stiff-bristled broom to fluff up turf blades. If any sand went wayward during installation, hose the lawn down to remove it.