
We may earn revenue from the products available on this page and participate in affiliate programs. Learn More ›
There are a host of reasons that homeowners choose to paint brick:
• If a brick fireplace is out of sync with the decor of a room, it’s less expensive to paint it than it is to replace the brick with another material.
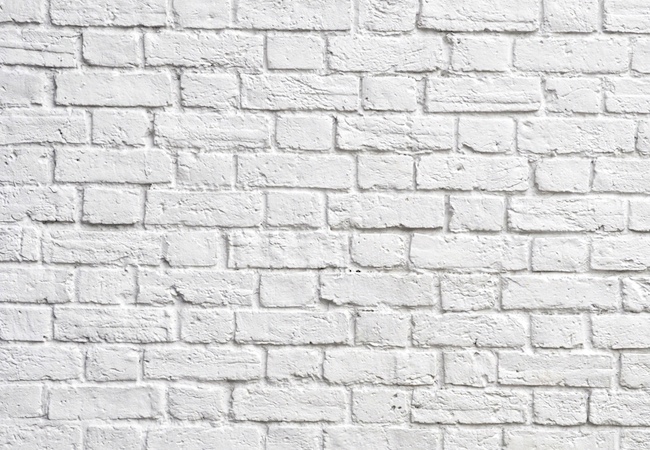
• A coat of light-color paint can alleviate the feeling of heaviness that a brick wall can impart.
• If a home’s brick exterior needs a makeover, painting it can give the property a fresh look, boosting curb appeal and perhaps even resale value.
Although any DIYer can paint brick, there are certain precautions and procedures to follow to ensure color success.
STEP 1: Clean and prep the brick.
Before painting brick, always clean it thoroughly so that your application of paint better adheres. Dirt and efflorescence should come off with soapy water and some diligent scrubbing with a stiff-bristled brush. Need something stronger? Try trisodium phosphate (TSP). A half cup of TSP mixed into a gallon of water ought to do the trick. (If you happen to own, or are willing to rent, a pressure washer, consider using one, especially if you need to clean a relatively large expanse of brickwork.)
Where you encounter mildew, apply a solution of one part bleach to three parts water. After letting it soak for half an hour, proceed to scrub the area with a wire brush. Never use acid cleaning solutions, any of which might compromise your paint job.
Note: If the brick has been installed recently, it’s essential to allow it plenty of time to dry and acclimate. Wait at least a year before painting it. If the installation has already been in place for decades, check the mortar for signs of damage and repair small cracks with acrylic caulk. With more pronounced issues, repointing the brick may be necessary. Whether or not you make any repairs, remember that brick must be completely dry for the paint to adhere successfully.
After cleaning, delay painting for a period of at least 24 hours.
STEP 2: Apply primer.
Depending on the area of the surface you wish to paint, use a brush or roller or paint sprayer to apply a coat of latex primer. Put additional coats on those sections that have been affected either by efflorescence or mildew. Whether you add one coat of primer or a few, let the primer dry completely before going any further.
STEP 3: Pick your paint.
Many favor the use of elastodynamic paint for brick. It features (as the term implies) a high level of elasticity, which makes it excellent for filling cracks as well as preventing them. Plus, elastodynamic paint performs well in all weather—not only precipitation but also high humidity.
If you cannot find or don’t wish to use elastodynamic paint, don’t hesitate to opt instead for regular acrylic latex exterior paint. In fact, for exterior brickwork, acrylic latex may be the superior choice, because it’s designed to stand up against mildew and to quickly evaporate any moisture that it absorbs.
STEP 4: Apply paint.
The easiest way to paint brick is with a paint sprayer. Weekend DIYers’ favorites are available from manufacturers such as Wagner, Tacklife, and HomeRight.
If you are painting a relatively modest surface area—if you’re painting a brick fireplace surround, for example—brushes or rollers are sufficient. In fact, for those with no experience operating a sprayer, these low-tech painting tools are recommended. If you plan to use a roller, choose one with a thick nap to ensure best results on brick, which is riddled with nooks and crannies and surface irregularities.
For interior and exterior brick, many experts recommend semi-gloss or gloss paint, as either type accentuates detail and, compared with other paints, is easier to clean as time goes by.
Staining Brick
If the brick stands in decent condition, you have another finishing option: stain. Quicker and easier than painting, brick staining highlights the material’s unique texture, whereas painting does much the opposite.
Preparing brick for staining is no different from preparing it for painting. In either case, clean the surface thoroughly, allowing it to dry completely before moving forward. If you do not intend to stain the mortar, then seal it off with painter’s tape. (You can also use this trick if you decide to paint after all.)
If you decide to move forward with staining, be sure to test the stain on an inconspicuous part of the brick. Note that you can darken or lighten the tone by adding pigment or water, respectively.
Once you have a mixture that imparts a color you like, spread on the stain by moving the brush in a uniform direction. Alternatively, for a more even application, use a clean rag to wipe the stain onto the brick. Spread the stain as thinly possible, wait 24 hours, and then add a second coat. Along the way, remember to wear goggles and gloves.