We may earn revenue from the products available on this page and participate in affiliate programs. Learn More ›
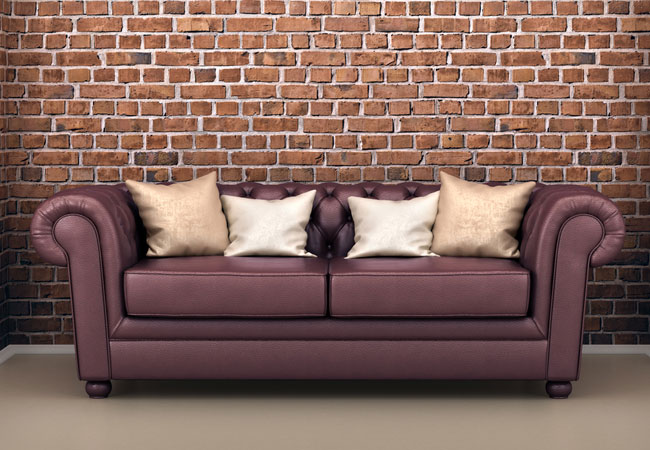
If a leather sofa, armchair, ottoman, or other hide-covered furniture appears to be on its last legs, don’t kick it to the curb just yet! That’s right, you can learn how to paint leather and restore its original luster. In fact, acrylic paints specially formulated to seep into and tint the supple surface of leather (such as those made by Angelus) have been around for more than a century (view example on Amazon). They are readily available online and in craft stores and allow you to restore the original shade or try a whole new hue to, say, a leather loveseat for less than $150—and well under the cost of replacement.
But leather requires careful surface preparation and application techniques to produce a picture-perfect finish. You’ll also need to distinguish whether your piece is made of aniline (i.e., unfinished) or protected (finished) leather—painting protected leather requires you to remove its shiny, clear coating first. So, before you begin your next furniture makeover, get all of the guidance you need for how to paint leather below.
Tools & Materials
Bobvila.com may earn a commission from purchases made through these links.
- Tarp
- Work gloves
- Dust mask
- Fine-grit sandpaper
- Microfiber cloths
- 1-gallon plastic bucket
- Stir stick
- Paint trays
- Foam paintbrushes
STEP 1
Place the leather furniture over a tarp or drop cloth on the floor of a well-ventilated room or open garage.
STEP 2
In a bucket, combine one teaspoon of liquid dish soap with four cups of distilled warm water. Wet a soft cloth in the soap solution, wring it out until damp but not dripping, and then wipe down the entire leather surface to remove dirt and debris. Make a second pass with clean cloths dampened with only distilled warm water to remove the soap solution. Let the leather air-dry completely for about half an hour after cleaning.
STEP 3
Splash a few drops of water anywhere on the leather to determine if it’s aniline or protected.
- If the water soaks into the leather quickly, it’s aniline—and you can skip to Step 6.
- If water pools on the surface, the leather is protected; follow the next two steps to remove the coating before continuing the process for how to paint leather.
STEP 4
Wearing a dust mask and rubber gloves, pour a scant amount of rubbing alcohol onto a soft cloth and gently scrub the leather area of the furniture to remove the protective coating along with any grease stains. Let the furniture air-dry completely for about half an hour.
STEP 5
Perform the water droplet test from Step 3 again. If the water soaks into the leather within a matter of seconds, you have successfully stripped the protective coating. If the water still pools on the surface, wipe it with a dry cloth and then sand the leather with one gentle pass of fine-grit sandpaper. Perform the water droplet test on the leather to verify that the protective coating has been stripped. Then, wipe down the leather with a dry microfiber cloth to remove any sanding dust.
STEP 6
Protect non-leather areas (such as wood or metal feet) by covering with painter’s tape. If the piece has large non-leather areas (such as a wooden base) and the leather component can easily be detached, take it apart. Remove the fasteners that connect the leather component (use pliers to remove plastic snaps, a screwdriver for screws, or a wrench for bolts), then pull the leather component off with your hands. Put only the leather components on the tarp, and set the other pieces safely aside.
STEP 7
To help the paint adhere well to the leather, mix up a primer of equal parts acrylic paint (one that’s formulated for leather) and plain water in a plastic bucket. Blend with a stir stick, then pour into a paint tray. Wet one side of a foam paintbrush with primer and apply a single, thin coat to the leather using long, even strokes. Cover the entire surface, including any seams. Let the primer coat air-dry for one to two hours.
STEP 8
Pour undiluted acrylic paint into a clean paint tray. Wet one side of a clean foam brush and then paint leather with long, even strokes. Make sure to cover the entire surface, including seams, in a thin coat.
STEP 9
In order to prevent acrylic paint from cracking as it dries over the natural folds of the leather surface, use both your hands to pull the painted surface taut a few times during the drying phase and keep it smooth. Let the first coat air-dry for one to two hours, then follow with one or more additional coats of undiluted acrylic paint until desired opacity is achieved, making sure to pull as it dries to prevent cracking. Let the leather air-dry for six hours after applying the final coat of paint.
STEP 10
Maintain the flawless finish of the painted leather by sealing it with one thin coat of matte or glossy acrylic finisher, applied in long, even strokes to the entire surface using a foam paintbrush. Let the leather dry for at least 24 hours before removing the painter’s tape and re-attaching the leather components to the furniture if you’d taken it apart. Sit and enjoy!