
We may earn revenue from the products available on this page and participate in affiliate programs. Learn More ›
Learning to pour concrete may save money and build your skills, but without proper equipment and attention to detail, the results can look far from professional. Concrete—generally a combination of cement, sand, gravel, and water—can be tricky to mix and manipulate. Moreover, its fairly quick-drying constitution tends to make any mess-ups permanent.
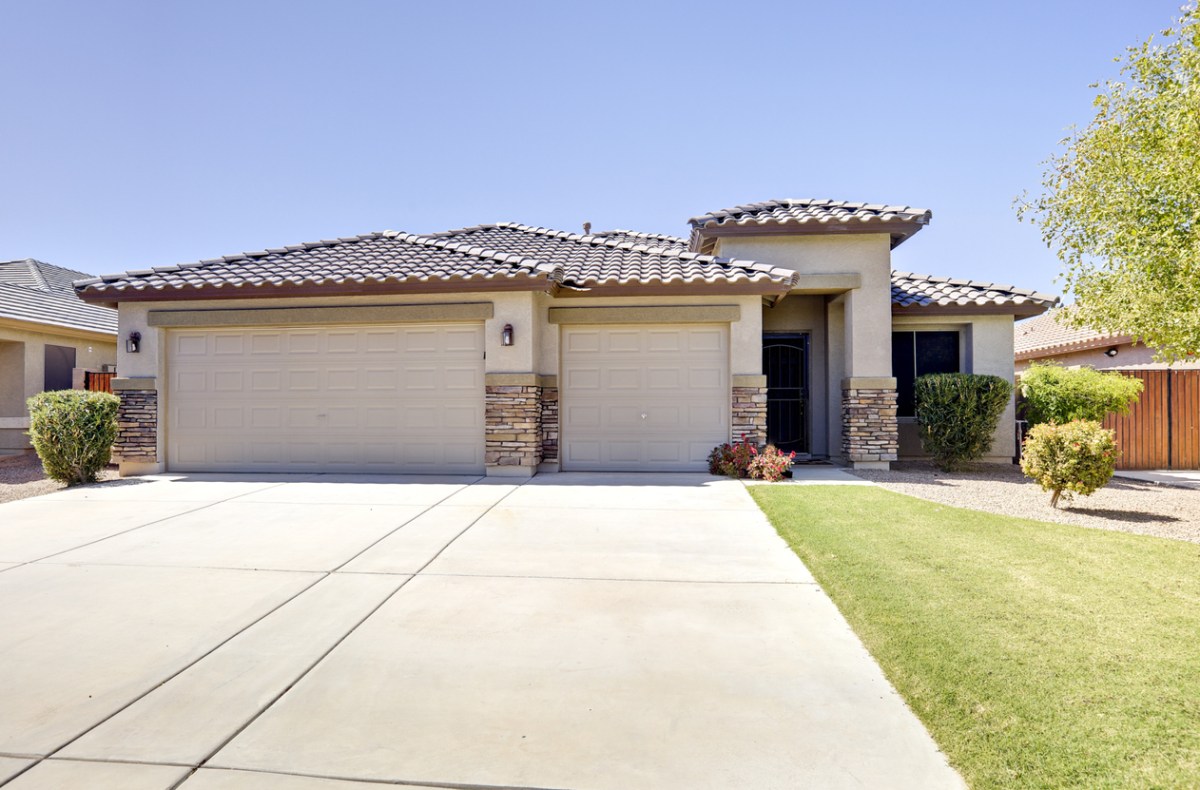
Fortunately, whether you plan to make a patio slab or a driveway, working in small areas divided by concrete forms and using bagged concrete mix can make the job easier for a DIYer. While there are many variations to concrete mixes and uses, this how-to-pour-concrete guide involves the basics of using a bagged concrete mix in a small residential setting to help make pouring concrete more manageable.
What to Know About Concrete Mix
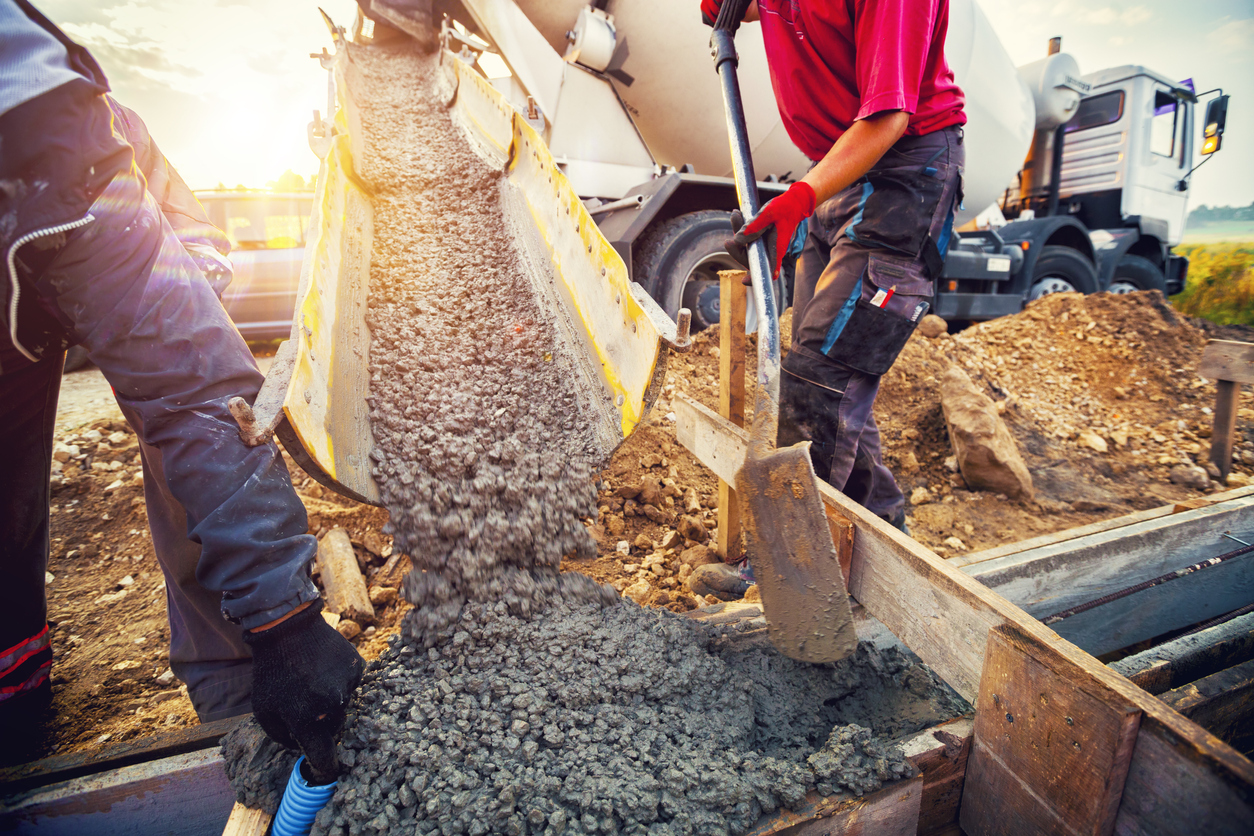
There is a lot to know about working with a concrete mix. While bagged concrete is what most DIYers use, ready-mix concrete is suitable for large jobs and is delivered by concrete truck. It’s purchased from a concrete supplier and delivered by a concrete mixing truck that mixes it while it drives to the pour site. The benefit is that suppliers can create a mix that’s formulated for the specific job, and it’s professionally delivered and dropped into place.
However, for most smaller DIY projects, bagged concrete mix that can be purchased online or from a home improvement center is similar to what a supplier produces. A concrete mix has all the ingredients in the bag, except for the water. While it’s still important to work quickly to achieve optimal results, the bagged formula allows a DIYer to mix smaller batches and have a little more control over the process.
One important detail to consider is the strength of the concrete mix and making sure the right pounds per square inch (psi) is used for the job. For example, 3,000 psi is appropriate for a patio or driveway. Footings require stronger concrete of about 3,500 to 4,000 psi. Here’s a simple way to calculate how much concrete is needed for a project: multiply the foundation’s length by its width by its height to come up with its cubic footage. Divide the cubic footage by 27 to determine cubic yards .
The Best Time of Year to Pour Concrete
While it’s possible to mix and pour concrete nearly year-round, not all weather conditions are ideal for creating strong and crack-free concrete. Since concrete includes water in the mix, cold or hot temperatures can affect how the water acts during the chemical reactions that turn the mix into hard concrete.
During freezing conditions, the water in the mix can freeze and expand. The expansion can cause cracks, and the colder temperatures can slow the chemical reactions enough that the result is weak concrete.
When temperatures rise above 80 degrees Fahrenheit, the water in the mix can evaporate. While this might sound like the goal for getting concrete to harden, it isn’t. The concrete mix needs that water to help the chemical curing process. Without enough water, concrete can shrink, weaken, and crack. If temperatures rise above 90 degrees, concrete can stiffen too quickly and “flash set.” Preparing the mix at a higher water-to-mix ratio may sound like a smart way to prevent this, but it can weaken the concrete, making it more likely to crack or flake over time.
Note: If you’ll be using the planned concrete project for heavy load-bearing, like a driveway or a base for a work shed, it might be wise to use wire mesh to help reinforce it. For thicker driveways that are about 6 or more inches deep, rebar could be used to help strengthen the slab. For projects like pouring concrete steps, rebar is needed.
For an ideal pour, work in temperatures around 60 degrees Fahrenheit, or in early morning hours to avoid the afternoon heat.
12 Steps to Pouring Concrete the Correct Way
You’ve got enough concrete mix for the job, and you’ve picked the perfect fair-weather day to pour. Next, follow these step-by-step instructions for completing a concrete pour.
Tools & Materials
Bobvila.com may earn a commission from purchases made through these links.
- Measuring tape
- Square point shovel
- Level
- String and stakes
- Hand tamper
- Duplex nails
- Hammer
- Groover
- Wood float
- Magnesium float
- Finishing broom
- Plastic mixing tub, concrete mixer, or wheelbarrow
- Gallon measuring pail
- Work gloves
- Safety glasses
- Concrete sealer
- Gravel for subbase
- Wire mesh
- 1-inch by 4-inch boards
- Plastic concrete form (for curved slabs)
- Concrete mix (ready to use)
- 1-inch by 4-inch by 16-foot board
- or 2-inch by 4-inch by 12-foot board (or other long board to use as a screed)
STEP 1: Take necessary safety precautions before you begin.
The first step in a concrete project is making sure the job site is safe, legal, and conducive to a concrete pour. Not only does this involve contacting the local building department to learn about building setbacks and permits, but it also involves calling the local “call before you dig” number to arrange for marking the locations of pipes and wires in the ground.
Since pouring concrete isn’t a job that can be easily stopped and restarted without negative consequences, it’s important to get the site ready and have all the materials and tools on hand before starting a DIY concrete pour, including personal protective equipment. Gloves, sturdy work boots, long pants, a long-sleeved shirt, and safety glasses protect eyes and skin from possible chemical burns caused by wet concrete on skin.
STEP 2: Flag and outline the form.
The next step is figuring out the size and form of the concrete pour. It’s easiest to work on ground that is level, as it reduces the amount of site work needed to create a flat subbase and an even concrete pour.
After the site is determined, mark and measure the area where you plan to pour concrete. Laying out a slab can be done with string and stakes, placing a stake at each corner. Using flags can become confusing if flags were also used to mark gas lines, wires, and sewer lines, as specific colored flags are used to indicate different functions. If a rectangular shape is desired, measure the diagonals to make sure those two distances are equal.
STEP 3: Prepare the site.
In most situations, some soil is removed to prepare a site for concrete. If the goal is for the concrete patio or driveway to be even with the existing surrounding ground, remove enough soil so that the depth for the subbase of gravel can be 4 to 8 inches and the concrete slab on top can be 4 inches. (The depth of subbase and concrete may vary depending on your specific project.)
Remove all sticks, twigs, odd-size stones, and other obstructions that could cause air pockets or an uneven concrete surface. Then use a 48- to 72-inch-long level to ensure the ground is perfectly flat. If it’s not level, adjust the grading by moving soil around with a shovel and test with the level again.
Compact the subgrade—the earth or soil that will lie beneath a subbase layer of gravel—by compressing it with a hand tamper. This flat-bottomed plate with a broom-length upright handle allows you to apply weight by pressing down or standing atop it. Work the hand tamper evenly over the entire area to create a firm subgrade, which will prevent the concrete from cracking down the line.
STEP 4: Build a frame for the concrete slab.
The next step in how to pour concrete involves building a form around the perimeter of the site work. The inside of the form is where the concrete will be placed. Creating a linear form involves using standard lumber like 1×4 boards with duplex nails, which have two heads to make it easier to remove them later when the concrete is cured. If a curved element is part of the pour, a piece of ripped-down synthetic siding or a plastic concrete form can be manipulated into a sturdy organic shape.
After the concrete form is constructed, use the level to ensure the form is of even height. This is important, as level concrete in the finishing stages depends upon the accuracy of this prep work now. Then, reinforce any joints with an additional board on the outside of the form to strengthen the shape. Recheck the form for level before moving on to the next step.
STEP 5: Create a gravel subbase.
Depending on the climate and soil conditions, a gravel subbase may or may not be needed. Some locations are frost-free and others have soil that can expand or contract as temperatures change. In places where frost occurs, a 4- to 8-inch layer of subbase gravel or stones is laid over the compacted subgrade to protect the concrete from the changing ground conditions.
Open-grade stones are cheaper and allow more water drainage, but finer-grade stone or gravel compacts better and can sometimes ensure a more stable result. Use the hand tamper to compact the gravel over the subbase. If you are adding wire mesh to reinforce the concrete, lay out the sheets before moving on to the next step.
STEP 6: Mix the concrete.
Don your work gloves and safety glasses to prepare for mixing the concrete. A concrete mixer can be rented for about $85 a day, but a wheelbarrow, shovel, and elbow grease will suffice for smaller jobs. If you have a helper, using two wheelbarrows can help speed up the process.
Before mixing the bag of concrete mix with water, you may want to make sure the water is ideal. If you have hard water in your region, using filtered water can help avoid the whitish look of efflorescence blooming on the concrete. Hard water also speeds up the cure time of concrete, which can weaken the result for large jobs. (For detailed info on mixing concrete, including how much you’ll need and proper consistency, go here.)
While working with concrete mix, keep an extra 5-gallon bucket of water or garden hose nearby for cleaning tools and the mixing vessel in order to prevent concrete from setting.
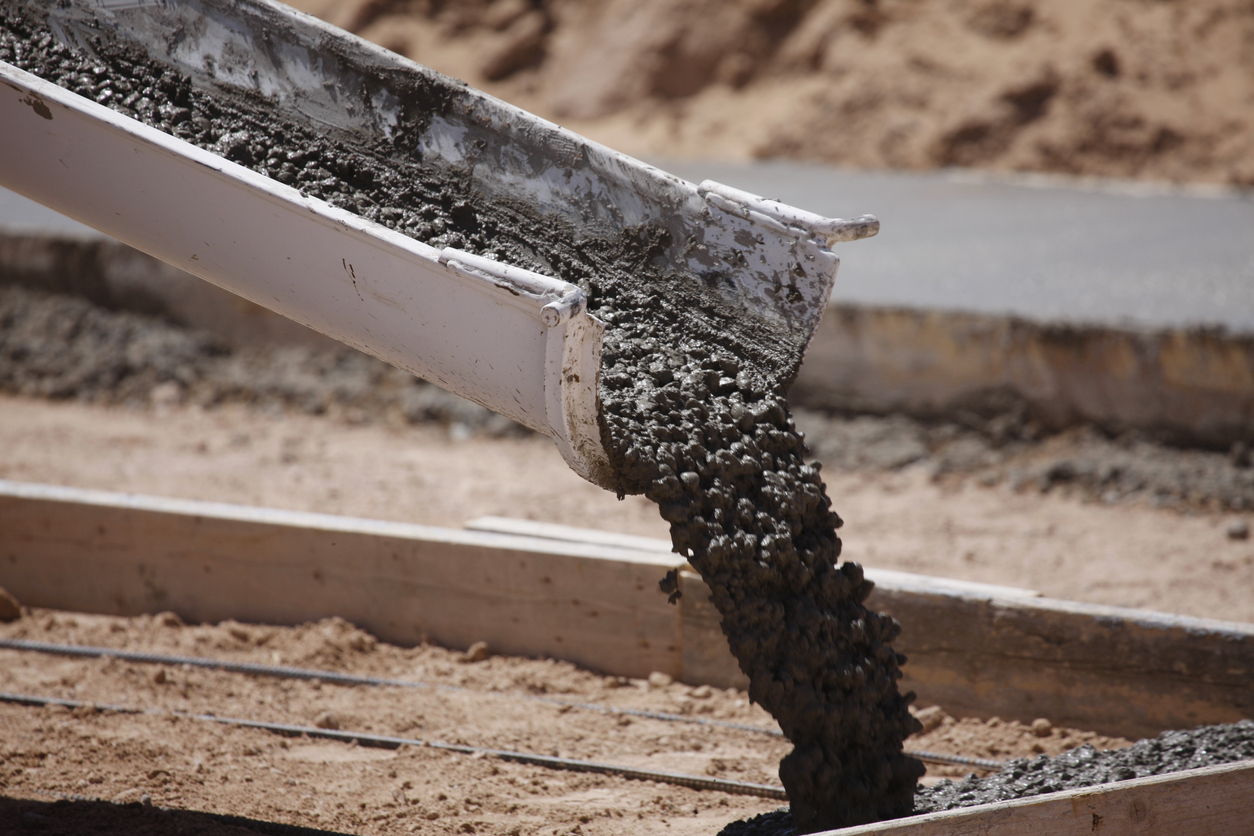
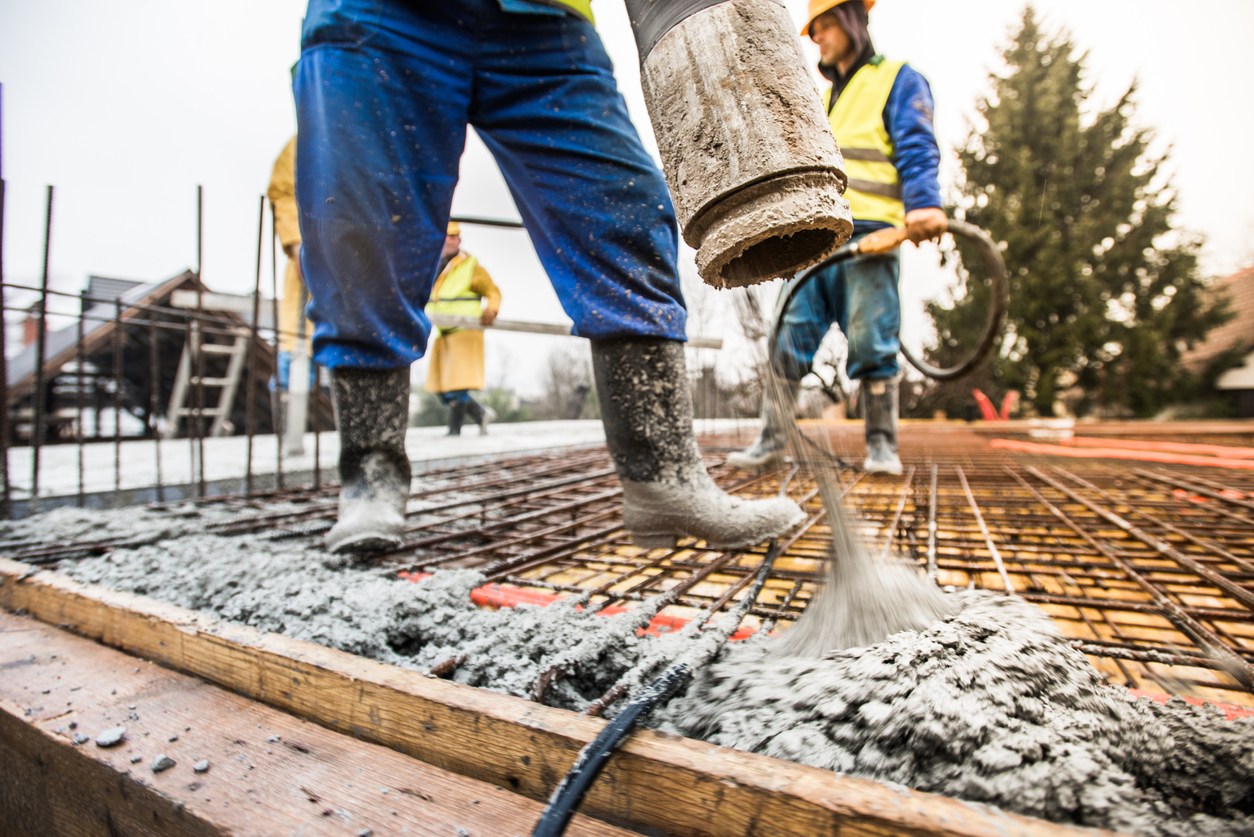
STEP 7: Pour the concrete into the form.
Now that the concrete is mixed, it’s time for concrete pouring. Tilt your wheelbarrow of mixed concrete into the form to pour the contents. If you’ve enlisted friends to help, get all hands on deck and scrape the concrete into the form as quickly as possible.
Be sure to place enough concrete to fill up to the top of the form boards, which will make finishing the concrete easier. Rinse the wheelbarrow as soon as it’s empty to keep residue from hardening.
STEP 8: Level the concrete with a screed board.
Quickly level the top of the poured concrete before it begins to set with a clean, long plank of wood that can reach two sides of the concrete form, like a 1x4x16 or a 2x4x12. This long plank of wood is known as a screed board and is used to smooth concrete after it’s been placed into a form.
Ideally, rest the narrow side of the screed board over the top of the form boards on either side of the perimeter, with the screed board in contact with the concrete surface. Using a back-and-forth sawing motion, hand-drag the screed board from one end of the concrete project to the other end to smooth and level out the concrete. Repeat this step as needed till you achieve a smooth surface.
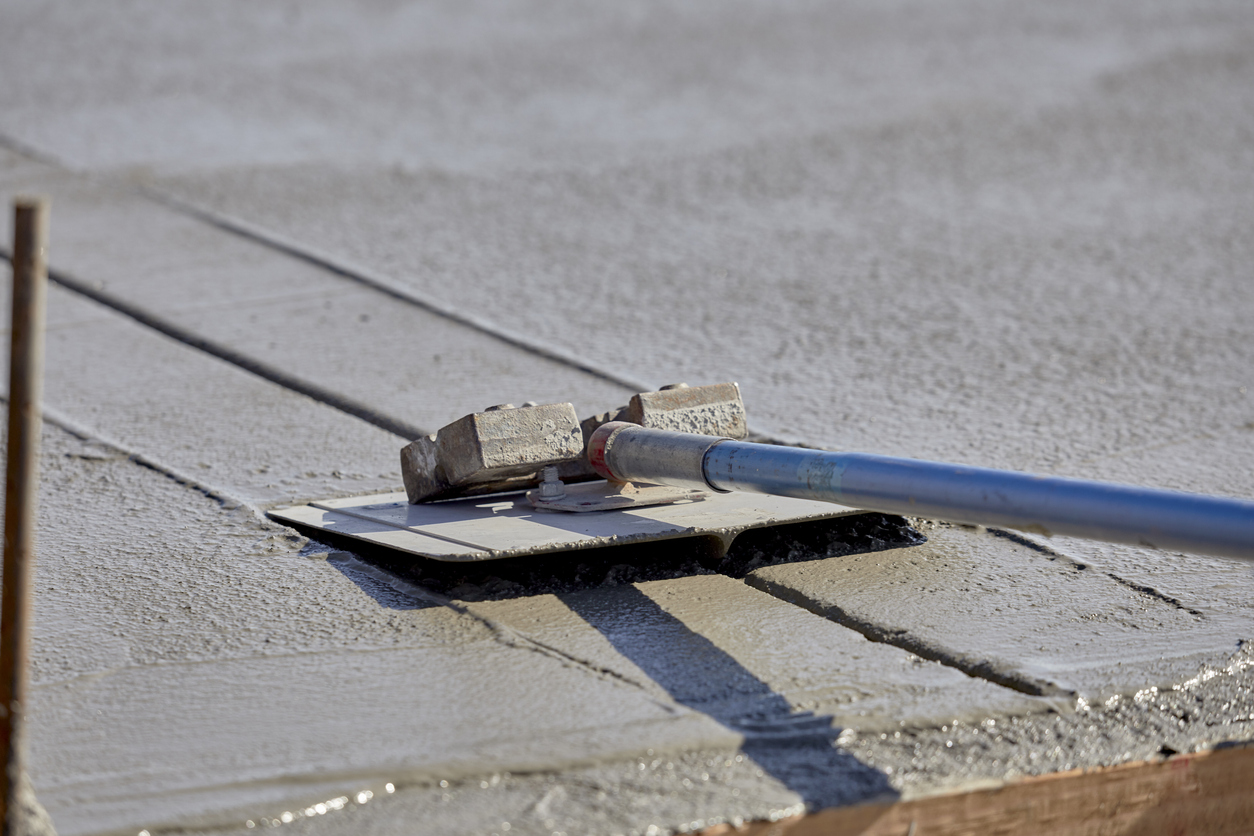
STEP 9: Using a float, smooth the concrete.
For a truly professional job, use both a wood or bull float and a magnesium “mag” float to further smooth the concrete. First, apply the larger flat-bottomed wood or bull float to the concrete.
When pushing the wood float away from you, keep the far side slightly elevated. When bringing the float back toward you, the side facing you should be slightly elevated—this will help avoid drag marks. Use the magnesium hand float next, with sweeping semicircular motions for the final finish.
STEP 10: Groove the concrete to create control joints.
Groove the concrete every 4 to 6 feet in width. This will let it expand and contract with temperature changes, preventing surface cracks.
“Groovers” can be long-handled tools for working while standing and reaching, or they can be hand tools used when crouching for close-up work. Both work the same way, cutting a groove through the depth of the concrete. A long-handled groover will make it easier to cross a wider project with a straighter line.
STEP 11: Brush the concrete and allow it to set.
For an edge against slippage in wet conditions, “brush” the concrete by dragging a broom over the surface. Allow concrete to set just enough so that brushing won’t cause clumps. (How long to wait will depend on the temperature and humidity.) If clumping occurs, smooth the section again with the magnesium float and give it a little more time to set.
Once the concrete is no longer clumping on the broom, do light dragging patterns across the entire area. Be careful that the brushed pattern’s grooves aren’t so deep that water can pool in them, as this can cause surface flaking over time. Once the whole surface is grooved, you’ll have created safe, nonslip traction.
STEP 12: Wait for the concrete to cure, then seal it.
Take measures to protect the concrete by roping it off, so it can safely cure for the industry-recommended 28 days. It’s usually safe to walk on a newly poured slab of concrete after a day or two, and safe to drive on it after about a week. However, to avoid any chance for scuff marks or gouges, it’s better to wait until it fully cures.
After it cures, protect its longevity by sealing the concrete with a concrete sealer recommended by the concrete maker for the type of concrete used, the project, and the climate. Once you’ve applied the sealant, wait about a day before walking on it and wait at least 2 or 3 days before driving on a newly sealed driveway.
To keep concrete looking great for decades, periodically clean concrete with soapy water. Resealing it every 5 years will further protect it.
FAQs About Pouring Cement
Now that you know more about pouring concrete, which is commonly and mistakenly referred to as pouring cement, you may have additional questions. Below are answers to some of the most popular questions asked about pouring concrete. If you do not find the answer to your question below, the manufacturer of the bagged concrete mix may also be able to help.
Q. Can you pour concrete directly on dirt?
Yes, you can pour concrete directly on dirt. However, in geographical areas that can freeze, the concrete may be susceptible to cracking as the soil freezes and thaws. To prevent this from happening, use a subbase of gravel to protect the concrete’s structural integrity.
Q. How much does it cost to pour a 12×12 concrete slab?
The materials for concrete slabs can cost about $6 per square foot. However, there are the additional costs of gravel for the subbase, formwork, concrete finishing tools, and other supplies. Depending on the location, the thickness, and the supplies that need to be purchased, it may cost about $800 to pour a 12-inch by 12-inch concrete slab.
Q. How much water should I use when mixing concrete?
Bagged concrete mix maker Quikrete recommends mixing an 80-pound bag of concrete mix with about 3 quarts of water (pour 2 quarts into the mix to start, and add the rest gradually as needed). The amount of water used to mix concrete also depends on the type of concrete mix used, the climate, and the site conditions.
If the mix is too dry, it’s easy to add a little more water. If it’s too wet, adding more dry mix can help adjust it. The mixed concrete should have the consistency of cookie batter.