
We may earn revenue from the products available on this page and participate in affiliate programs. Learn More ›
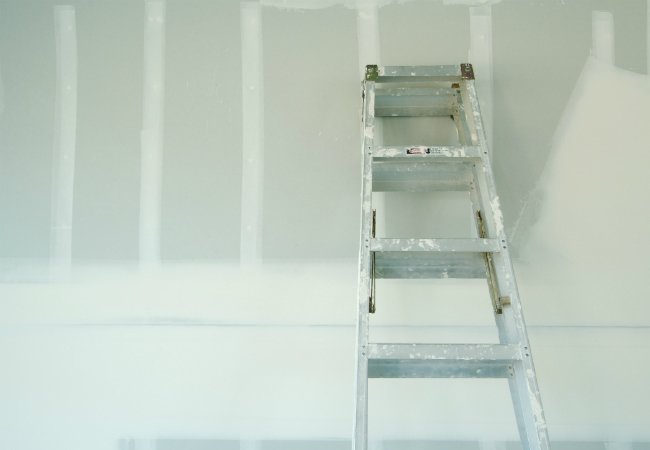
Drywall—commonly known as sheet rock—is one of the most popular construction materials used in finishing interior walls. Cheap, durable, easy to install, easily repaired—it’s no wonder that it’s a go-to for do-it-yourselfers and contractors alike. But while drywall installation is admittedly an easy DIY project, a few tips and techniques borrowed from the pros can make the difference between a smooth, attractive wall surface and one riddled with imperfections.
At the top of the list of important know-how is proper sanding technique. Without it, any dings, dents, creases, ridges, or lumps in the joint compound will be magnified once paint is applied, and uneven sections in the drywall can prevent wallpaper from adhering correctly. Here are two sanding methods designed to produce a flawless finish.
Tools & Materials
Bobvila.com may earn a commission from purchases made through these links.
- Putty knife
- Sanding block
- Sanding pole
- Sanding sponge
- Work light
- Pencil
- Dust mask
- Protective goggles
- Shop vac
Option 1: Dry Sanding
Dry sanding is the typical method used to finish drywall joints, as it produces the smoothest finish—ideal if you plan on painting the drywall. But be warned: It does create an unavoidable dust storm in the middle of your home, which can sway homeowners to consider wet sanding (see further down) in cases where a smooth finish isn’t absolutely necessary.
STEP 1
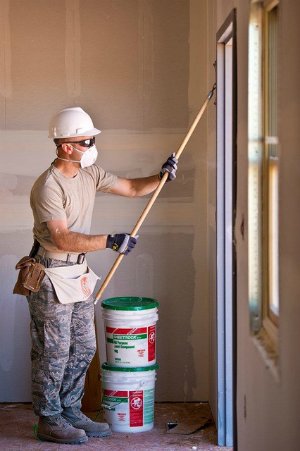
Drywall sanding produces copious amounts of dust, but proper preparation can help keep the dust from infiltrating every nook and cranny of your home. Before you begin, assemble all tools in the room where you will be sanding, including extra joint compound and a putty knife to fill in any gouges or mistakes. Wear a dust mask and goggles to protect your face; you may want to cover your hair with a scarf and wear old clothes. If you have an exterior window, open it a crack to provide ventilation. Tape plastic sheeting across any doors leading to other areas of your home, as well as over the floor and any furniture in the room.
STEP 2
Affix a section of fine-grit sandpaper to the sanding block. You can purchase pre-cut sections that are designed to fit drywall sanders—anchor one end under the clamp and pull the sandpaper taut before tightening the clamp on the other side.
Attach the sanding block to a sanding pole, if desired, to better reach the ceiling or along the top edges of the walls. If you use one, though, be careful to keep the sanding head slightly angled—never completely perpendicular to the pole, to avoid gouging the surface.
STEP 3
Sand the joints, seams, and around screws lightly with the sanding block. A few pointers:
- Careful to not put too much pressure on the surface to avoid “fuzzing” the drywall or leaving sanding marks; sand the center of seams and joints just enough to remove ridges and bumps.
- Also avoid sanding in a straight line or going over the same area in the same direction, both of which can leave grooves or depressions. Instead, move the sander around in a curved motion.
Use a sanding sponge to get into the corners and around electrical boxes, again, applying light pressure to avoid damaging the drywall paper.
STEP 4
Shine a light parallel to the joints to reveal any gouges, grooves, or ridges. Mark these areas lightly with a pencil. Fill these areas with fresh joint compound, smoothing with a putty knife. Let dry completely, and then re-sand the area.
STEP 5
Prime the walls, then sand again lightly to remove any lumpy spots or paper fuzz.
STEP 6
Use a vacuum cleaner or shop vac to clean up the drywall dust. If your vacuum has a pre-filter, use one designed to capture drywall dust and other fine particles.
Option 2: Wet Sanding
The biggest downside to drywall sanding is that it produces dust—a lot of dust! Wet sanding drywall avoids most of this mess and the associated cleanup. The catch? It does not produce quite as smooth a finish as dry sanding, and therefore is not suitable for walls that will be painted. If the final finish is wallpaper or texturing, however, consider wet sanding to save a lot of time. Just add a bucket (and a mop for any mess) to the materials list above, and you’re good to get started.
STEP 1
Prep your space following the suggestions in Step 1 of the dry sanding process. This time, fill up a bucket about half-full with warm water and place it with the rest of your tools. Then dunk the sanding sponge in the water.
STEP 2
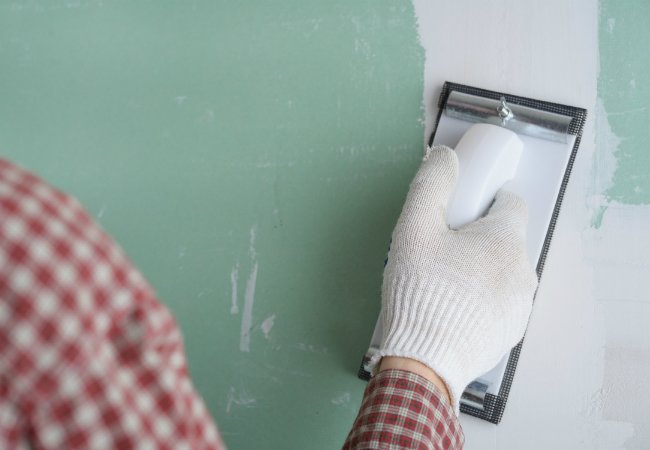
Squeeze all excess water out of the sanding sponge, so that it is damp but not dripping. Work your sponge’s abrasive side in a large, circular motion to sand the joints, corners, screws, and around electric boxes. (Here, too, light pressure will help avoid creating grooves or gouges.)
Note: Every few minutes, dampen the sponge in the warm water. This will also give you a chance to wash out some of the dust that collects in the sponge as you go. Once the water becomes cloudy, pour out the old water and refill with fresh warm water.
STEP 3
Look for any gouges, grooves, or ridges with the help of your flashlight, then fill these areas with fresh joint compound and (when dry) sand the area lightly with your wet sponge. Once the wall dries thoroughly, you can cover with primer, sand, and apply your wallpaper or texturing of choice.