
We may earn revenue from the products available on this page and participate in affiliate programs. Learn More ›
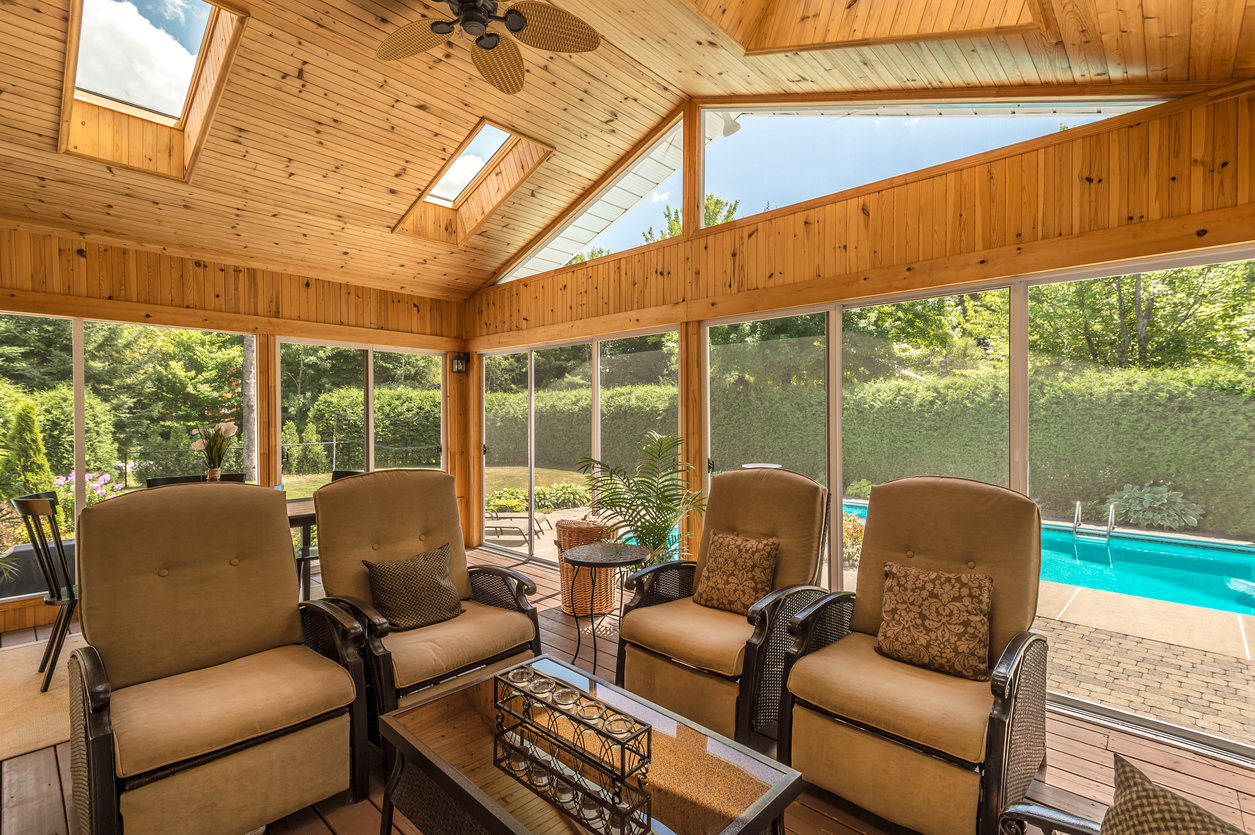
A porch is an extension of a home’s living area: a place to savor a summer’s breeze, observe wildlife, or bask in birdsong at the end of the day. Since most people want to spend more time outdoors, it comes as no surprise that many homeowners would like to screen in their porches. When you’re protected from insects and blowing leaves, life on the porch takes on a whole new appeal. Just imagine enjoying outdoor meals without swatting away flies!
A screened-in porch can serve as a second family room, a place to entertain friends, and a spot for relaxing evenings with the kids. Best of all, screening in this space takes much less time and money than fully enclosing a porch.
If you’re lucky enough to already have a covered porch and you are up to speed with basic carpentry techniques, you can save money by screening the area yourself. The steps for how to screen in a porch are often straightforward, do-it-yourself-friendly, and simple enough to be completed in a single weekend.
Before you grab that screwdriver and get to work, read on to learn what’s involved in this sort of project. We’ll help you decide what type of screened-in porch materials are right for you, and whether you should install it yourself or consider hiring a pro. When you’re ready to start work on your DIY screened-in porch, be sure to keep the following points in mind.
1. When you estimate the cost to screen in a porch, include screening materials, lumber, and labor.
The materials to screen in an existing covered porch of approximately 200 square feet could run as little as $450, including the lumber needed for building screen panels, the screen fabric, screws, and paint to finish the frames to match the trim on your home. If you hire a pro for the same project, expect to add another $300 to $600 in labor to the total average cost to enclose a porch.
2. Screened-in porch kits can save DIYers time and money.
Looking for a middle ground between building a screened porch from scratch and hiring help? You may want to investigate purchasing a porch screening kit, like this one from EZ Screen Room, from home improvement stores and online retailers. A typical 8-foot-by-8-foot kit contains everything you need to cover an 8-foot-by-8-foot section on a covered porch. A kit that size typically sells for $250 to $300.
Keep in mind that individual sections can usually be cut down to fit a smaller area but cannot be adjusted to fit a larger area. Depending on the dimensions and configuration of your porch, you may need to purchase multiple sections.
3. If your porch needs a roof or additional framing, be prepared to spend a bundle.
When we say that DIYing a screened-in porch is easy and not overly expensive, we assume two things: That you’re starting with a space that already has deck posts or walls to which you can attach the screens’ frames. We also assume that your porch has a roof. The cost to screen in a porch increases substantially when construction—such as building a roof over an open deck or patio—is required to complete the project. (Unless you’re skilled in framing, building a roof for your patio is not a DIY job.)
Professional construction of a covered deck or screened-in porch could run anywhere from $5,000 to well over $20,000, depending on the size and design of the project and whether you include custom-built railings, windows, and other upgrades. That said, most homeowners who want to screen in their porches already have suitable covered porches on their homes. In these cases, often all that is needed are frames to support the screens.
4. Consider both personal taste and practical matters when selecting porch screen panels.
Screen panel size and configuration depend on both porch size and the homeowner’s preference, and each style has its pros and cons:
• Smaller screen panels are relatively simple to repair if a screen is torn, though they obstruct views.
• On the other hand, large screen panels provide an open, less-encumbered view but are more difficult and costly to repair than smaller panels.
Even though screen fabric isn’t so heavy that it requires a substantial framework for support, the material can sometimes sag and bulge (particularly so if you live in a windy area or if children and pets bump against the bottom of the screening). When thinking about which size screening panels is best for your needs, consider how the porch will be used. If you live in a high-wind region, or if children and pets will use the porch, smaller screen panels make better sense than floor-to-ceiling screen panels.
5. There are a variety of porch screening materials to suit homeowners’ needs.
Screen fabric has come a long way from the days when your grandparents used rigid metal screening on their screen doors. Today’s screen fabrics offer a variety of options to suit specific needs.
Fiberglass screen fabric, which is available in a handful of different colors, is relatively soft and easy to work with. It won’t rust or corrode, but it can be shredded by cat claws. Fiberglass screen fabric is often what you’ll find inside a screen porch kit.
High-visibility screen fabric is also made from fiberglass, but it features a very fine weave and thin fiberglass threads that provide optimal visibility. While some types of high-visibility screen fabric may seem nearly invisible from inside your porch, they are typically more fragile than lower-visibility fiberglass screens.
Aluminum screen fabric makes a sturdy screen that withstands strong winds, but it can be difficult to install and it creases easily. Uncoated aluminum screening can corrode or rust in humid climates, and even coated aluminum screen fabric will corrode if the coating is scratched off by an animal or scraped by metal patio furniture.
Solar screen fabric is manufactured from synthetic fibers and designed to block or reduce the amount of sunlight that filters through, making it a good choice for porches with upholstered furniture that might fade in direct sunlight. Solar screen fabric may also help reduce heat on the porch as it offers a more “shaded” effect.
Pet-resistant screen fabric, which is made from durable vinyl-coated polyester, is designed to withstand scratches and tears from cats and dogs. While it’s very resilient, it’s also thicker than other types of screen material, so it’s more difficult to see through.
Pro tip: If pets will be an issue, consider installing pet-resistant screening only on the areas where a pet might scratch, such as on a screen door and on adjacent lower screen panels. You can still install screen fabric with higher visibility on upper screen panels.
6. Research your community’s building codes, and mind safety regulations.
In many communities, as long as you don’t change the structure of your house, pulling a permit isn’t always necessary. Always err on the side of caution, though, and call your local building authority to make sure. If you do have to build something in order to screen in your porch, such as a roof over the porch that ties into your home, you’ll almost certainly need a permit.
Keep in mind safety and permit issues for a second-story screened porch, or any high porch on the ground floor. Porch floors 30 inches or more above the ground must have a railing to prevent falls. Screen panels can be installed behind the railing, but the fabric itself is not substantial enough to ensure safety.
7. Before getting started on the project, be sure to send your porch’s plans to your homeowners association for approval.
Because a screened-in porch will affect the exterior aesthetics of your home, additional neighborhood regulations may apply. If you live in a residential development that has covenants (binding restrictions that apply to your property), you may not be able to screen in your porch—or you may have to adhere to a specific design. Your local building authority can tell you if covenants apply to your property.
Similarly, if you live in a neighborhood overseen by a homeowner association (HOA), you’ll have to submit your porch design to the governing committee for permission to screen in your porch. Covenants and HOAs exist to maintain continuity of design within a neighborhood, so you may have to adjust your project to accommodate their mandates.
8. If you’re framing porch panels from scratch, choose materials that resist the elements.
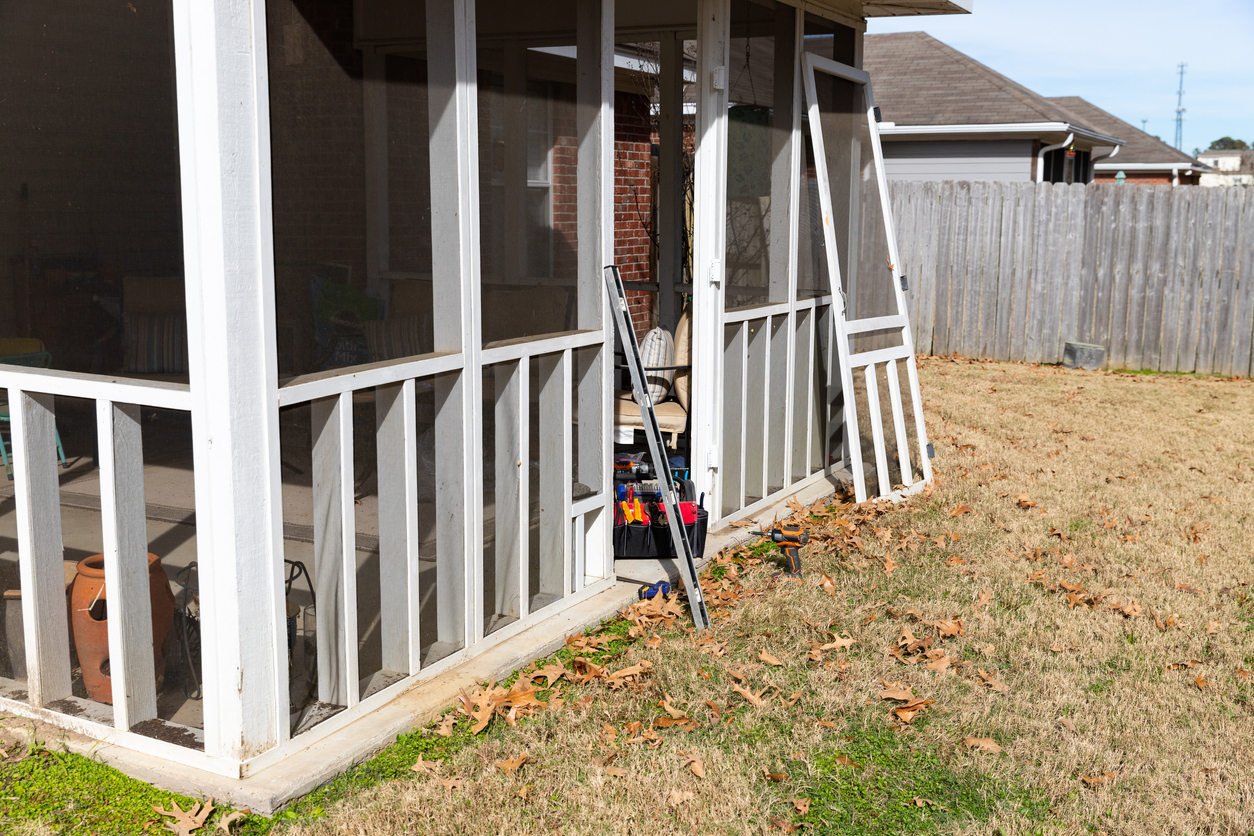
If you’re building your own screen panels from wood, choose insect- and weather-resistant redwood, cedar, or treated lumber since the wood will be exposed to the elements. When building with redwood or cedar, use exterior-rated screws, such as galvanized screws, to prevent corrosion. If you’re building with treated lumber, use ACQ-compatible screws.
If you plan on painting or staining cedar or redwood frames, use a good-quality exterior paint or stain, and be sure to prime before painting. It might be easier to stain or paint the frames before attaching the screen and then do touch-ups as necessary later on.
9. If you’ll be using your outdoor space as a sleeping porch, bring indoor accents outside in your patio design.
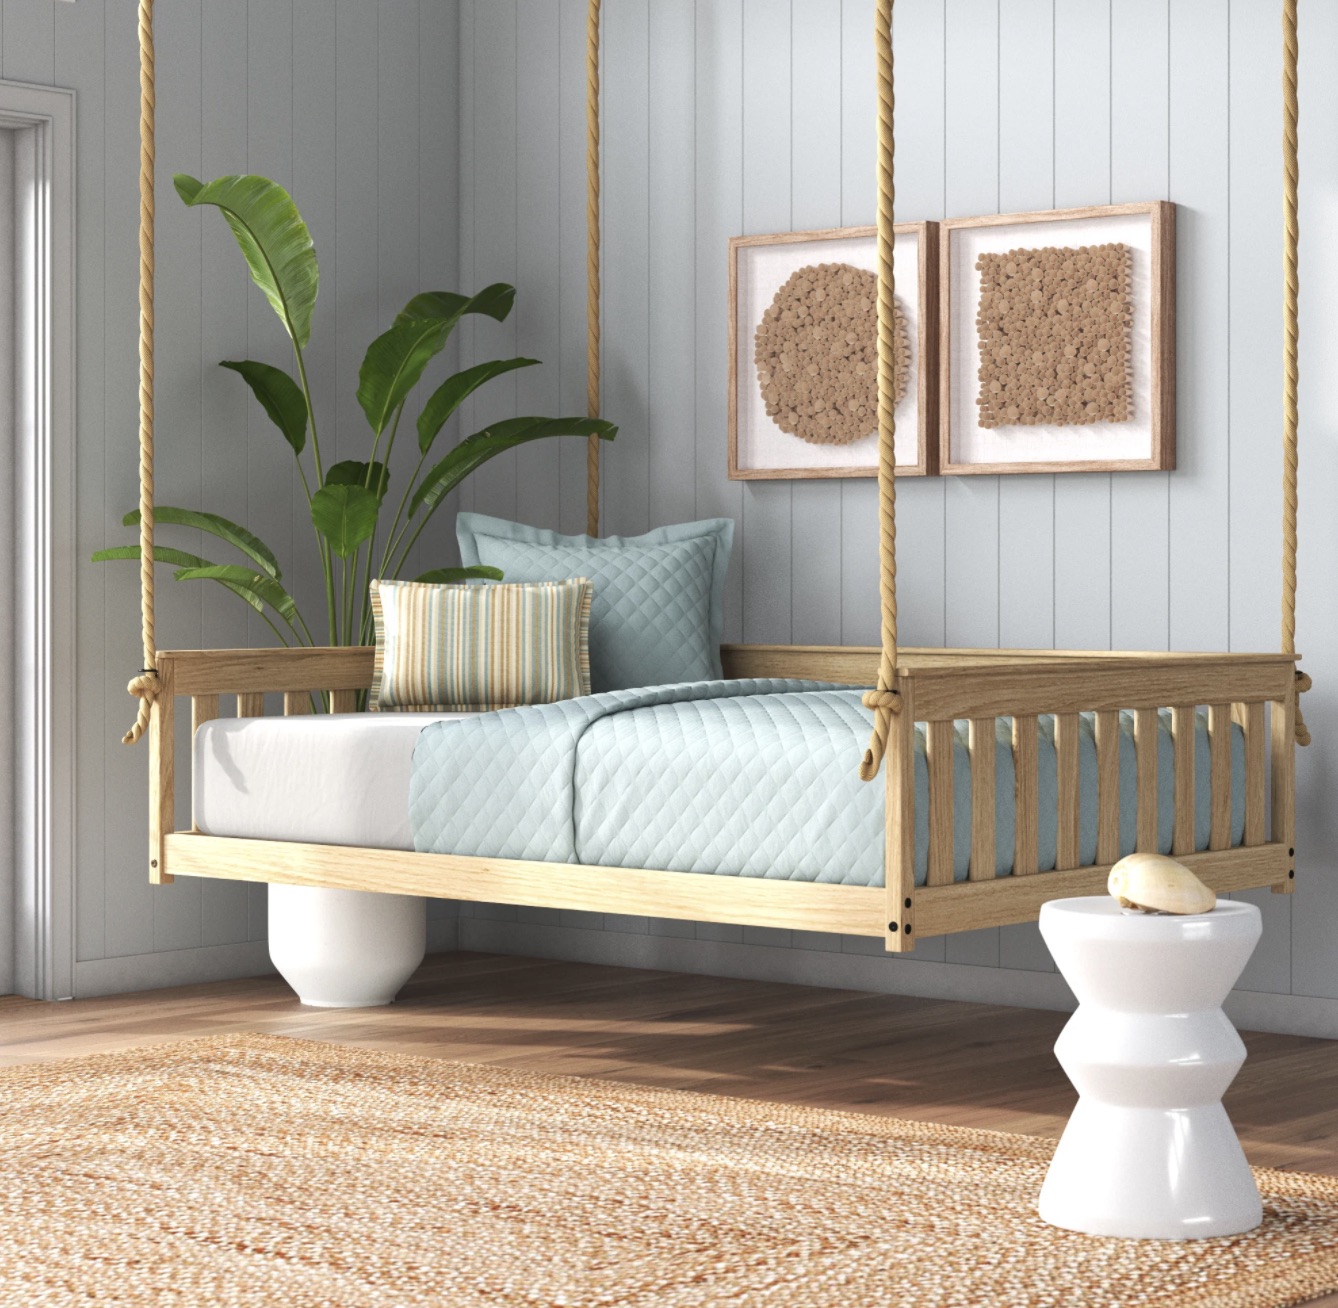
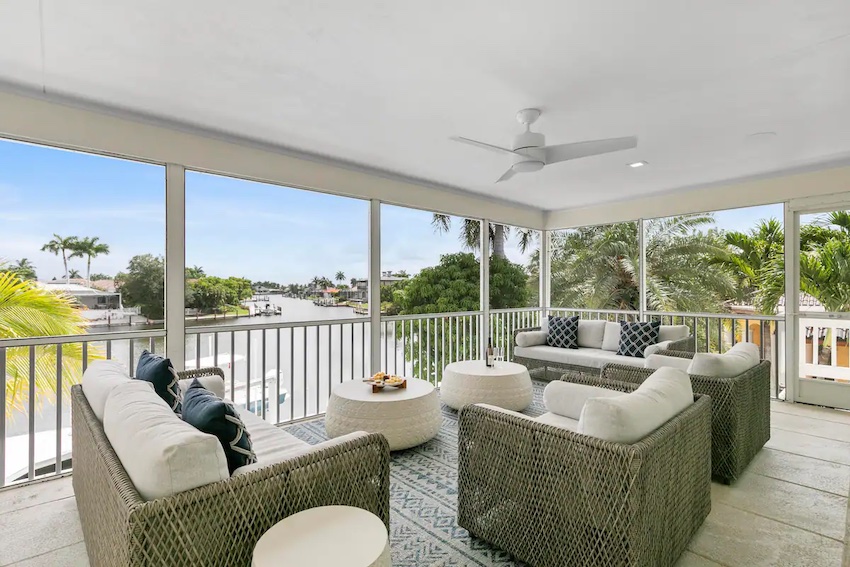
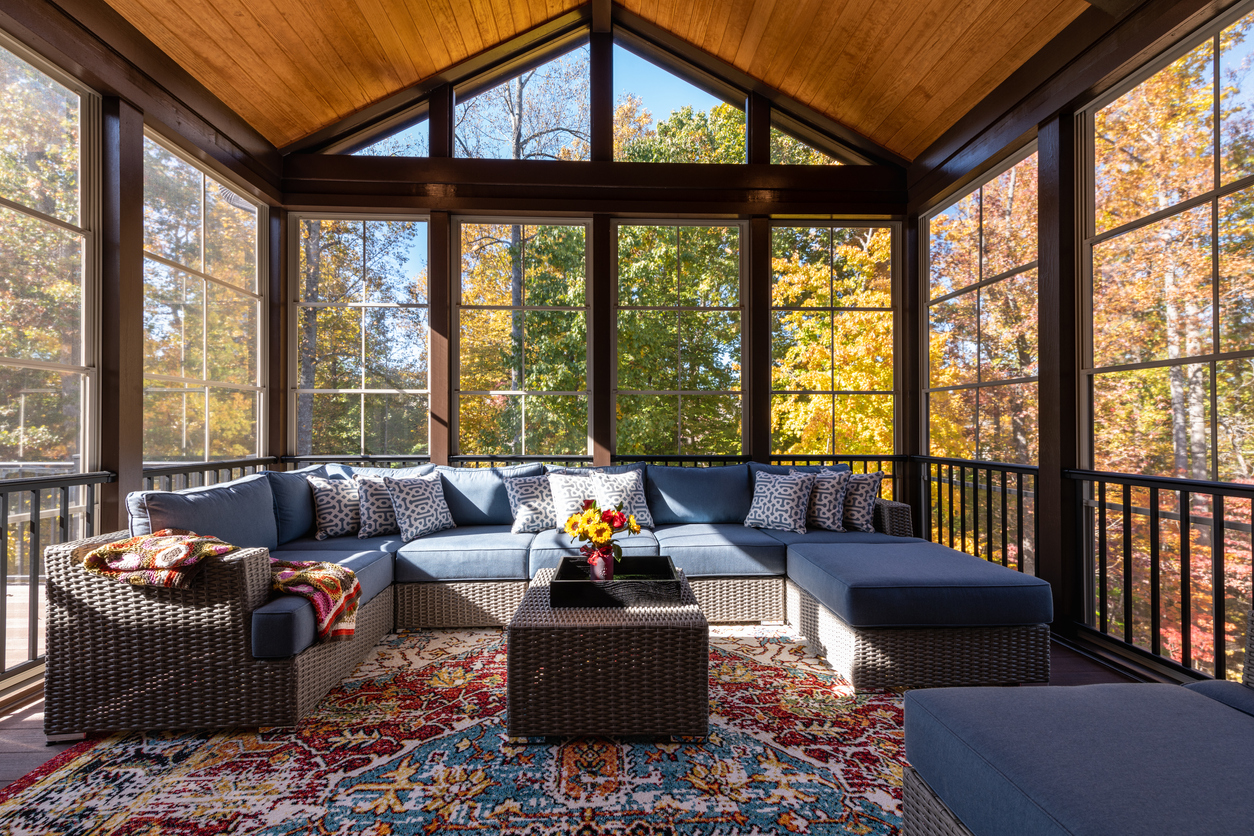
On sultry summer nights, a screened-in porch, with its cooling breezes, can be the most comfortable spot for a restful sleep. If you plan on sleeping in your porch, try some of these simple screened-in porch ideas: Choose decor that suits the transitional nature of the space, such as indoor/outdoor rugs and casual furnishings. Include multifunctional pieces like daybeds, convertible sofas, oversize couches, or sleeper chairs.
Provide enough tables and storage—or even construct a few built-ins—so sleepers can put down that bedtime glass of ice water or stash their phones or reading material. Install a ceiling fan to make the porch even cooler on hot nights, and as fall approaches, string up LED lights and stock up on throws to warm things up. Finally, if privacy is a concern, wooden shutters, or even strategically positioned folding screens, can shield your sleeping area from prying eyes.