
We may earn revenue from the products available on this page and participate in affiliate programs. Learn More ›
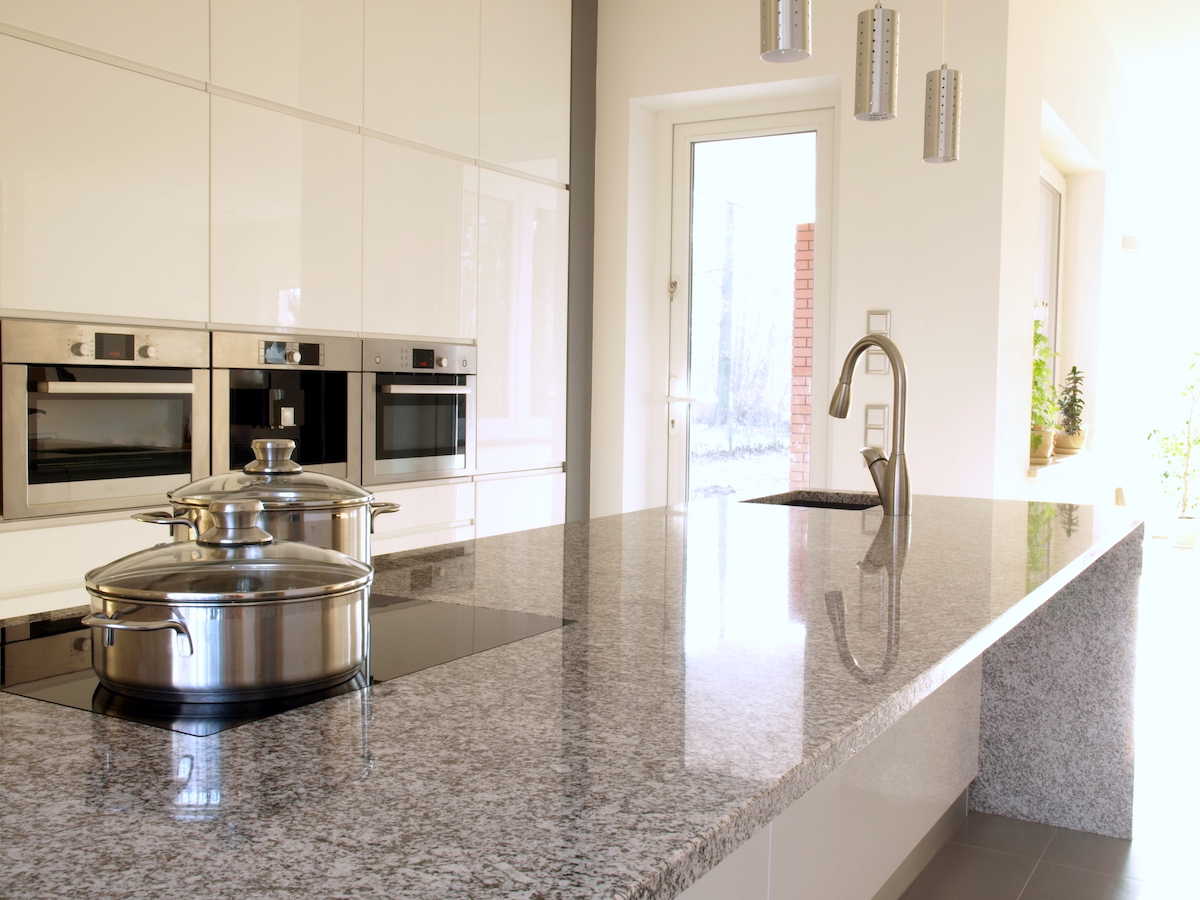
If you have a gorgeous granite countertop in your kitchen and want to keep it in “model home” shape, you may need to seal it. Some countertops are installed pre-sealed, but if yours was not (or you’re not sure whether it was), don’t delay giving it the protection it needs. Improper cleaning, neglected spills, and other effects of everyday use can easily mar its surface. A quality penetrating or impregnating sealer will soak into the granite, filling the porous gaps, and keep damage at bay. True, a sealant only buys you time—unattended spills will seep into sealed granite eventually—but the right product, and the following steps for how to seal granite kitchen countertops, will help protect your investment.
Water-Based vs. Solvent-Based Sealants
Water-based countertop sealants are environmentally friendly, while solvent-based sealants may be a little better at penetrating the stone (this level of penetration is arguably only important on polished granite). When shopping for the best granite sealer, it’s a good idea to check the labels of both water- or solvent-based sealants for the active ingredient fluorocarbon aliphatic resin. Though the product will be more expensive than those containing such agents as siloxane and silicon, fluorocarbon aliphatic resin will provide 5 to 10 years of protection, versus 6 months to 3 years with other sealants. What’s more, fluorocarbon aliphatic resins repel oil and water, so your granite won’t be ruined by a salad dressing mishap. A quart of fluorocarbon aliphatic resin sealant, such as StoneTech’s BulletProof Sealer, costs around $50 and offers between 100 to 250 square feet of coverage, depending on the brand. A 24-ounce spray bottle of lesser solvent runs around $15 but might require reapplication every 6 months or so.
Ahead, you’ll find general guidance for how to seal a granite countertop with either variety of granite sealer, but specific directions vary according to brand and active ingredients. For the best results, follow the instructions on the sealant you buy along with these handy guidelines.
Tools & Materials
Bobvila.com may earn a commission from purchases made through these links.
How to Seal Granite
Step 1: Test the counter surface with water and oil.
Before you buy anything, first determine if the countertop requires sealing. Somewhere inconspicuous, like in a corner of the counter, put a few drops of water on top, and a few inches away, put a few drops of oil. After 15 minutes, check to see if the water or oil has seeped in and darkened the granite. If so, proceed with these instructions for how to seal a granite countertop. If not, then the countertop is already sealed, and resealing it will not offer extra protection—it’ll only leave an unattractive, hazy film.
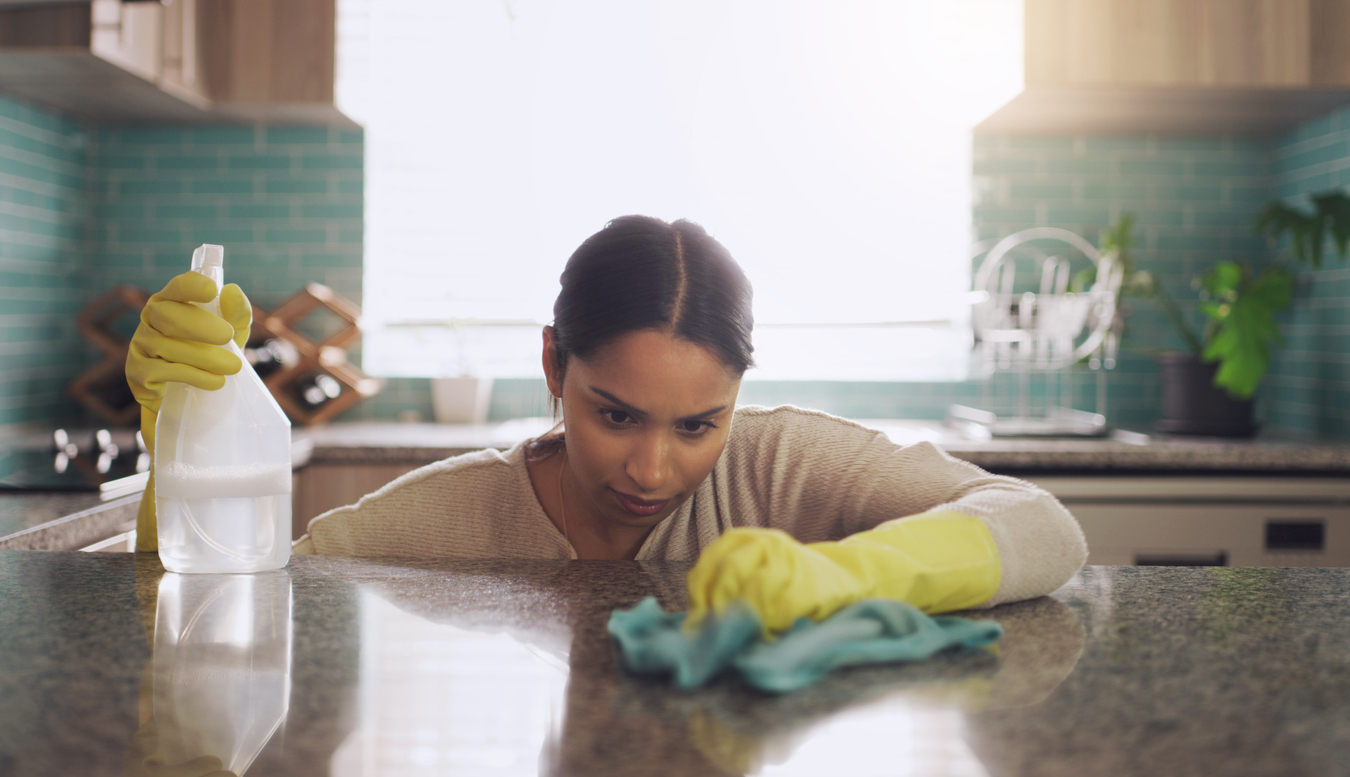
Step 2: Clean the countertop.
Clean a granite countertop 24 hours before sealing it, making sure to avoid using vinegar, lemon juice, baking soda, bleach, or harsh commercial cleansers, all of which have the potential to damage granite.
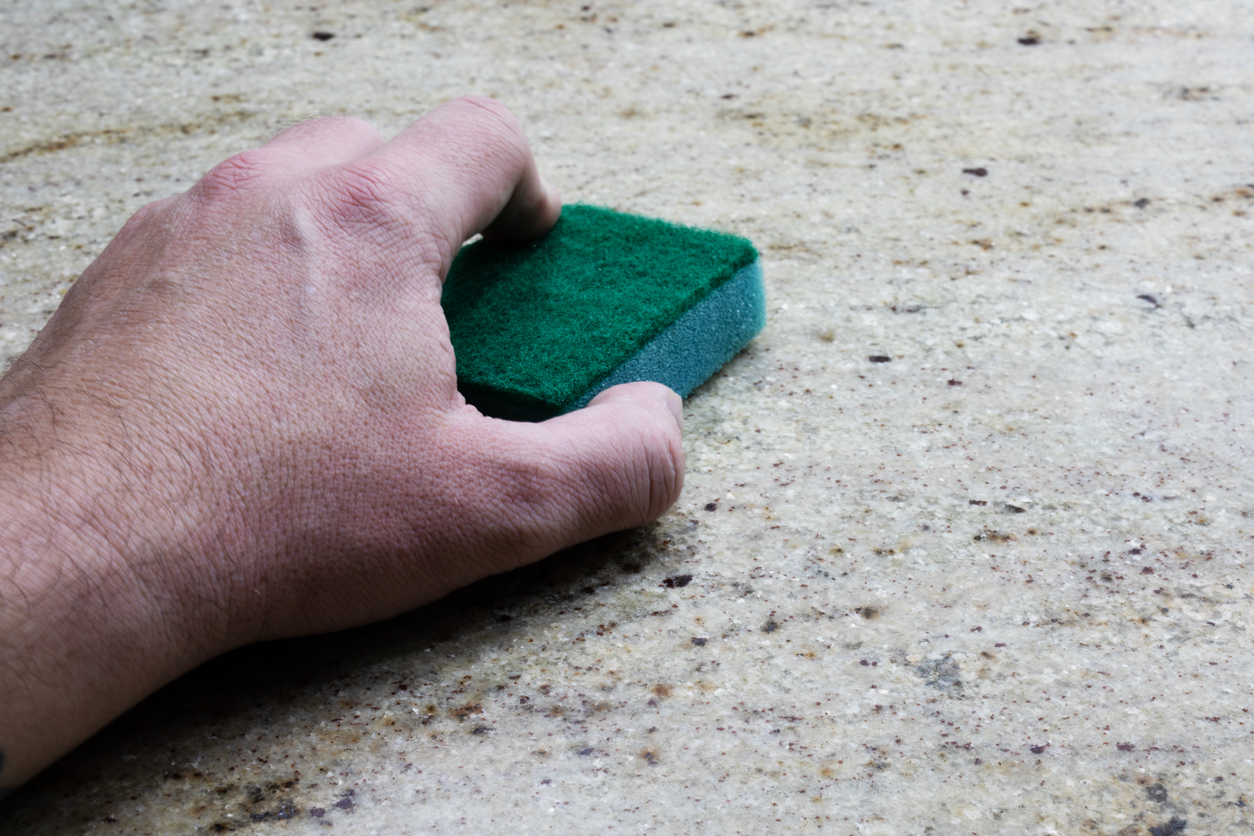
- First, take everything off the counter and wipe it down well with a clean, dry microfiber cloth to remove all surface dust.
- Next, mix 1 teaspoon of dishwasher detergent and 2 tablespoons of isopropyl alcohol in a pint spray bottle and fill with cool water. Generously spray the countertop and wipe it clean with a microfiber cloth, polishing in a circular motion.
- Wait 24 hours before proceeding. The space occupied by the cleaning agent is the same space that the granite sealant will penetrate, so you must ensure that the cleaning liquid has fully evaporated.
RELATED: Buyer’s Guide: The Best Granite Cleaners
Step 3: Prepare to apply the sealant.
- Read the granite sealer’s label thoroughly to understand how it should be applied.
- Should our instructions vary from those on the label, defer to those provided by the manufacturer.
- Open windows and doors in the area for improved ventilation. If it’s raining, do not open windows that could allow rain to hit the countertop; instead, open windows in other areas of the room or in adjacent rooms.
Step 4: Test the sealer on an inconspicuous area of the countertop.
Put on rubber gloves and grab some soft rags or washcloths. In an area usually occupied by a small kitchen appliance, test the sealant to ensure it won’t affect the finish. Spray or pour a small amount per manufacturer’s directions onto a cloth and then rub it evenly over the test area.
RELATED: 12 Types of Granite to Consider for Your Kitchen Countertop
Step 5: Give the sealer time to absorb into the test area.
Wait the recommended time for the sealant to absorb into the granite (usually 15 to 20 minutes, but sometimes much longer). Don’t let it sit longer than recommended by the manufacturer, because it could discolor the stone.
Step 6: Check the test area and, if necessary, reassess.
If the sealant test area looks great, proceed to Step 7. If the counter surface has discolored there, wipe up any remaining sealant with a clean rag. Snap a few photos of the area and show them to an associate at your local home center for advice on a more appropriate product. Once you’ve acquired a new sealant, clean the counter again and test the new sealant in a discreet spot.
RELATED: Buyer’s Guide: The Best Granite Sealers
Step 7: Seal the countertop.

If the test was successful, apply the sealant over the entire counter, beginning at one end and working your way to the other. Apply in sections in a circular motion (about an arm’s length in diameter) to ensure equal coverage. Wait the manufacturer’s recommended time for the product to absorb into the countertop.
Step 8: Wipe off excess sealant and allow it to cure.
After the absorption period has passed, wipe any extra sealant off with a clean, dry rag, rubbing in a circular motion. Some products require a second coat, so follow the instructions for doing so. If the product you use requires one coat, allow it to cure, which can take between 2 and 48 hours. Nonetheless, granite experts recommend waiting a full 48 hours before wiping a newly sealed granite countertop with anything wet. Avoid returning kitchenware to the counter until after the curing period.
RELATED: How Much Do Granite Countertops Cost?
Step 9: Regularly clean your sealed granite countertop.
Once the countertop has fully cured, put your kitchen back in order. Keep the spray bottle of cleaner you created around for periodic use every month or two. For daily cleaning, a dab of dish detergent and a wet rag will get the job done beautifully. Strive to wipe up spills immediately and then dry the countertop to keep your granite looking great.
How to Tell if Granite Needs Sealing
Your granite counter may be protected now, but it needs to be resealed every once in a while. The matter of how often to reseal granite depends on a few factors, such as the granite type and finish, how frequently it’s used and cleaned, and the application and quality of its existing sealant.
Your counter may need to be resealed every 1 to 5 years. More porous granite with a smooth, honed finish that has been poorly sealed and maintained may need to be resealed every 1 to 2 years. A less permeable type of granite with a glossy finish, proper sealing, and regular maintenance may not need to be resealed for 3 to 5 years.
Here are a couple of surefire ways to know when it’s time to seal granite again:
- It fails the water and oil test. Using the method to test granite for seal covered in Step 1, trickle a few drops of water and oil separately onto two normally out-of-sight spots on the countertop. If the counter discolors in either area, it’s time to reseal.
- The granite is stained. Look for any new stains in the granite. Granite stains can be identified by the discolored shapes they leave behind; these are often dark but sometimes take on the color of whatever caused the stain (e.g., red from wine, orange from rust, etc.). However, note that a lightened or rough-textured mark is indicative of etching, which is caused by a chemical reaction rather than absorption.